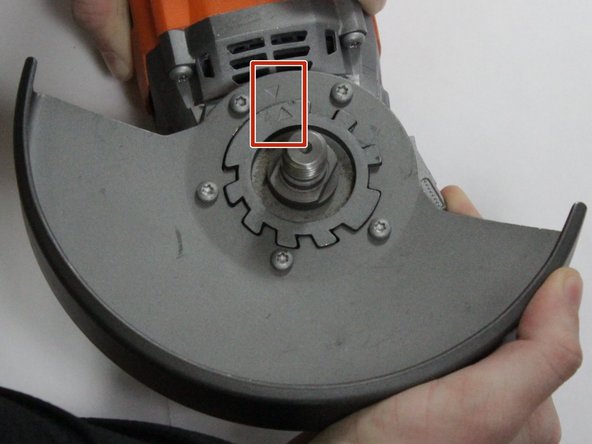
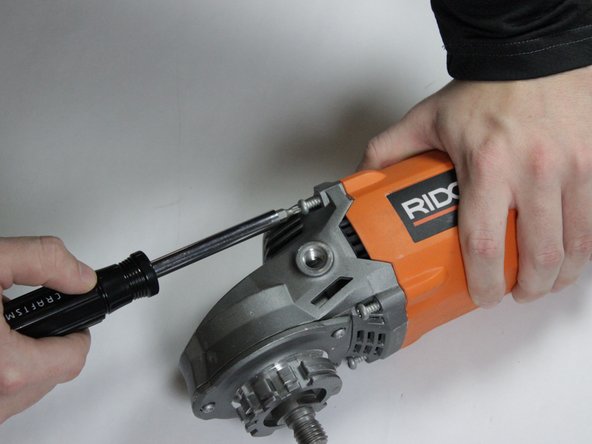
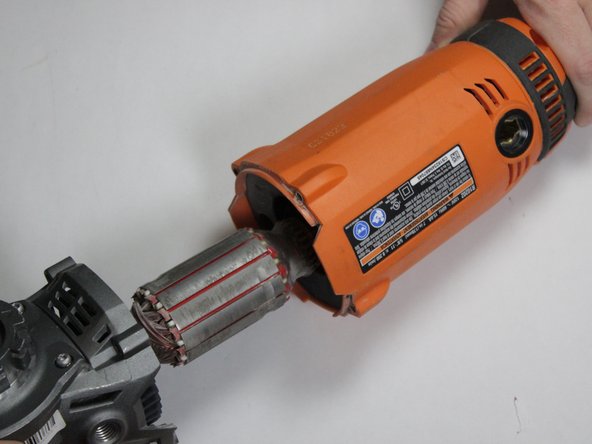
Ridgid Angle Grinder R10202 Motor Housing Replacement

What you need

  1. Ridgid Angle Grinder R10202 Motor Housing Replacement, Carbon Brush: step 1, image 1 of 2 Ridgid Angle Grinder R10202 Motor Housing Replacement, Carbon Brush: step 1, image 2 of 2
    • Use a flathead screwdriver to unscrew the brush holder cap.

  2. Ridgid Angle Grinder R10202 Motor Housing Replacement: step 2, image 1 of 2 Ridgid Angle Grinder R10202 Motor Housing Replacement: step 2, image 2 of 2
    • Using your fingers, gently lift the carbon brush up and out of its housing.

    • Repeat these steps to remove the other carbon brush on the opposing side.

  3. Ridgid Angle Grinder R10202 Motor Housing Replacement, Motor Housing: step 3, image 1 of 1
    • Unscrew the side handle assembly from the gear housing assembly by hand.

  4. Ridgid Angle Grinder R10202 Motor Housing Replacement: step 4, image 1 of 1
    • Unscrew the clamp nut and the backing flange from the output shaft assembly.

    • You can do this by hand or use a spanner wrench which should be provided in the manufacturers box.

  5. Ridgid Angle Grinder R10202 Motor Housing Replacement: step 5, image 1 of 2 Ridgid Angle Grinder R10202 Motor Housing Replacement: step 5, image 2 of 2
    • Push in the guard lever and twist the guard until it aligns with the slots on the output shaft assembly.

    • There are two arrows that should align before you attempt to pull the pieces apart.

  6. Ridgid Angle Grinder R10202 Motor Housing Replacement: step 6, image 1 of 1
    • Lift the guard away from the output shaft assembly.

  7. Ridgid Angle Grinder R10202 Motor Housing Replacement: step 7, image 1 of 2 Ridgid Angle Grinder R10202 Motor Housing Replacement: step 7, image 2 of 2
    • Using a T25 Torx screwdriver, unscrew the four M5 X 28mm Torx screws.

  8. Ridgid Angle Grinder R10202 Motor Housing Replacement: step 8, image 1 of 3 Ridgid Angle Grinder R10202 Motor Housing Replacement: step 8, image 2 of 3 Ridgid Angle Grinder R10202 Motor Housing Replacement: step 8, image 3 of 3
    • Grab the handle assembly and the gear housing assembly and gently pull apart.

    • Slowly pull the gear housing assembly out being careful not to damage the motor against the inside of the motor housing.

Conclusion

To reassemble your device, follow these instructions in reverse order.

0 Comments

Add Comment

View Statistics:

Past 24 Hours: 0

Past 7 Days: 2

Past 30 Days: 13

All Time: 796