Free Shipping on Domestic Orders $75+

Retroid Pocket 3 Button Pad Replacement

What you need

    1. Retroid Pocket 3 Button Pad Replacement, Battery: step 1, image 1 of 1
      • Unplug any cables connected to the Retroid Pocket 3+.

      • Ensure your device has a charge of 5% or less as a charged battery can be dangerous if punctured.

      Ask FixBot

      Add Comment

    2. Retroid Pocket 3 Button Pad Replacement: step 2, image 1 of 3 Retroid Pocket 3 Button Pad Replacement: step 2, image 2 of 3 Retroid Pocket 3 Button Pad Replacement: step 2, image 3 of 3
      • Remove the four 6 mm screws from the backplate of the device with a T5 Torx screwdriver.

      • Use a plastic opening tool or spudger to gently pry apart the backplate from the device.

      Ask FixBot

      Add Comment

    3. Retroid Pocket 3 Button Pad Replacement: step 3, image 1 of 2 Retroid Pocket 3 Button Pad Replacement: step 3, image 2 of 2
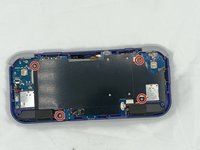
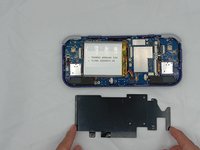
      • Remove the four 4.5 mm screws with a Phillips #00 screwdriver.

      • Lift off the metal plate.

      Ask FixBot

      Add Comment

    4. Retroid Pocket 3 Button Pad Replacement: step 4, image 1 of 3 Retroid Pocket 3 Button Pad Replacement: step 4, image 2 of 3 Retroid Pocket 3 Button Pad Replacement: step 4, image 3 of 3
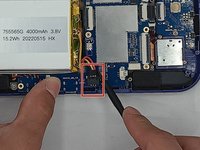
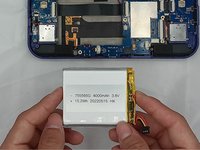
      • Use a plastic opening tool or spudger to unclip the battery connector.

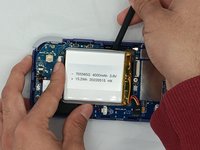
      • Carefully lift the battery from the case.

      • The battery has double-sided tape at the bottom. Gently push a spudger or opening tool underneath the battery to help free it from the adhesive. Do not bend or puncture the battery.

      • Lift and remove the battery.

      Ask FixBot

      Add Comment

    1. Retroid Pocket 3 Button Pad Replacement, Button Pad: step 5, image 1 of 3 Retroid Pocket 3 Button Pad Replacement, Button Pad: step 5, image 2 of 3 Retroid Pocket 3 Button Pad Replacement, Button Pad: step 5, image 3 of 3
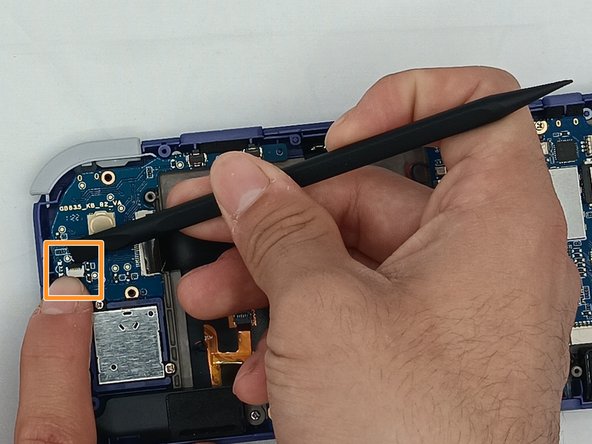
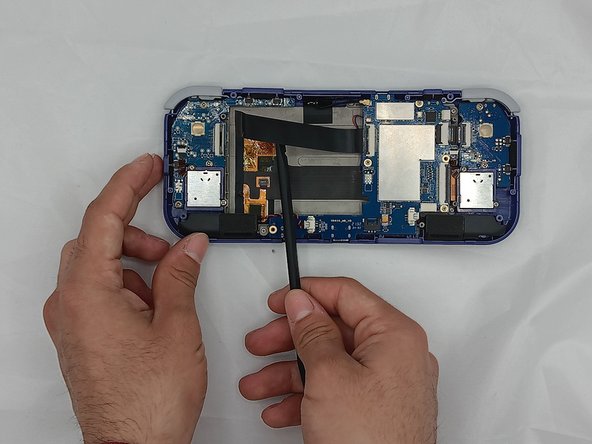
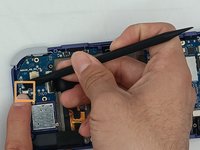
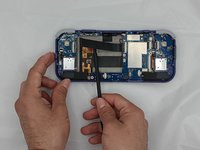
      • Undo the ribbon cable clips using the Spudger tool.

      • Unclip the cable on the left side of the board.

      • Carefully lift the ribbon cable to the right to remove it from the clip.

      Ask FixBot

      Add Comment

    2. Retroid Pocket 3 Button Pad Replacement: step 6, image 1 of 2 Retroid Pocket 3 Button Pad Replacement: step 6, image 2 of 2
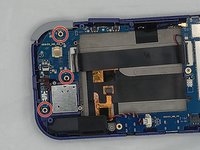
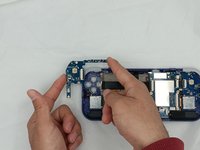
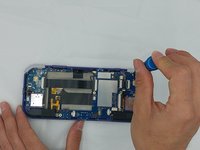
      • Use a Phillips #00 screwdriver to remove the three 5.9 mm screws from the controller board.

      • Carefully lift the board out of the device.

      Ask FixBot

      Add Comment

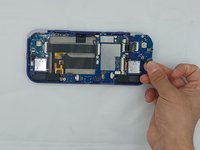
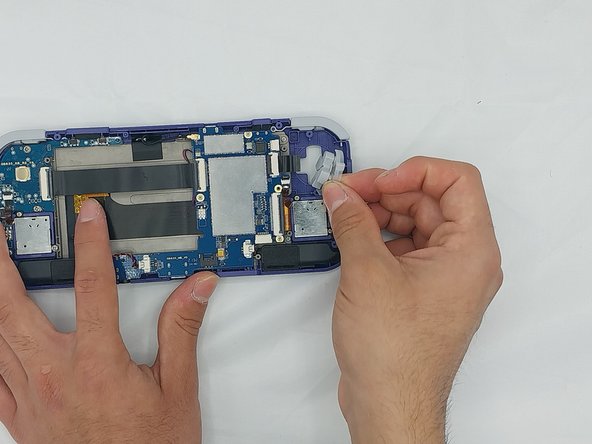
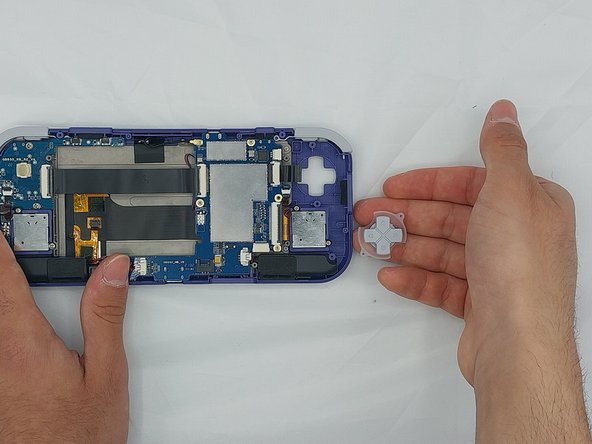
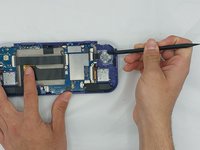
    3. Retroid Pocket 3 Button Pad Replacement: step 7, image 1 of 2 Retroid Pocket 3 Button Pad Replacement: step 7, image 2 of 2
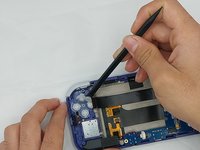
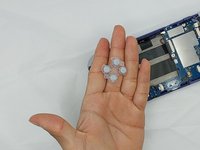
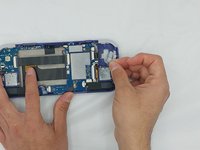
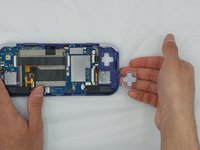
      • Using the Spudger tool, put the tip under the edge of the rubber button pad to start lifting it.

      • Button pad will loosen and lift straight out of the casing.

      Ask FixBot

      Add Comment

    4. Retroid Pocket 3 Button Pad Replacement: step 8, image 1 of 1
      • Move to the right side of the device.

      • Using a spudger, undo the ribbon cable clip connected to the main PCB along with the joystick ribbon cable.

      Ask FixBot

      Add Comment

    5. Retroid Pocket 3 Button Pad Replacement: step 9, image 1 of 3 Retroid Pocket 3 Button Pad Replacement: step 9, image 2 of 3 Retroid Pocket 3 Button Pad Replacement: step 9, image 3 of 3
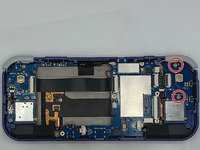
      • Use a Phillips #00 screwdriver to remove the two 5.9 mm screws.

      • Carefully lift the board out of the device.

      Ask FixBot

      Add Comment

    6. Retroid Pocket 3 Button Pad Replacement: step 10, image 1 of 3 Retroid Pocket 3 Button Pad Replacement: step 10, image 2 of 3 Retroid Pocket 3 Button Pad Replacement: step 10, image 3 of 3
      • Carefully pry up the silicone button pad with a Spudger tool.

      Ask FixBot

      Add Comment

Conclusion

To reassemble your device, follow these instructions in reverse order.

Cancel: I did not complete this guide.

0 Guide Comments

Add Comment

View Statistics:

Past 24 Hours: 3

Past 7 Days: 20

Past 30 Days: 59

All Time: 1,288