Free Shipping on Domestic Orders $75+

Reshell Prereq

Prerequisite Only
This is a prerequisite-only guide! This guide is part of another procedure and isn’t meant to be used alone.

What you need

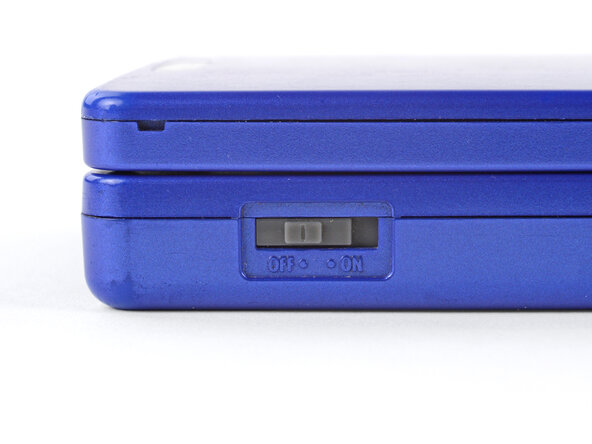
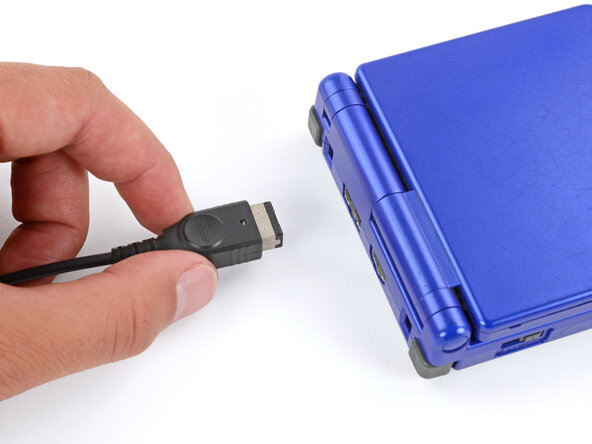
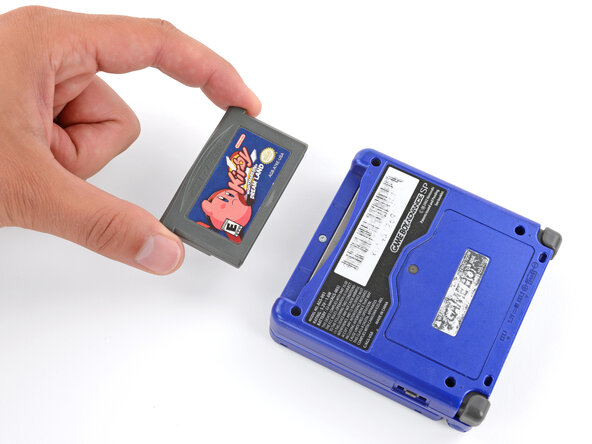
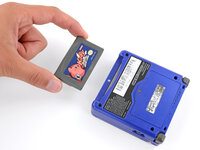
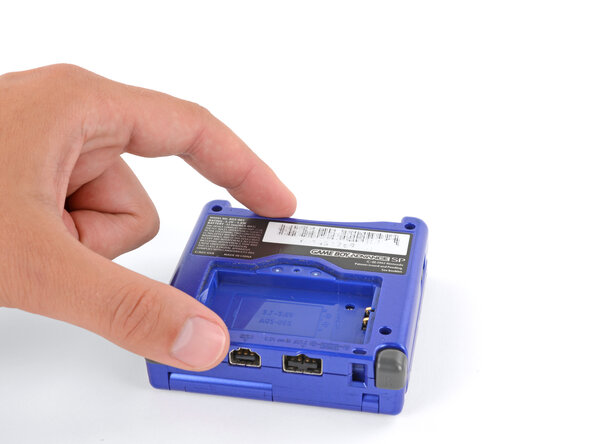
    1. Reshell Prereq, Prepare your Game Boy for disassembly: step 1, image 1 of 3 Reshell Prereq, Prepare your Game Boy for disassembly: step 1, image 2 of 3 Reshell Prereq, Prepare your Game Boy for disassembly: step 1, image 3 of 3
      • Slide the power switch to the OFF position and unplug any cables.

      • If you have a game cartridge in, remove it.

      Ask FixBot

      Add Comment

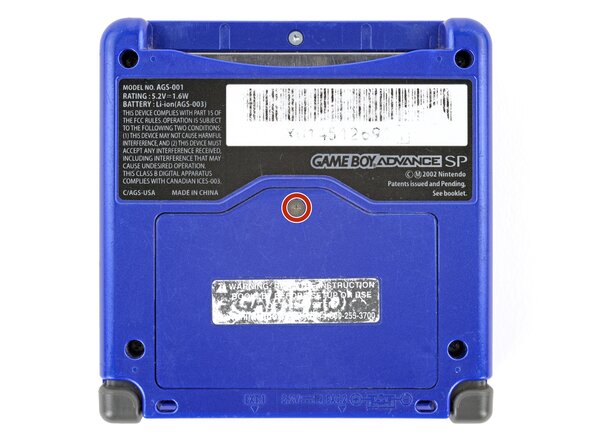
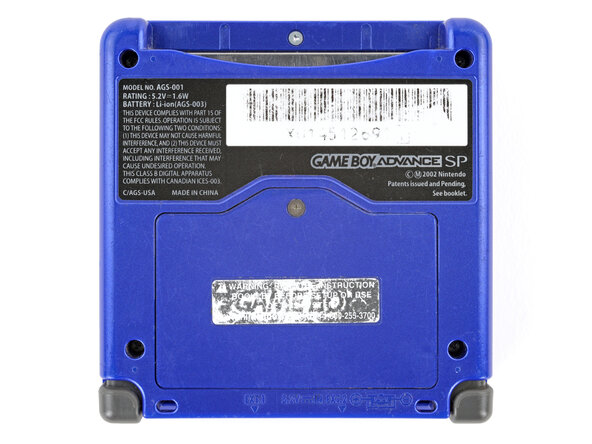
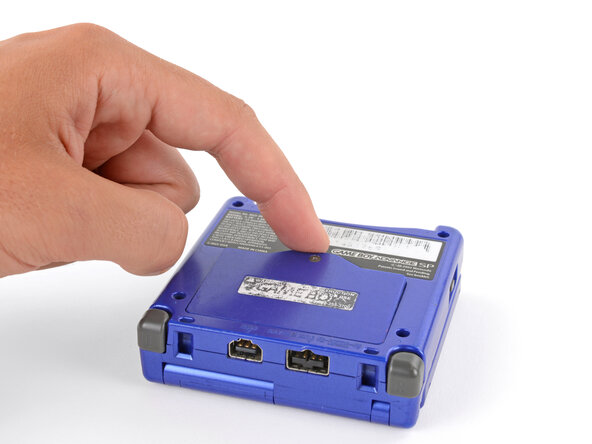
    2. Reshell Prereq, Remove the battery cover: step 2, image 1 of 2 Reshell Prereq, Remove the battery cover: step 2, image 2 of 2
      • Use a JIS 00 screwdriver to loosen the captive screw securing the battery cover.

      • You can try to use a non-iFixit Phillips driver in a pinch, but you risk damaging or stripping the screw. Push down firmly on the driver and twist slowly.

      Ask FixBot

      Add Comment

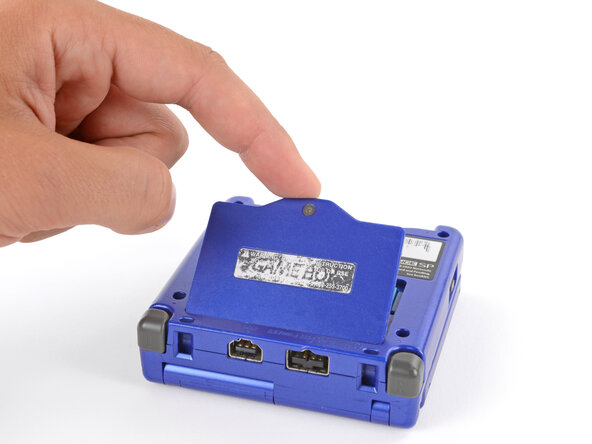
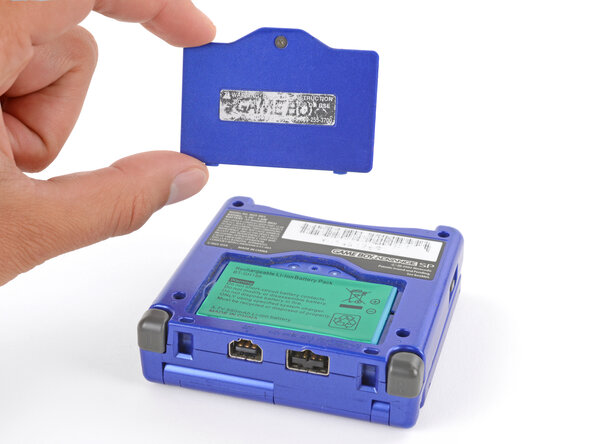
    3. Reshell Prereq: step 3, image 1 of 3 Reshell Prereq: step 3, image 2 of 3 Reshell Prereq: step 3, image 3 of 3
      • Lift the edge of the cover near the screw and remove the cover.

      Ask FixBot

      Add Comment

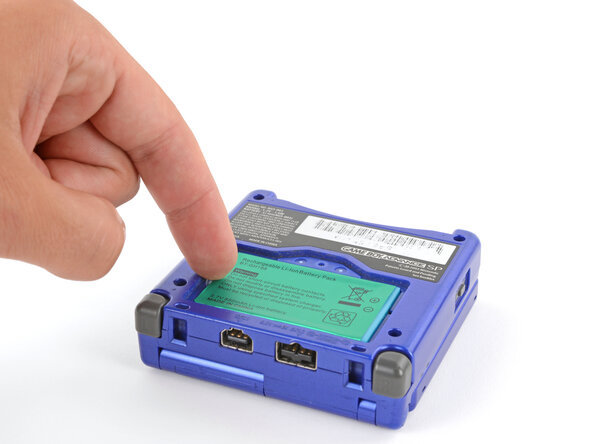
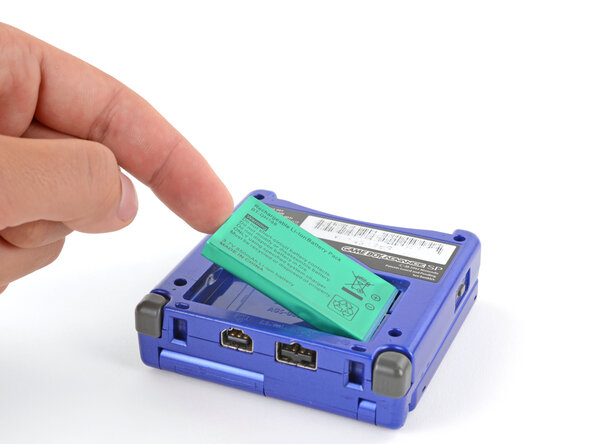
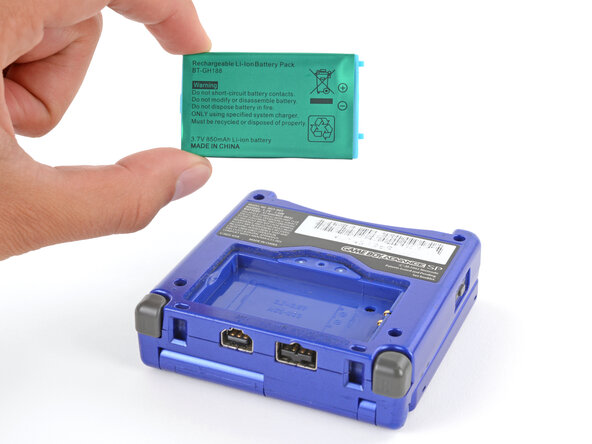
    4. Reshell Prereq, Remove the battery: step 4, image 1 of 3 Reshell Prereq, Remove the battery: step 4, image 2 of 3 Reshell Prereq, Remove the battery: step 4, image 3 of 3
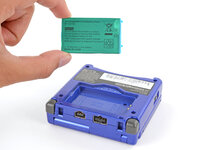
      • Use your finger to lift the battery by the tab on its left edge, then remove it.

      Ask FixBot

      Add Comment

    5. Reshell Prereq, Remove the bottom shell: step 5, image 1 of 2 Reshell Prereq, Remove the bottom shell: step 5, image 2 of 2
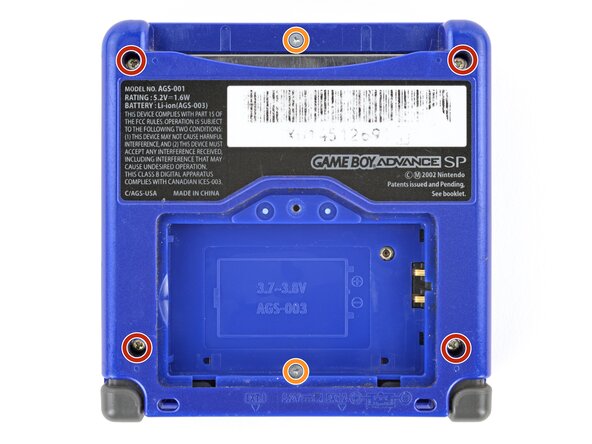
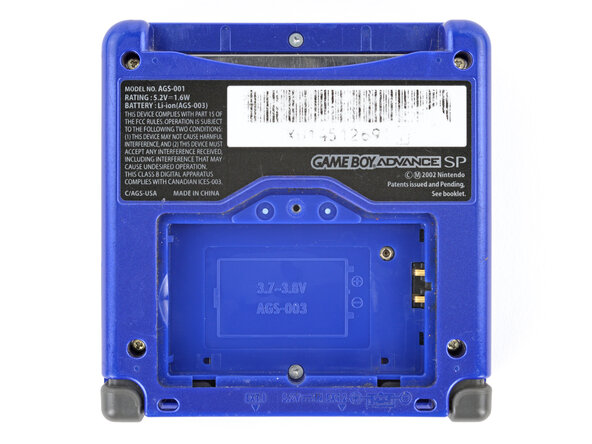
      • Use a tri‑point Y0 screwdriver to remove the six screws securing the bottom shell:

      • Four 6.3 mm‑long recessed screws

      • Two 4.6 mm‑long screws

      Ask FixBot

      Add Comment

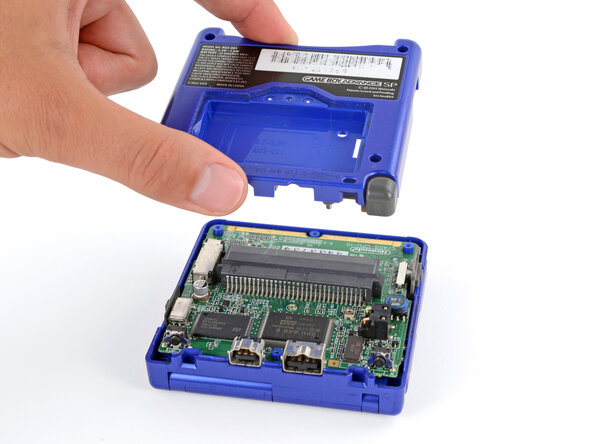
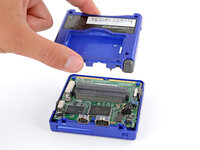
    6. Reshell Prereq: step 6, image 1 of 2 Reshell Prereq: step 6, image 2 of 2
      • Lift the bottom shell straight up and remove it.

      Ask FixBot

      Add Comment

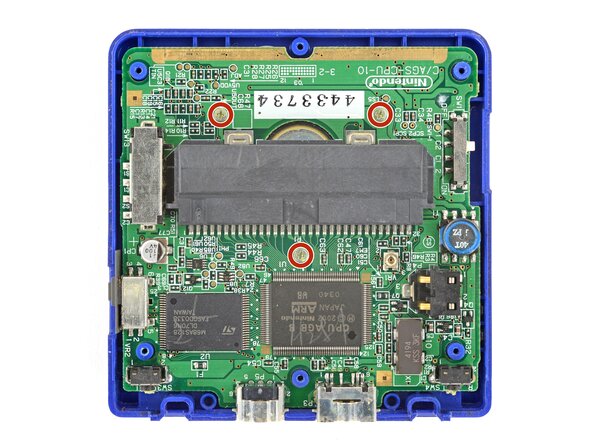
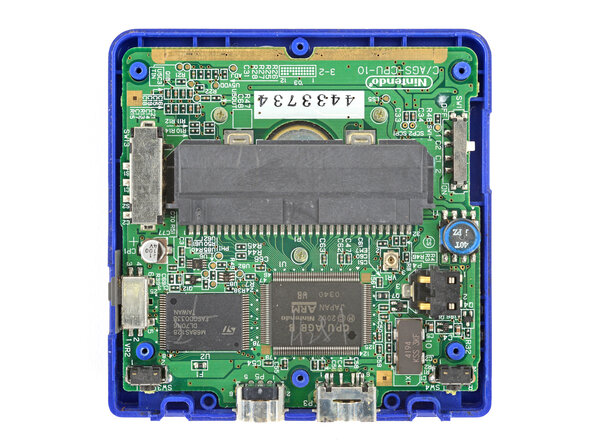
    7. Reshell Prereq, Remove the motherboard screws: step 7, image 1 of 2 Reshell Prereq, Remove the motherboard screws: step 7, image 2 of 2
      • Use a JIS 00 screwdriver to remove the three 4.1 mm‑long screws securing the motherboard.

      Ask FixBot

      Add Comment

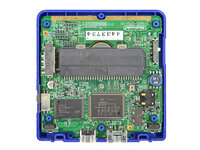
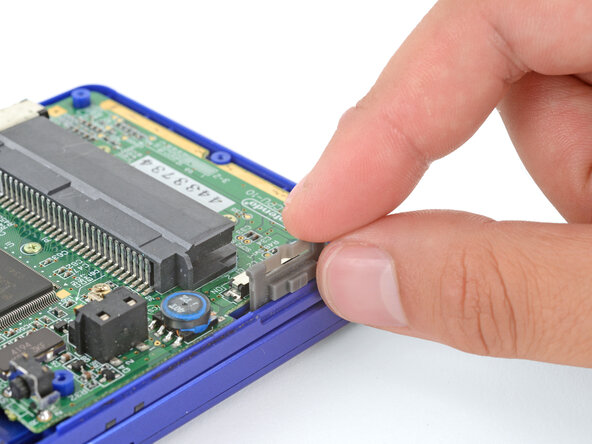
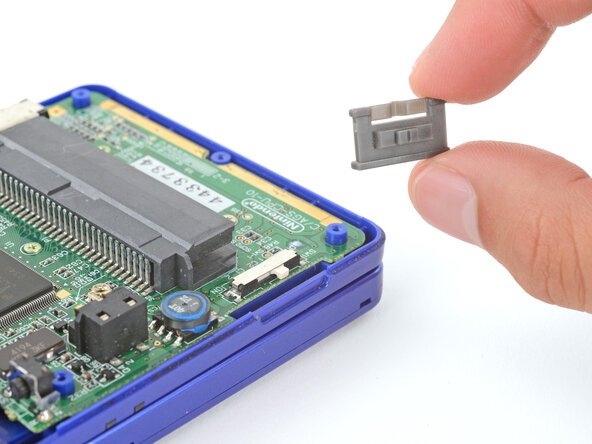
    8. Reshell Prereq, Remove the power switch cover: step 8, image 1 of 2 Reshell Prereq, Remove the power switch cover: step 8, image 2 of 2
      • Use your fingers to lift and remove the power switch cover.

      Ask FixBot

      Add Comment

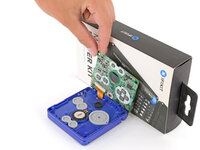
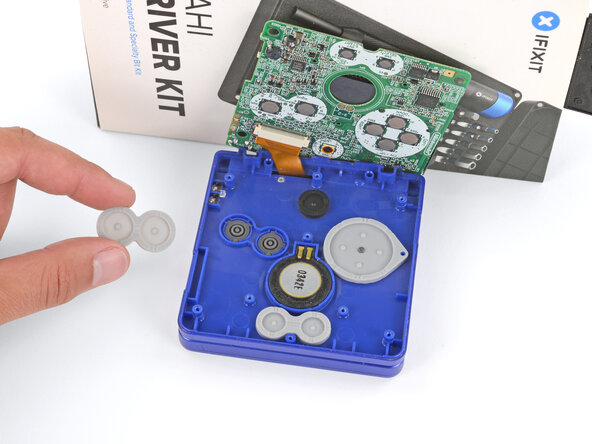
    9. Reshell Prereq, Prop up the motherboard: step 9, image 1 of 3 Reshell Prereq, Prop up the motherboard: step 9, image 2 of 3 Reshell Prereq, Prop up the motherboard: step 9, image 3 of 3
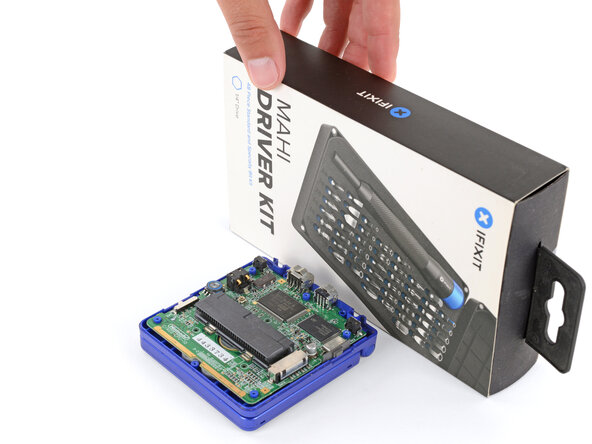
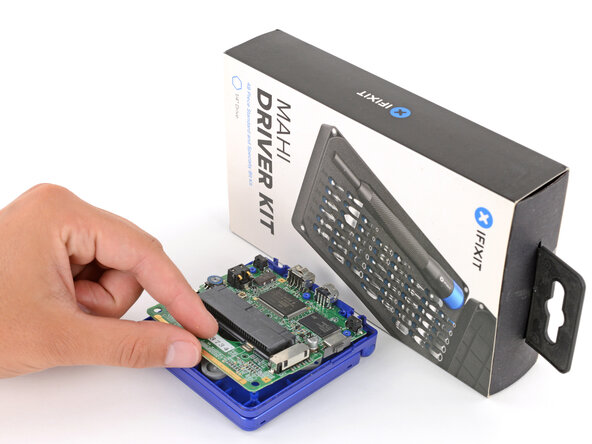
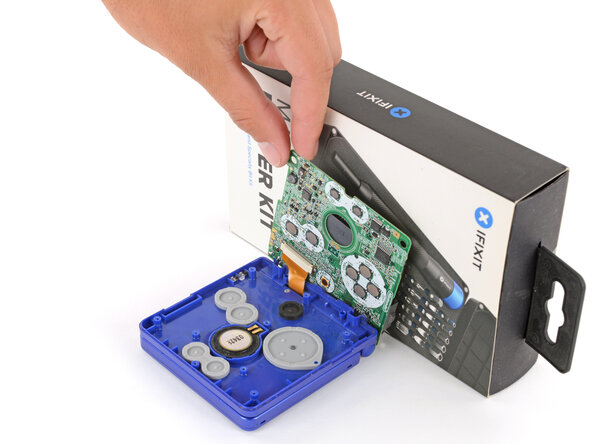
      • Place a sturdy object such as a stack of books or tool case along the edge of your Game Boy with the hinges.

      • Use your fingers to gently flip the motherboard over the hinges and prop it up.

      Ask FixBot

      Add Comment

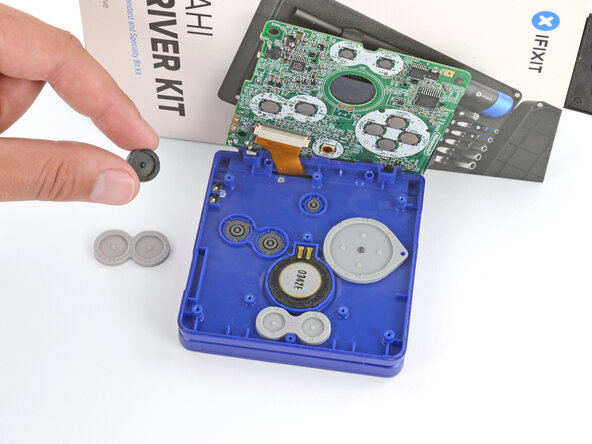
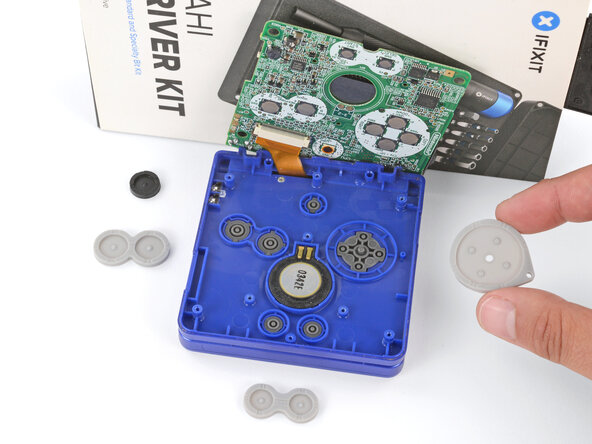
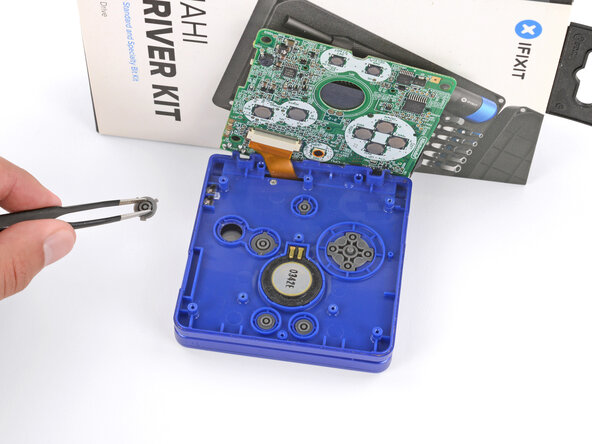
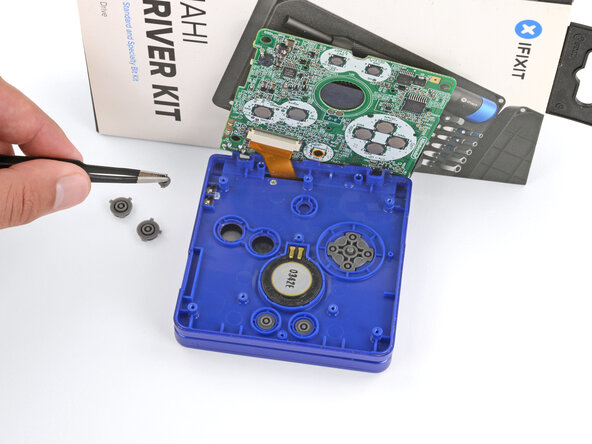
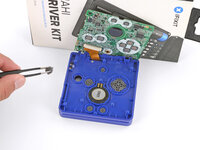
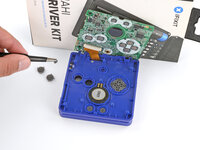
    10. Reshell Prereq, Remove the silicone pads: step 10, image 1 of 3 Reshell Prereq, Remove the silicone pads: step 10, image 2 of 3 Reshell Prereq, Remove the silicone pads: step 10, image 3 of 3
      • Use tweezers or your fingers to remove the four silicone pads covering the buttons (A and B, D‑pad, brightness, and Start/Select).

      • If any of the pads are missing, they may be stuck to their corresponding spot on the motherboard.

      Ask FixBot

      Add Comment

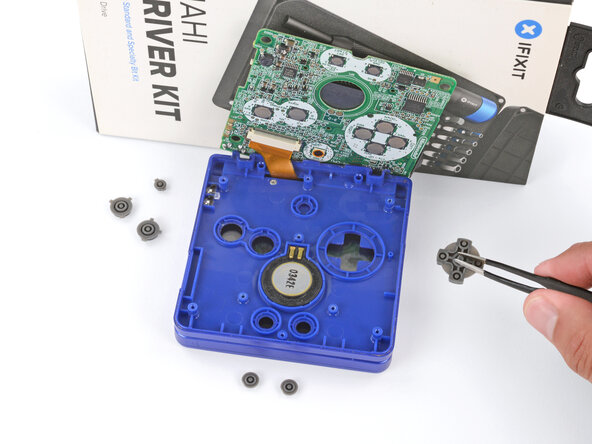
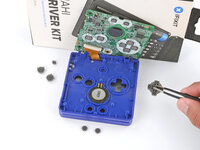
    11. Reshell Prereq, Remove the buttons: step 11, image 1 of 3 Reshell Prereq, Remove the buttons: step 11, image 2 of 3 Reshell Prereq, Remove the buttons: step 11, image 3 of 3
      • Use tweezers or your fingers to remove the buttons (A and B, D‑pad, brightness, and Start/Select).

      Ask FixBot

      Add Comment

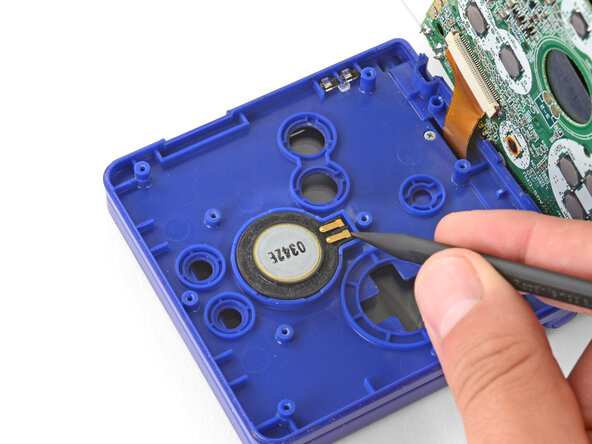
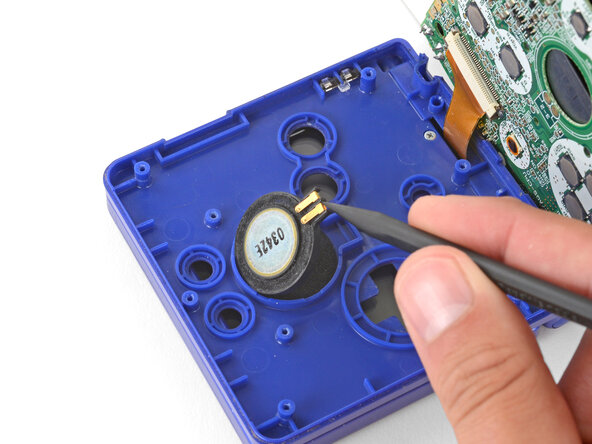
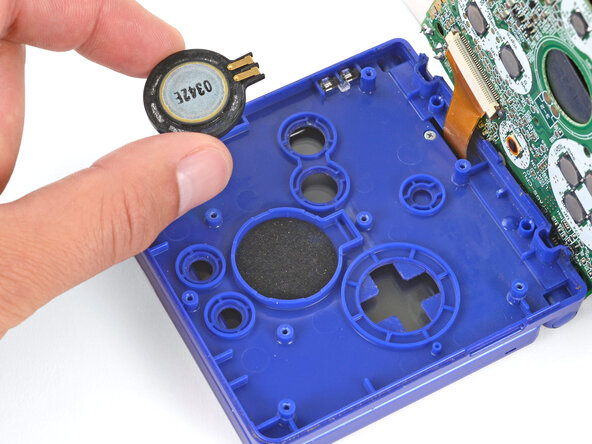
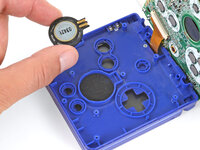
    12. Reshell Prereq, Remove the speaker: step 12, image 1 of 3 Reshell Prereq, Remove the speaker: step 12, image 2 of 3 Reshell Prereq, Remove the speaker: step 12, image 3 of 3
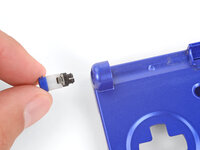
      • Use the point of a spudger or a clean fingernail to lift the speaker until you can grip it with your fingers.

      • Remove the speaker.

      Ask FixBot

      Add Comment

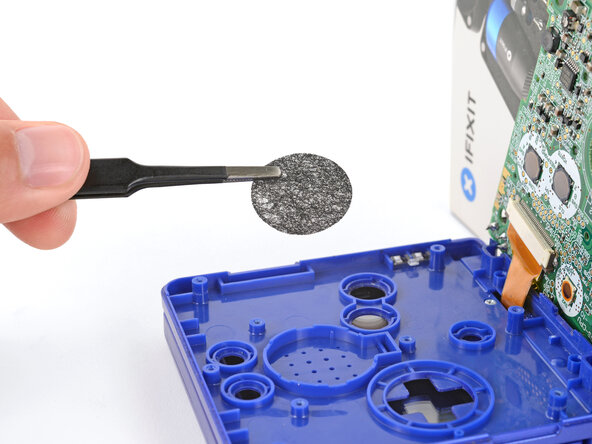
    13. Reshell Prereq: step 13, image 1 of 1
      • Remove the circular mesh from the speaker recess and set it aside—the piece can easily fall out and get lost when working.

      Ask FixBot

      Add Comment

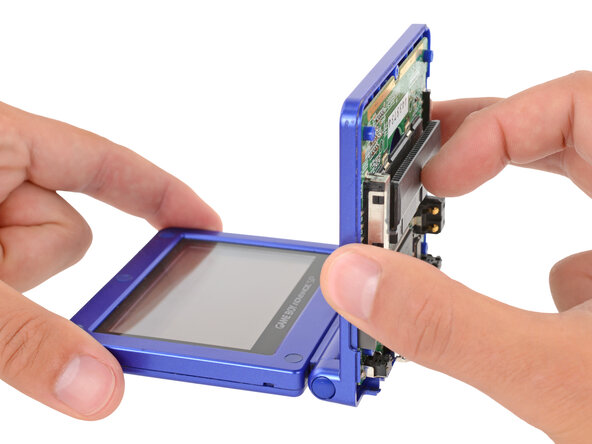
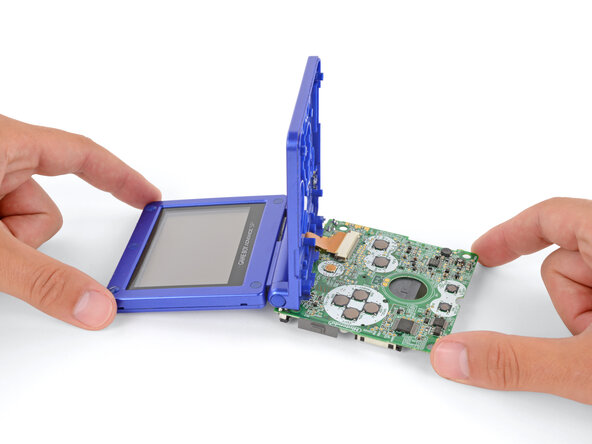
    14. Reshell Prereq, Prop up the main body: step 14, image 1 of 3 Reshell Prereq, Prop up the main body: step 14, image 2 of 3 Reshell Prereq, Prop up the main body: step 14, image 3 of 3
      • Be careful not to strain the screen cable during the next few steps—it has very little slack.

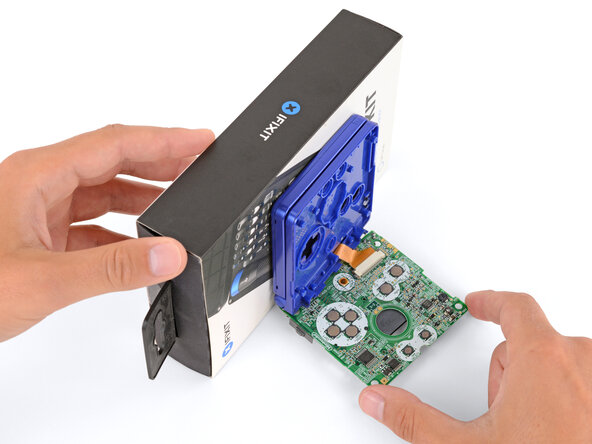
      • You need to prop up the main body of your Game Boy in order to disconnect the screen cable without straining it. Here are two ways to do so:

      • Option 1: Open the main body of your Game Boy to a 90‑degree angle and gently lay the motherboard down. Make sure the main body is resting on top of the motherboard to give the cable slack.

      • Option 2: Keep the main body closed and prop it up on the edge of the logic board, using a sturdy object to hold it up.

      Ask FixBot

      Add Comment

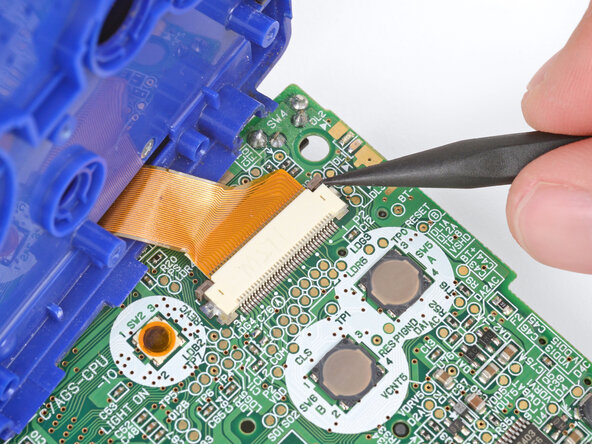
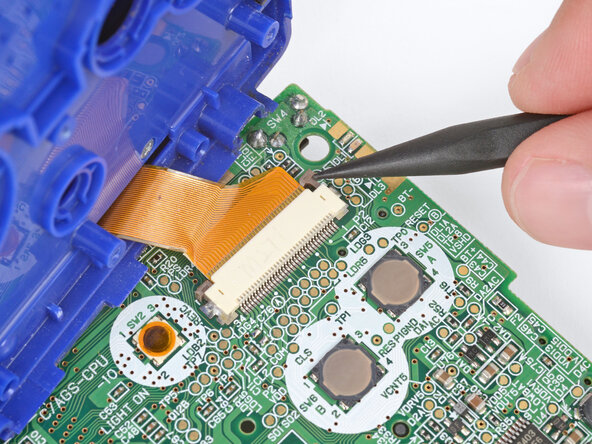
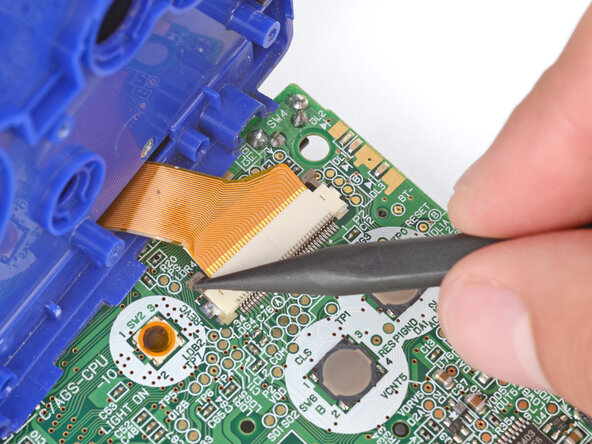
    15. Reshell Prereq, Disconnect the screen cable: step 15, image 1 of 3 Reshell Prereq, Disconnect the screen cable: step 15, image 2 of 3 Reshell Prereq, Disconnect the screen cable: step 15, image 3 of 3
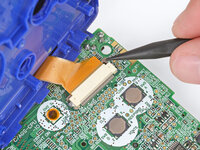
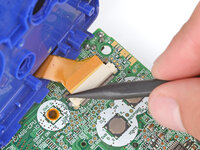
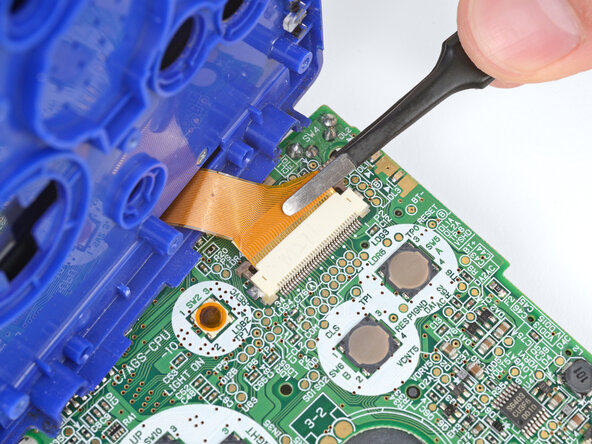
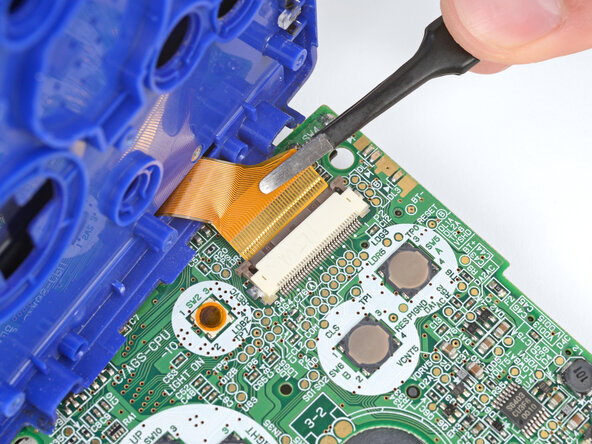
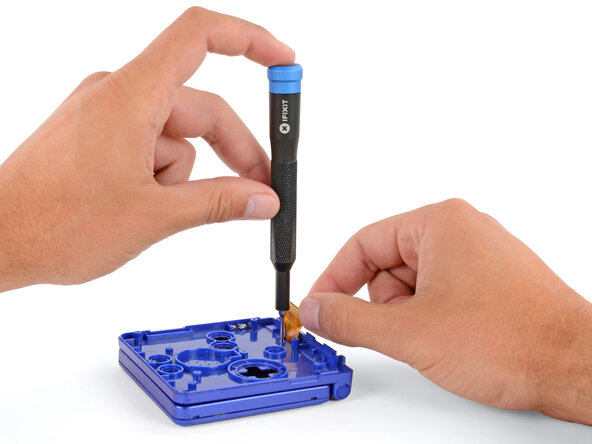
      • Use the point of a spudger to push the two tabs on either side of the screen cable connector into the unlocked position.

      • Only push the tabs until they stop. If you push them too far, you may slide the locking tab off the connector.

      Ask FixBot

      Add Comment

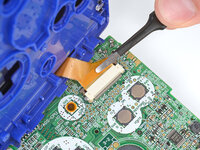
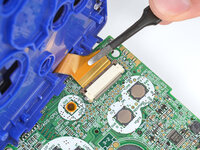
    16. Reshell Prereq: step 16, image 1 of 2 Reshell Prereq: step 16, image 2 of 2
      • Use a pair of tweezers to gently slide the screen cable out of its socket.

      Ask FixBot

      Add Comment

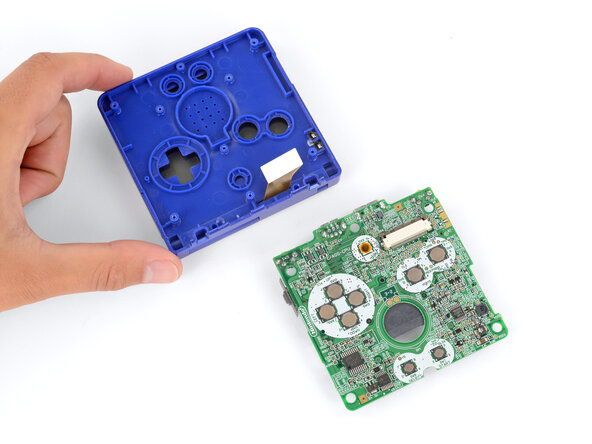
    17. Reshell Prereq, Remove the motherboard: step 17, image 1 of 1
      • Remove the main body from the motherboard.

      Ask FixBot

      Add Comment

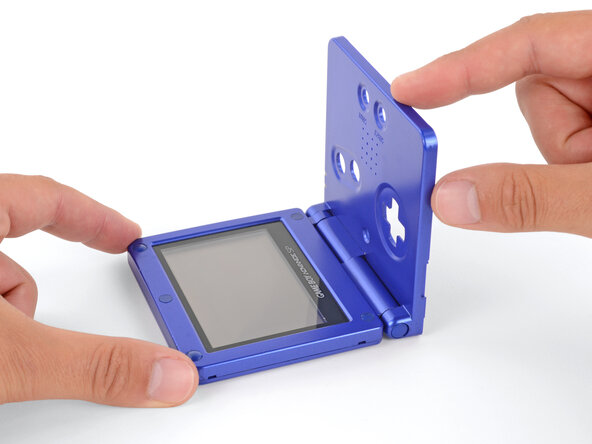
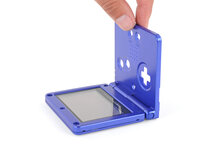
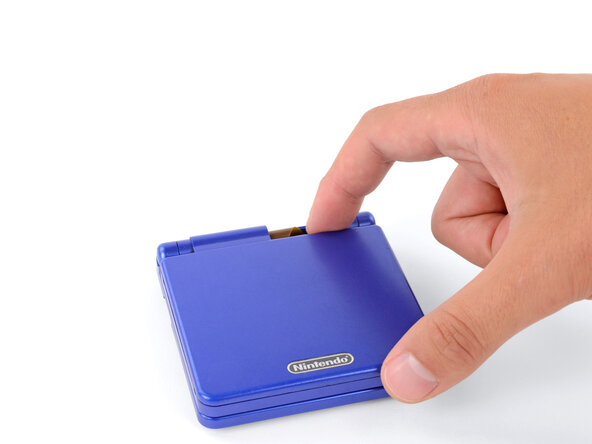
    18. Reshell Prereq, Open your Game Boy: step 18, image 1 of 1
      • Open your Game Boy to a 90‑degree angle and set it down so the screen is facing up.

      Ask FixBot

      Add Comment

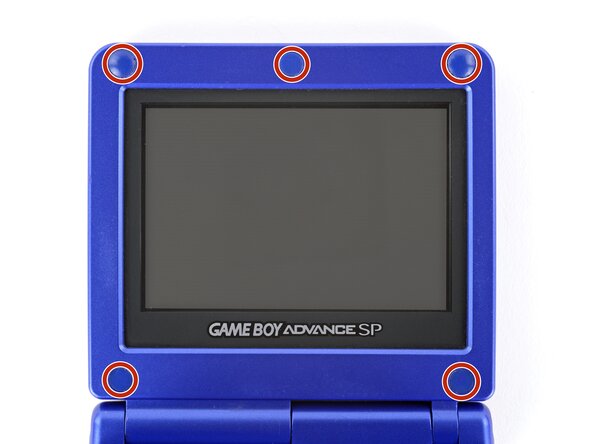
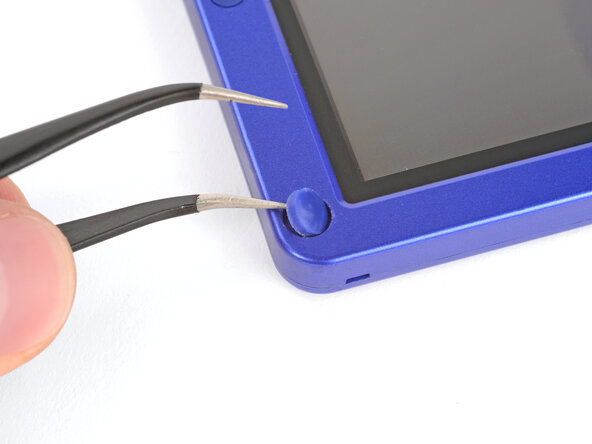
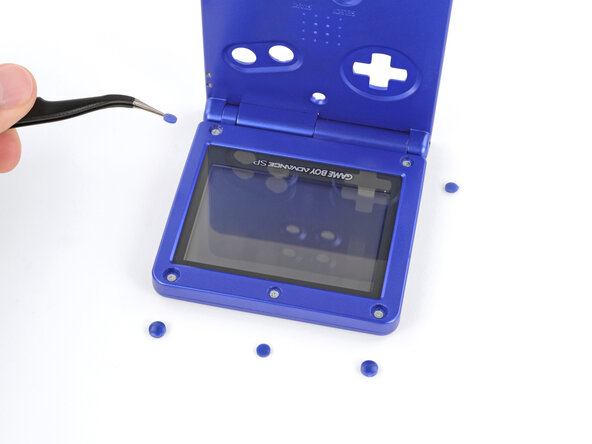
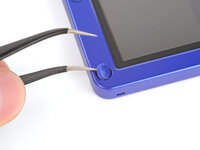
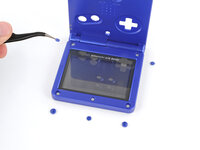
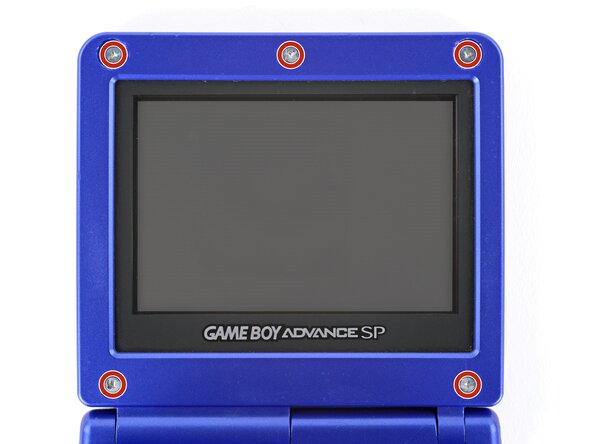
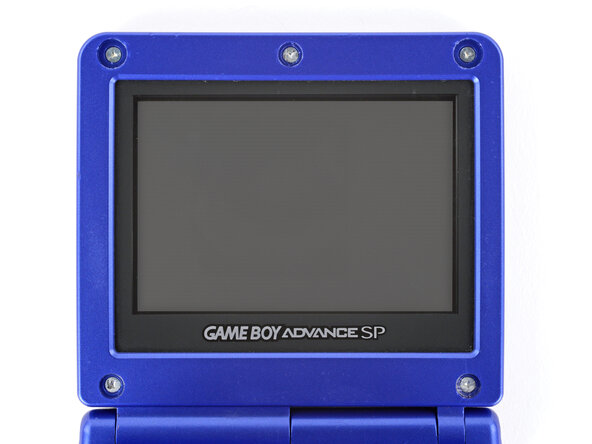
    19. Reshell Prereq, Remove the rubber screw covers: step 19, image 1 of 3 Reshell Prereq, Remove the rubber screw covers: step 19, image 2 of 3 Reshell Prereq, Remove the rubber screw covers: step 19, image 3 of 3
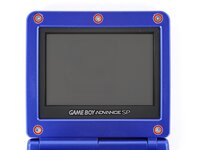
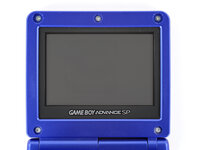
      • Use a pair of angled tweezers to pry up and remove all five rubber screw covers.

      • Removing old, brittle covers without damaging them can be tricky. Make sure to pry gently between the cover’s edge and the frame—don’t dig into the cover itself.

      Ask FixBot

      Add Comment

    20. Reshell Prereq, Remove the screen screws: step 20, image 1 of 2 Reshell Prereq, Remove the screen screws: step 20, image 2 of 2
      • Use a tri‑point Y0 screwdriver to remove the five 4.7 mm‑long screws securing screen shells together.

      Ask FixBot

      Add Comment

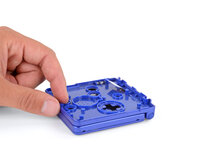
    21. Reshell Prereq, Close the main body: step 21, image 1 of 2 Reshell Prereq, Close the main body: step 21, image 2 of 2
      • Fully close your Game Boy (the button cutouts should be on top).

      Ask FixBot

      Add Comment

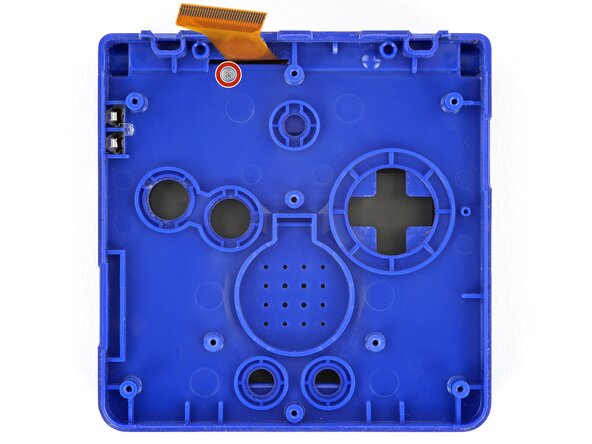
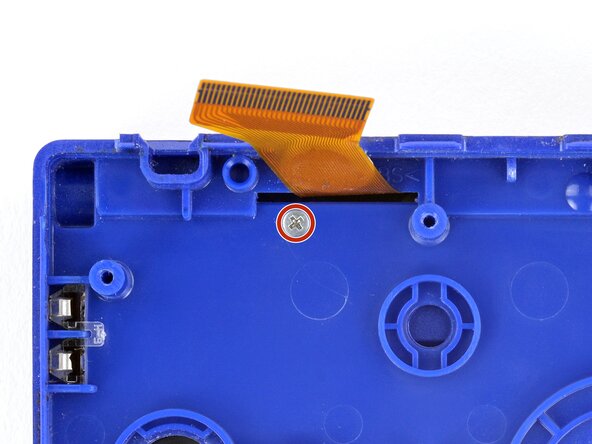
    22. Reshell Prereq, Remove the hinge cover screw: step 22, image 1 of 3 Reshell Prereq, Remove the hinge cover screw: step 22, image 2 of 3 Reshell Prereq, Remove the hinge cover screw: step 22, image 3 of 3
      • Use a JIS 00 screwdriver to remove the 6.3 mm‑long screw securing the hinge cover.

      • You may need to use your free hand to hold the screen cable out of the way.

      Ask FixBot

      Add Comment

    23. Reshell Prereq, Flip your Game Boy over: step 23, image 1 of 2 Reshell Prereq, Flip your Game Boy over: step 23, image 2 of 2
      • Flip your Game Boy over.

      Ask FixBot

      Add Comment

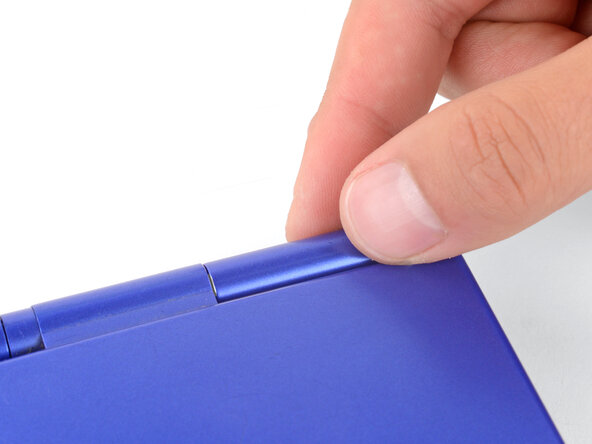
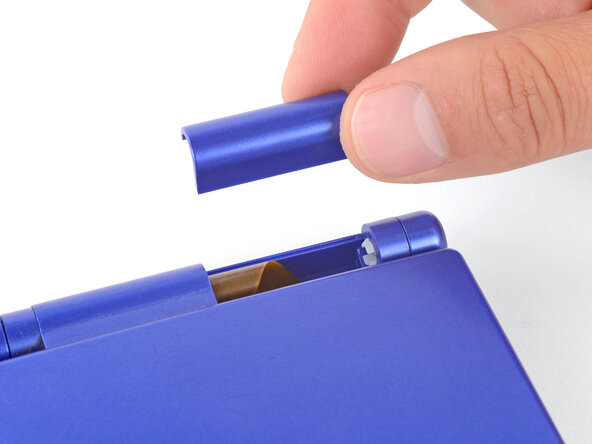
    24. Reshell Prereq, Remove the hinge cover: step 24, image 1 of 2 Reshell Prereq, Remove the hinge cover: step 24, image 2 of 2
      • Use your fingers to lift and remove the hinge cover.

      Ask FixBot

      Add Comment

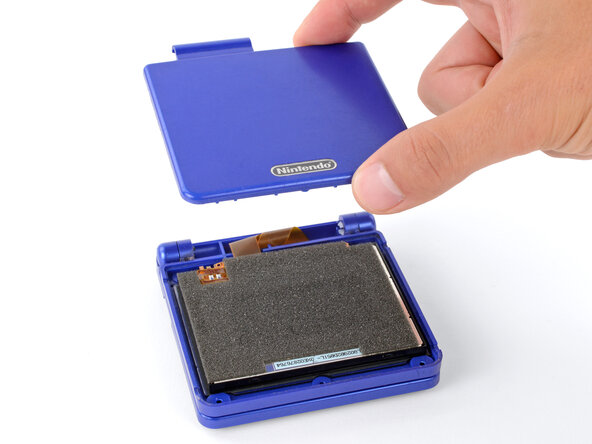
    25. Reshell Prereq, Remove the top shell: step 25, image 1 of 3 Reshell Prereq, Remove the top shell: step 25, image 2 of 3 Reshell Prereq, Remove the top shell: step 25, image 3 of 3
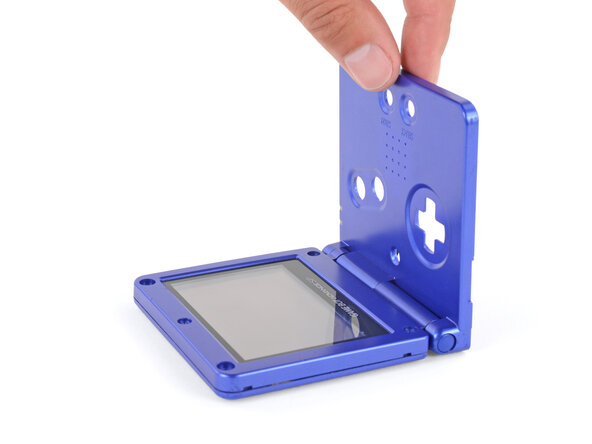
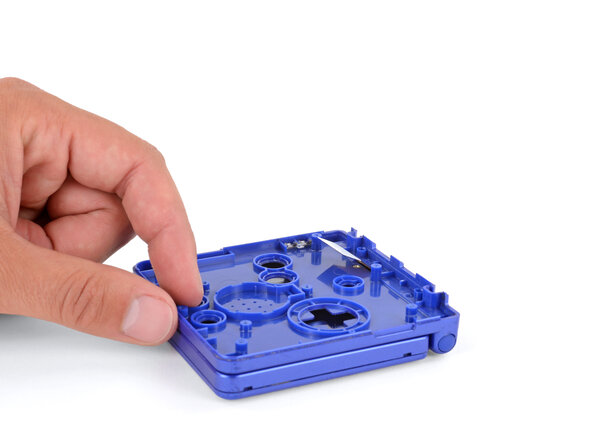
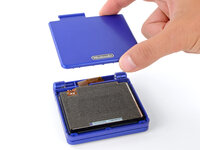
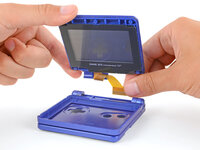
      • Depending on the age of your device, the screen may stay attached to its outer shell. If it does, make sure to thread the cable through its cutout while removing the shell.

      • Use your fingers to lift and remove the outer screen shell.

      Ask FixBot

      Add Comment

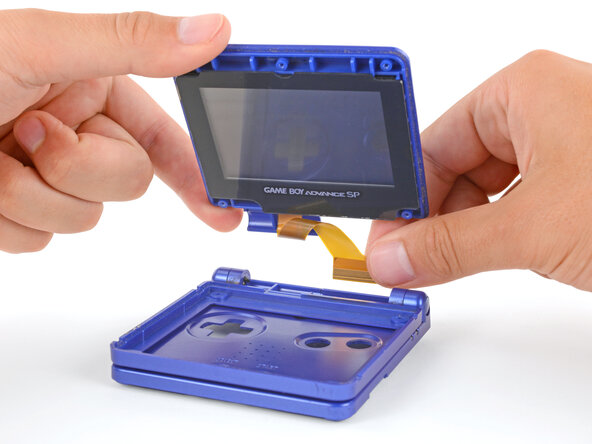
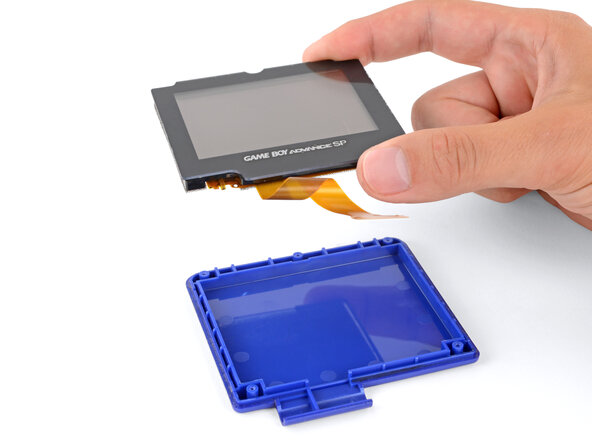
    26. Reshell Prereq, Remove the screen: step 26, image 1 of 3 Reshell Prereq, Remove the screen: step 26, image 2 of 3 Reshell Prereq, Remove the screen: step 26, image 3 of 3
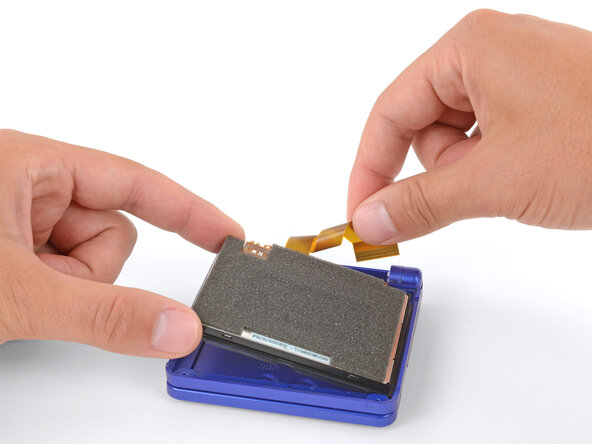
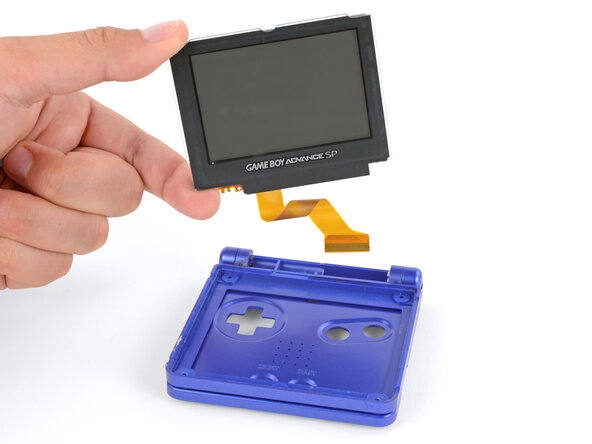
      • Use your fingers to lift and remove the screen, threading the cable through its cutout.

      • If your screen stayed attached to the shell, you may need to gently pry it up with a spudger before removing it.

      Ask FixBot

      Add Comment

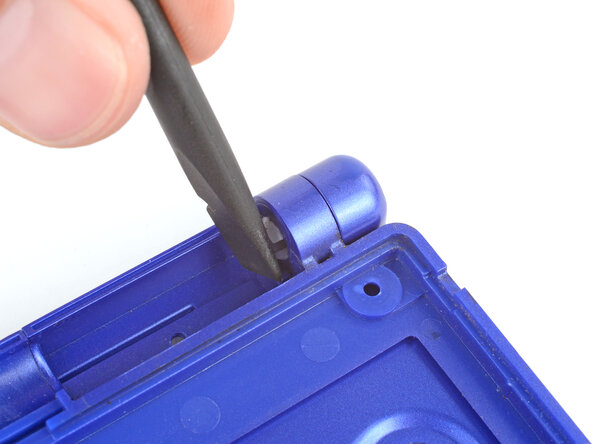
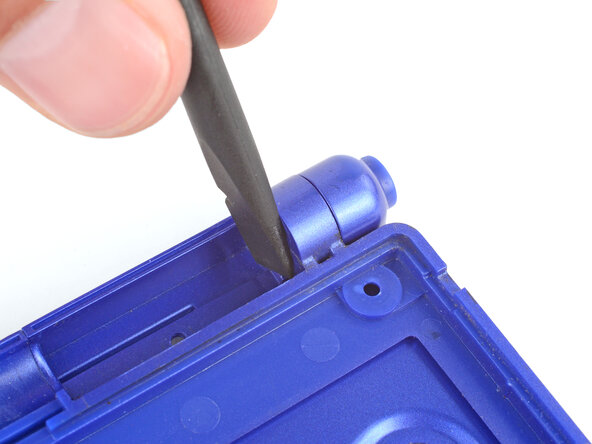
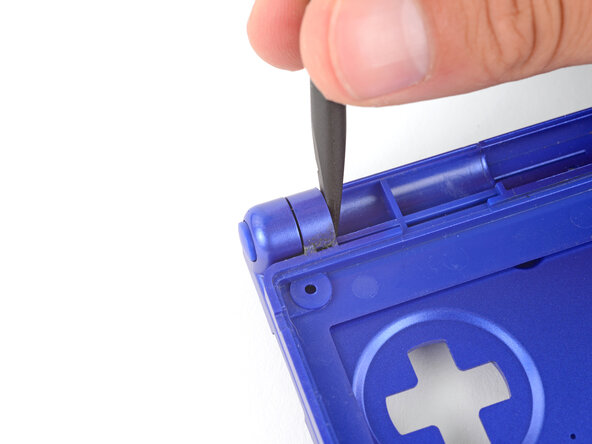
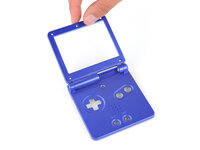
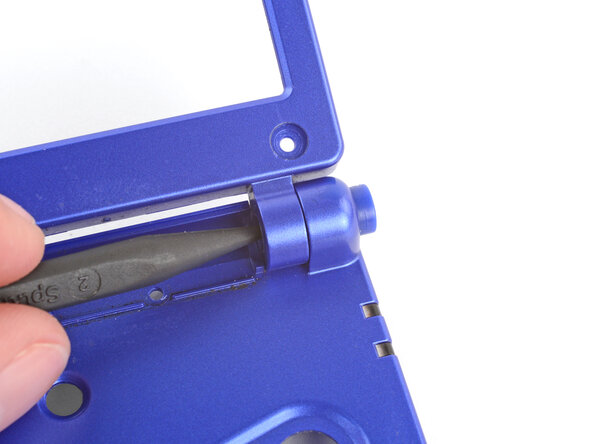
    27. Reshell Prereq, Partially separate the hinges: step 27, image 1 of 3 Reshell Prereq, Partially separate the hinges: step 27, image 2 of 3 Reshell Prereq, Partially separate the hinges: step 27, image 3 of 3
      • Don't try to force the hinges out of their sockets—you may damage the hinges, crack the shell, or injure yourself.

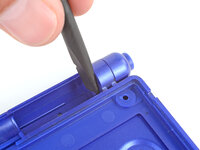
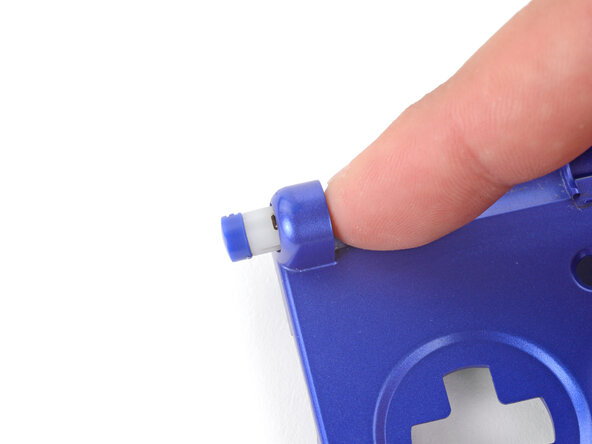
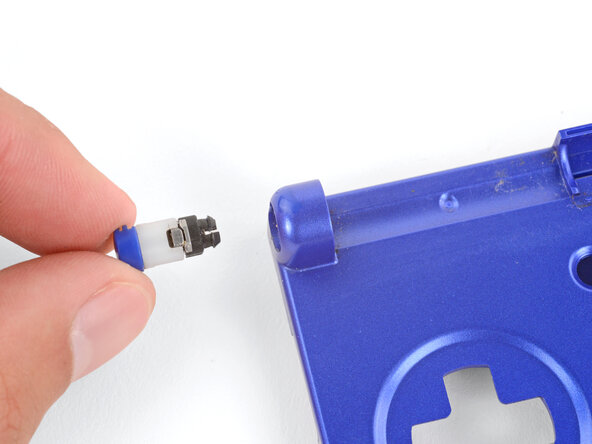
      • Use the flat end of a spudger to push both hinges partially out of their sockets.

      • You only need to push the hinges out until you feel them click into place.

      Ask FixBot

      Add Comment

    28. Reshell Prereq, Open the shell: step 28, image 1 of 2 Reshell Prereq, Open the shell: step 28, image 2 of 2
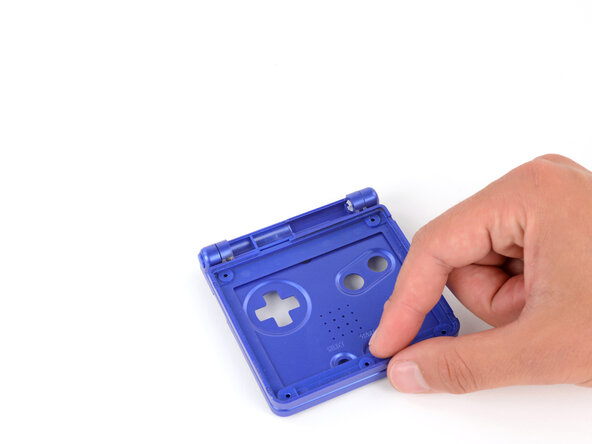
      • Full open the shell of your Game Boy.

      Ask FixBot

      Add Comment

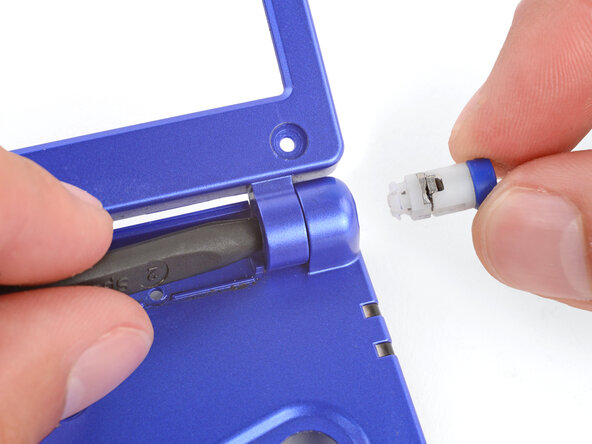
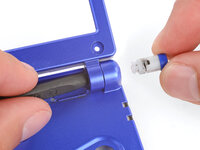
    29. Reshell Prereq, Remove the right hinge: step 29, image 1 of 2 Reshell Prereq, Remove the right hinge: step 29, image 2 of 2
      • Use the point of a spudger to push the right hinge fully out of its socket and remove it.

      Ask FixBot

      Add Comment

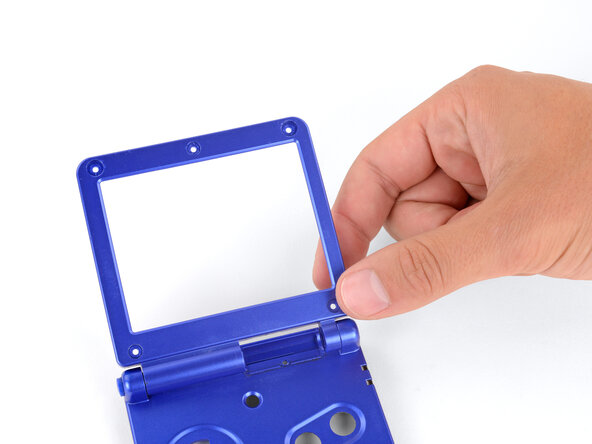
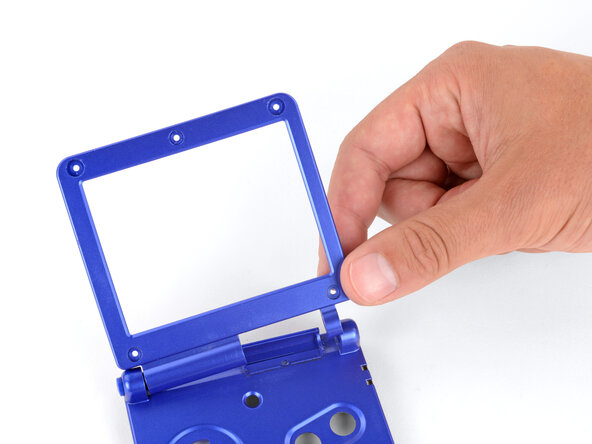
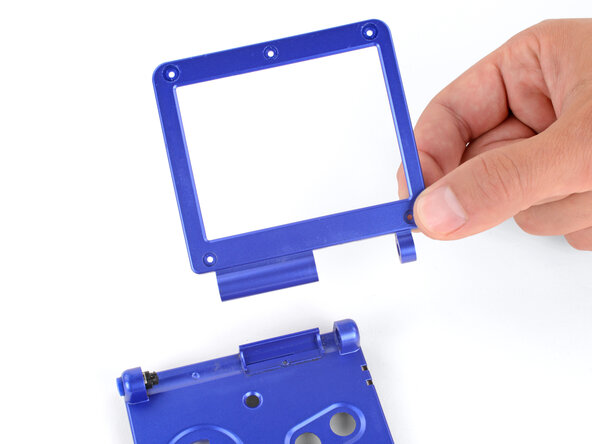
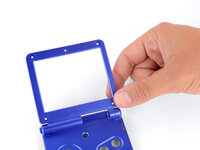
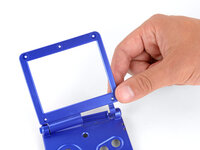
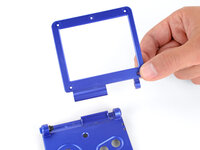
    30. Reshell Prereq, Remove the screen bezel: step 30, image 1 of 3 Reshell Prereq, Remove the screen bezel: step 30, image 2 of 3 Reshell Prereq, Remove the screen bezel: step 30, image 3 of 3
      • Use your fingers to gently lift the right side of the screen bezel.

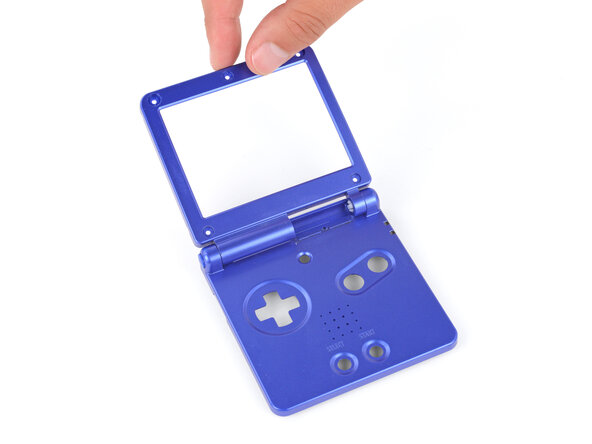
      • Pull the screen bezel to the right—so it slides out of the left hinge—and remove it.

      Ask FixBot

      Add Comment

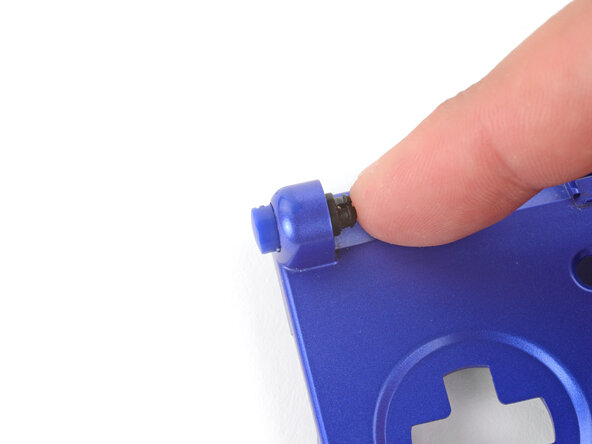
    31. Reshell Prereq, Remove the left hinge: step 31, image 1 of 3 Reshell Prereq, Remove the left hinge: step 31, image 2 of 3 Reshell Prereq, Remove the left hinge: step 31, image 3 of 3
      • Use your finger to push the left hinge out of its socket and remove it.

      Ask FixBot

      Add Comment

Finish Line

Cancel: I did not complete this guide.

Spencer Day

Member since: 09/14/22

205,788 Reputation

1,267 Guides authored

0 Guide Comments

Add Comment

View Statistics:

Past 24 Hours: 1

Past 7 Days: 4

Past 30 Days: 7

All Time: 138