ResMed AirSense 10 Wireless Communication Board Replacement

Medical Equipment
Neither iFixit nor this repair guide is endorsed by or affiliated with the medical device manufacturer.

What you need

  1. ResMed AirSense 10 Wireless Communication Board Replacement, Top Cover: step 1, image 1 of 2 ResMed AirSense 10 Wireless Communication Board Replacement, Top Cover: step 1, image 2 of 2
    • Remove the water tub by gently pulling it out.

  2. ResMed AirSense 10 Wireless Communication Board Replacement: step 2, image 1 of 3 ResMed AirSense 10 Wireless Communication Board Replacement: step 2, image 2 of 3 ResMed AirSense 10 Wireless Communication Board Replacement: step 2, image 3 of 3
    • Pry off the face plate by using your finger or an opening tool.

    • Use a moderate amount of force when prying open.

    • Remove the face plate from the top cover.

    • There will be a clicking sound on either side of the divot when assembling and disassembling.

  3. ResMed AirSense 10 Wireless Communication Board Replacement: step 3, image 1 of 2 ResMed AirSense 10 Wireless Communication Board Replacement: step 3, image 2 of 2
    • Unscrew and remove the two 11.8 mm TR10 Torx screws that were revealed from the face plate being removed.

  4. ResMed AirSense 10 Wireless Communication Board Replacement: step 4, image 1 of 2 ResMed AirSense 10 Wireless Communication Board Replacement: step 4, image 2 of 2
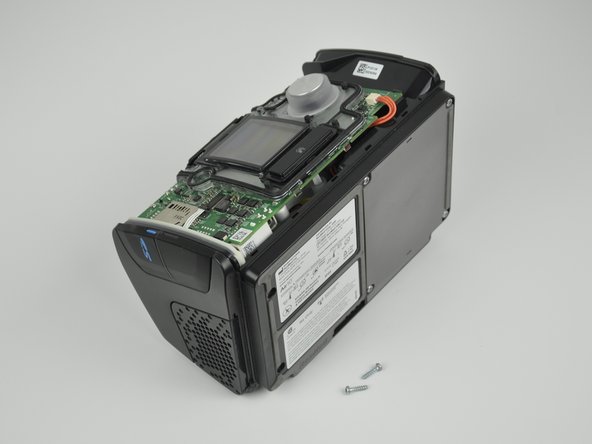
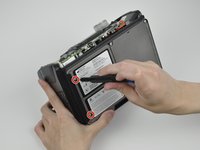
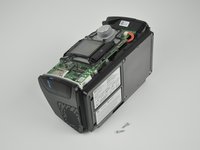
    • Unscrew and remove the two 11.8 mm TR10 Torx screws from the bottom of the device.
  5. ResMed AirSense 10 Wireless Communication Board Replacement: step 5, image 1 of 3 ResMed AirSense 10 Wireless Communication Board Replacement: step 5, image 2 of 3 ResMed AirSense 10 Wireless Communication Board Replacement: step 5, image 3 of 3
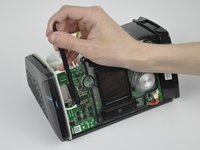
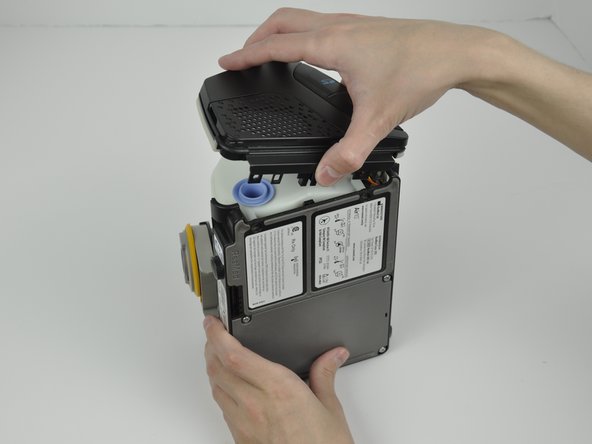
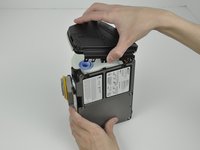
    • Remove the top cover from the rest of the device.

  6. ResMed AirSense 10 Wireless Communication Board Replacement, Wireless Communication Board: step 6, image 1 of 3 ResMed AirSense 10 Wireless Communication Board Replacement, Wireless Communication Board: step 6, image 2 of 3 ResMed AirSense 10 Wireless Communication Board Replacement, Wireless Communication Board: step 6, image 3 of 3
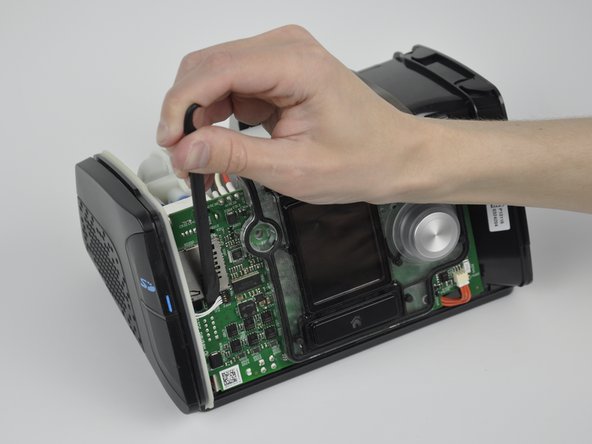
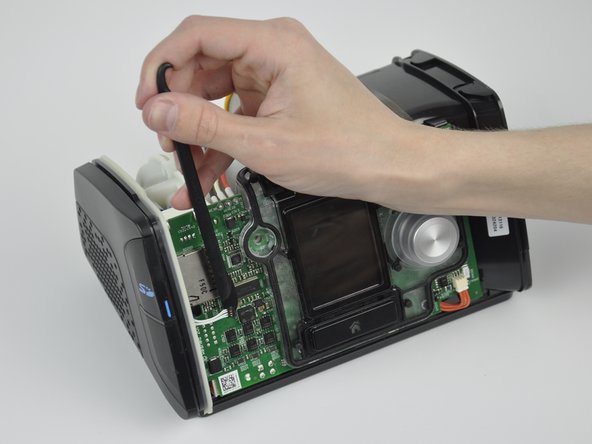
    • Place a halberd spudger behind the connector cable.

    • Use a halberd spudger to pull the connector away from the motherboard.

  7. ResMed AirSense 10 Wireless Communication Board Replacement: step 7, image 1 of 2 ResMed AirSense 10 Wireless Communication Board Replacement: step 7, image 2 of 2
    • Unscrew and remove the two 11.8 mm TR10 Torx screws from the bottom of the device.

  8. ResMed AirSense 10 Wireless Communication Board Replacement: step 8, image 1 of 2 ResMed AirSense 10 Wireless Communication Board Replacement: step 8, image 2 of 2
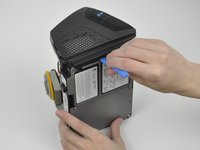
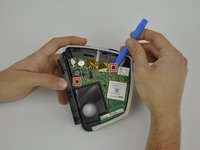
    • Insert a plastic opening tool in between the side and bottom panel.

    • Pry the side panel away from the bottom panel with the plastic opening tool.

    • Remove the side panel by pulling it away from the device.

  9. ResMed AirSense 10 Wireless Communication Board Replacement: step 9, image 1 of 2 ResMed AirSense 10 Wireless Communication Board Replacement: step 9, image 2 of 2
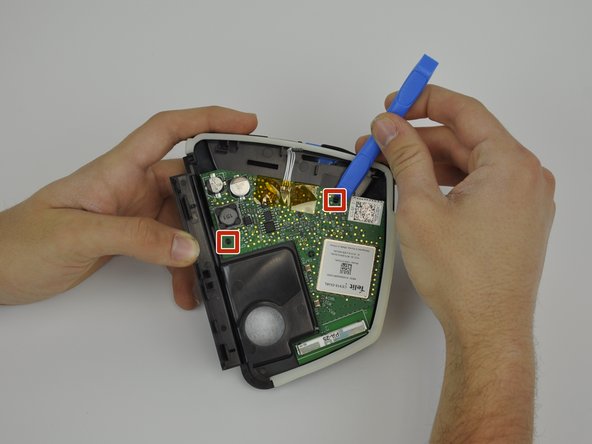
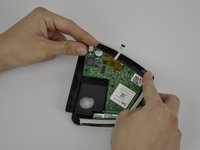
    • Push in the clips which secure the board to the side panel with the plastic opening tool.

  10. ResMed AirSense 10 Wireless Communication Board Replacement: step 10, image 1 of 2 ResMed AirSense 10 Wireless Communication Board Replacement: step 10, image 2 of 2
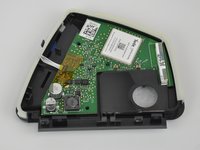
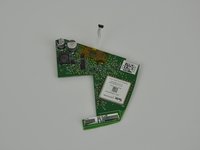
    • Remove the wireless communication board from the side panel.

Conclusion

To reassemble your device, follow these instructions in reverse order.

One Comment

I have an early ResMed Airsense 10 and my wireless comm board was 3G. Can this be updated with a replacement board?

Lynd Mccormick - Reply

Add Comment

View Statistics:

Past 24 Hours: 0

Past 7 Days: 8

Past 30 Days: 31

All Time: 1,303