
Replacing the Metal Plate Holding the Leg of an Ironing Board

What you need

  1. Replacing the Metal Plate Holding the Leg of an Ironing Board, Metal plate holding the leg of the ironing board: step 1, image 1 of 1
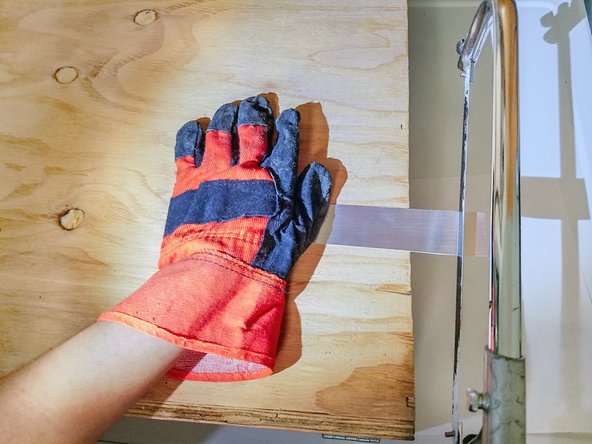
    • Place the ironing board face down on a flat, stable surface.

  2. Replacing the Metal Plate Holding the Leg of an Ironing Board: step 2, image 1 of 1
    • Unscrew and remove the broken metal plate.

  3. Replacing the Metal Plate Holding the Leg of an Ironing Board: step 3, image 1 of 1
    • Cut the metal sheet into an appropriate size.

    • Use cut proof gloves for protection

  4. Replacing the Metal Plate Holding the Leg of an Ironing Board: step 4, image 1 of 1
    • Using a 1/8" drill bit, drill four holes on each corner where the screws will be placed.

    • Use cut proof gloves for protection

  5. Replacing the Metal Plate Holding the Leg of an Ironing Board: step 5, image 1 of 1
    • On the corner of a flat edge, use a mallet to shape the metal sheet.

    • Keep your hand at a distance from the mallet to avoid hitting your fingers.

  6. Replacing the Metal Plate Holding the Leg of an Ironing Board: step 6, image 1 of 1
    • Using a screwdriver, screw on the new plate with the #10-32 x 3/8" pan-headed screws.

  7. Replacing the Metal Plate Holding the Leg of an Ironing Board: step 7, image 1 of 2 Replacing the Metal Plate Holding the Leg of an Ironing Board: step 7, image 2 of 2
    • Finish repairing the iron board!

Conclusion

To reassemble your device, follow these instructions in reverse order.

5 other people completed this guide.

Nina Youn

Member since: 10/26/18

211 Reputation

1 Guide authored

Team

UC Davis, Team S2-G1, Bender Fall 2018 Member of UC Davis, Team S2-G1, Bender Fall 2018

UCD-BENDER-F18S2G1

4 Members

1 Guide authored

0 Comments

Add Comment

View Statistics:

Past 24 Hours: 1

Past 7 Days: 13

Past 30 Days: 55

All Time: 2,887