Replacing a Sprinkler Extension

What you need

  1. Replacing a Sprinkler Extension, Sprinkler Extension: step 1, image 1 of 1
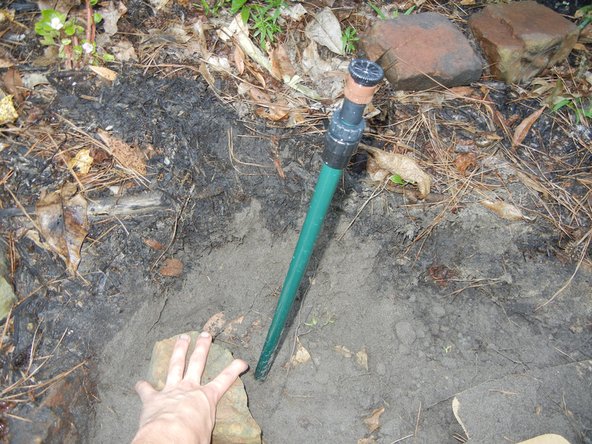
    • Dig a one foot wide hole around the broken sprinkler extension down to the pipe fitting.

    • The pipe fitting is usually about one foot underground.

  2. Replacing a Sprinkler Extension: step 2, image 1 of 1
    • Dig around the pipe fitting with a trowel to provide clear access.

  3. Replacing a Sprinkler Extension: step 3, image 1 of 1
    • Clean the area around the fitting with water until the fitting is mostly free of dirt.

  4. Replacing a Sprinkler Extension: step 4, image 1 of 2 Replacing a Sprinkler Extension: step 4, image 2 of 2
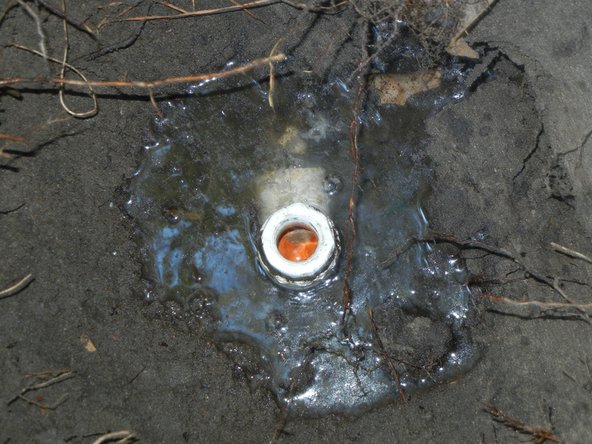
    • Unscrew the sprinkler extension from the pipe fitting.

    • Once the extension is removed, water may come out of the open pipe fitting.

  5. Replacing a Sprinkler Extension: step 5, image 1 of 1
    • Screw the new sprinkler extension in securely.

  6. Replacing a Sprinkler Extension: step 6, image 1 of 2 Replacing a Sprinkler Extension: step 6, image 2 of 2
    • Test the sprinkler to ensure that there are no leaks.

    • Refill the hole tightly.

Conclusion

If you have completed the steps successfully you should have a fully functioning sprinkler extension.

Abagayle Serreyn

Member since: 09/11/15

111 Reputation

1 Guide authored

0 Comments

Add Comment

View Statistics:

Past 24 Hours: 0

Past 7 Days: 1

Past 30 Days: 6

All Time: 790