
This teardown is in progress – Reload periodically to see the latest changes!

What you need

  1. Replacement of group head valve, Removing  Front Panel: step 1, image 1 of 3 Replacement of group head valve, Removing  Front Panel: step 1, image 2 of 3 Replacement of group head valve, Removing  Front Panel: step 1, image 3 of 3
    • Making sure you first take out the drip tray.

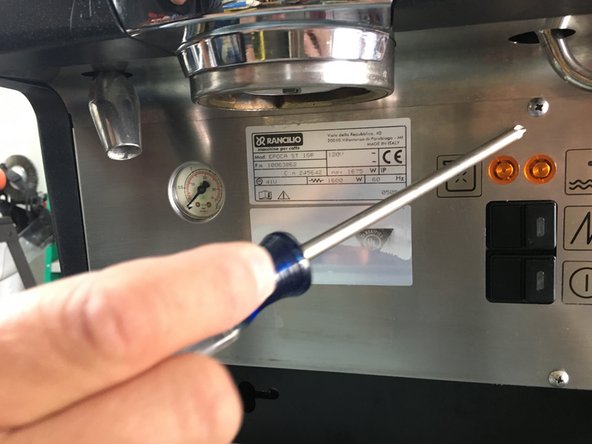
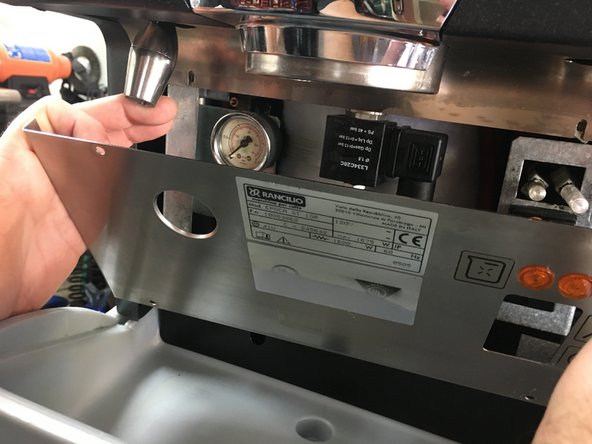
    • Start unscrewing the four screws on the panel. And take panel off ,should come off easily

  2. Replacement of group head valve, Unscrewing the breaker: step 2, image 1 of 3 Replacement of group head valve, Unscrewing the breaker: step 2, image 2 of 3 Replacement of group head valve, Unscrewing the breaker: step 2, image 3 of 3
    • Start unscrewing the Disperse Flow Plastic Spout Breaker using a 3mm Allen wrench

  3. Replacement of group head valve, Removing nut and electrical connector: step 3, image 1 of 3 Replacement of group head valve, Removing nut and electrical connector: step 3, image 2 of 3 Replacement of group head valve, Removing nut and electrical connector: step 3, image 3 of 3
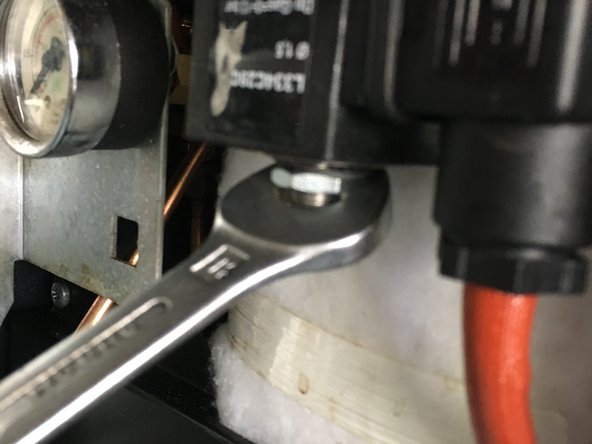
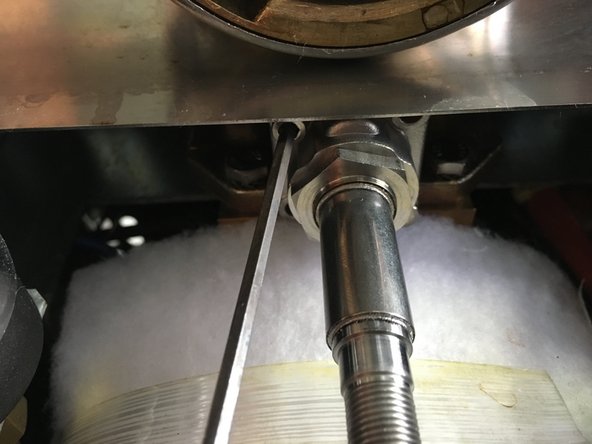
    • First you want to remove the nut at the bottom using a 14 millimeter Wrench .

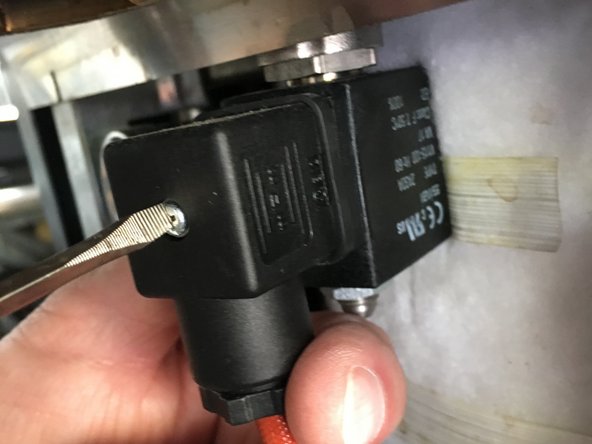
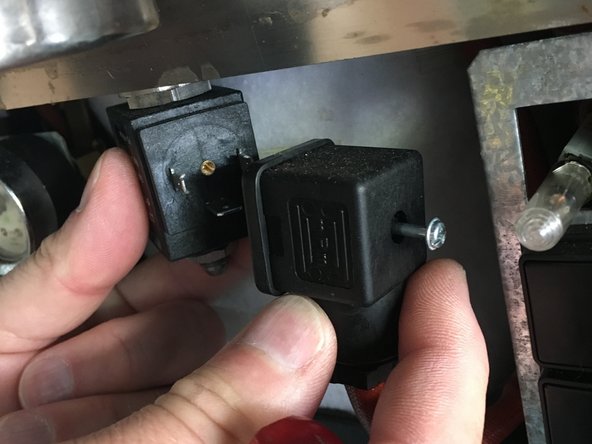
    • Then you want to take the Group solenoid turn to side and unscrew electrical connector from it and pull.

  4. Replacement of group head valve, Taking coil off  also undoing allens: step 4, image 1 of 3 Replacement of group head valve, Taking coil off  also undoing allens: step 4, image 2 of 3 Replacement of group head valve, Taking coil off  also undoing allens: step 4, image 3 of 3
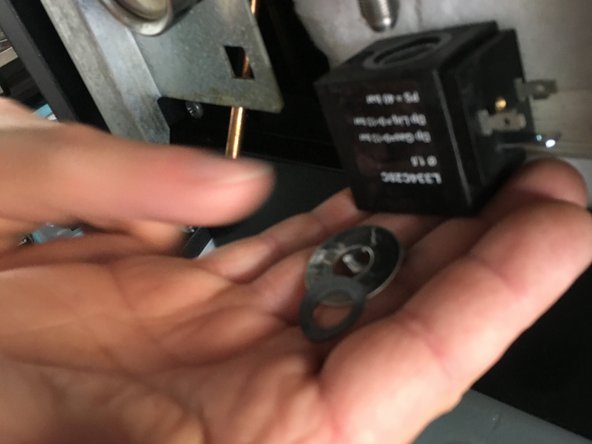
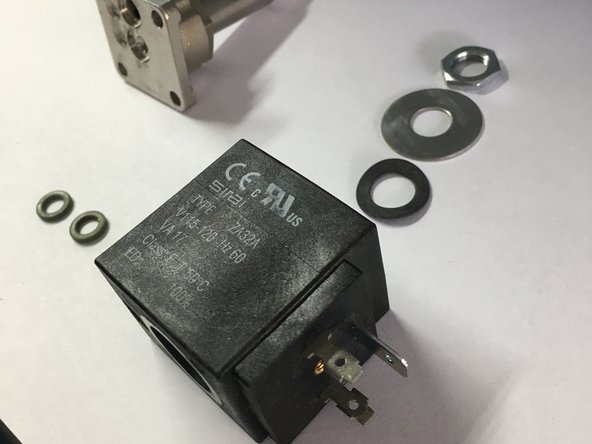
    • You want to start by simply taking off the coil along with the nuts and washers, then it allows access to take out the allens you just want to unscrew them with a 3mm Allen wrench

  5. Replacement of group head valve, Take out faulty part in machine: step 5, image 1 of 2 Replacement of group head valve, Take out faulty part in machine: step 5, image 2 of 2
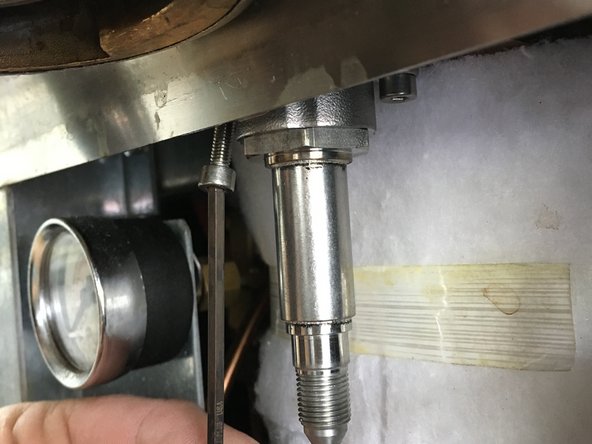
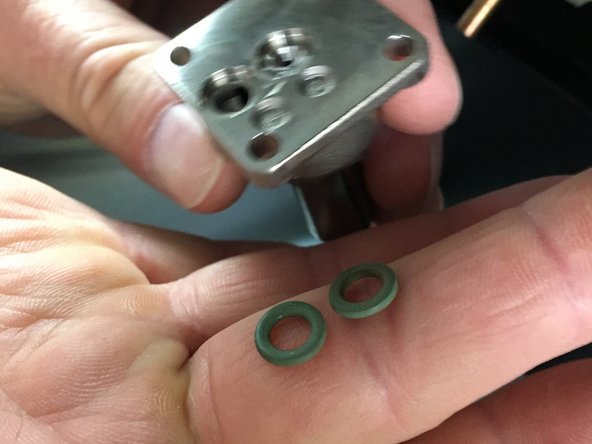
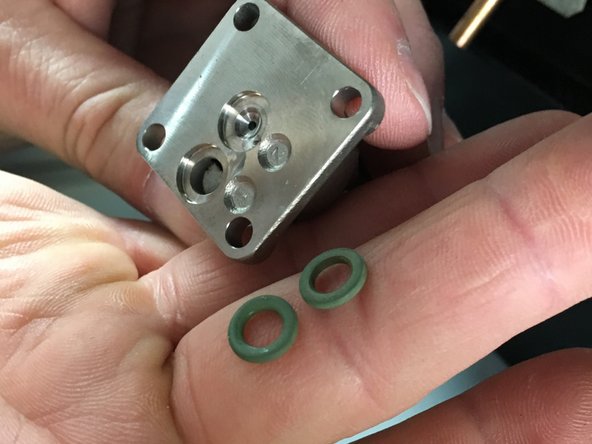
    • Finally you have reached the problem in the machine which is the solenoid

  6. Replacement of group head valve, Getting new part along with assembling: step 6, image 1 of 1
    • Now that you've found the problem it needs to be removed and replaced with a new part , once new part has come you resemble it and do all the steps in reverse .

sara olah

Member since: 11/01/16

121 Reputation

1 Guide authored

One Comment

Very cool and helpful

everythingcoffee1 - Reply

Add Comment

View Statistics:

Past 24 Hours: 0

Past 7 Days: 0

Past 30 Days: 1

All Time: 276