This translation was generated by a machine and has not been reviewed by a person yet. Speak this language? Review it.

Replace HDD hard disk

Felice Suglia and
Last updated on Oct 23, 2026
Views: 415
View statistics:
- Past 24 Hours:
- 1
- Past 7 Days:
- 3
- Past 30 Days:
- 20
- All Time:
- 415
Comments: 0
No one has left comments on this guide. Will you be first?
Go to guide commentsCompleted: 0 1
No one has marked this guide "completed." Will you be the first?
1 person has marked this guide "completed." It's you — great job!
Favorites: 0 1
No one has favorited (and subscribed to) this guide. Will you be the first?
1 person has favorited (and subscribed to) this guide — and that's you!
Archived Guide
This guide is retained solely for historical purposes. Use the updated version of the guide to perform your repair.
Community-Contributed Guide
An awesome member of our community made this guide. It was not created by iFixit staff.
Introduction
Go to step 1 ↓This guide describes the removal of the HDD hard disk on the why! W840xx in preparation for replacement. The necessary preparatory work is included as prerequisite guides.
What you need
Tools

-
-
-
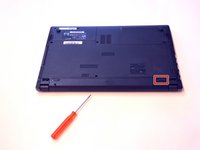
Open the latch on the right side that secures the battery in place.
-
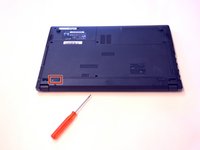
Open the latch on the left side that secures the battery in place.
-
Now remove the battery.
 Ask FixBot
-
-
-
-
-
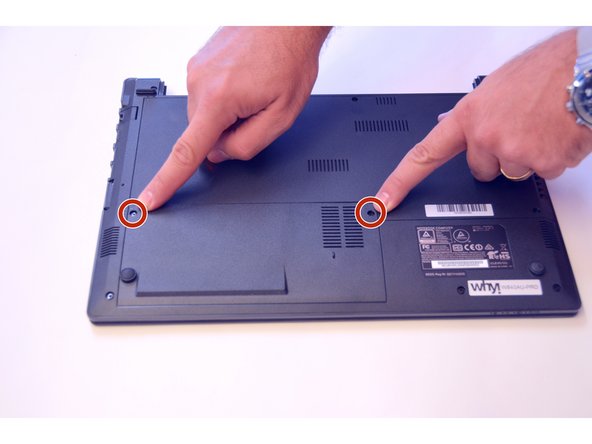
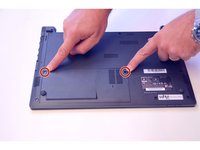
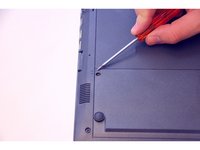
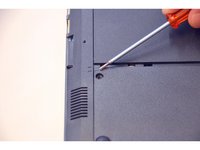
Use the Philips screwdriver to remove the two screws on the bottom cover.
-
Check the markers to determine how to remove the cover.
-
Now remove the cover as prescribed by the markers.
-
-
-
-
-
-
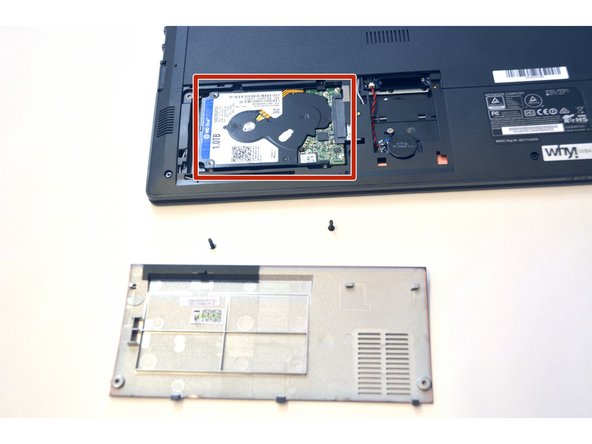
Unplug the HDD hard drive from its SATA3 connector.
-
This is what the HDD hard drive looks like
-
-







To assemble the device again, proceed in reverse order.
Special thanks to these translators:
100%

irlanda is helping us fix the world! Want to contribute?
Start translating ›