Introduction
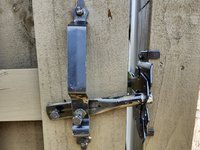
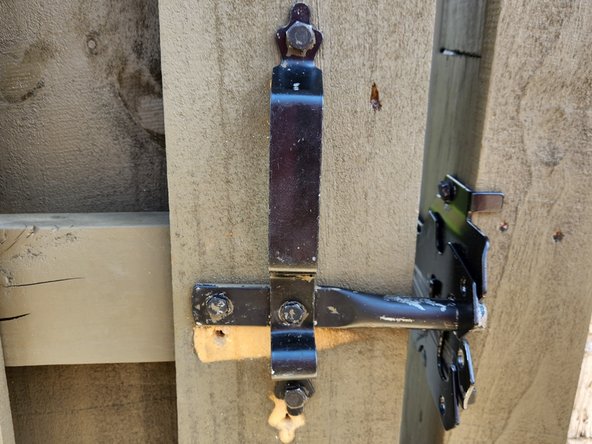
If your wooden fence gate handle and rod are not aligned with the latching mechanism, use this guide to realign these parts.
When misaligned upon original install, the rod part of the latch mechanism will slowly bend due to the impact of improper latching as the gate opens and closes. This issue will continue to worsen until these parts are properly realigned.
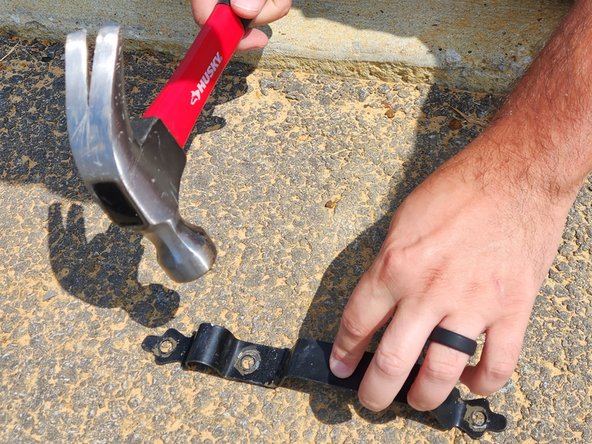
In this guide, you will disconnect the existing gate handle and rod by using a ratcheting socket wrench to loosen and remove all 13mm hexagonal bolts. If the gate handle and rod are bent, then you will use a hammer to straighten these parts before reassembly. Next, you will plan realignment placing and mark guide holes before drilling. Once guide holes are created, you will replace the gate handle and rod by inserting and tightening the bolts in the new location. These steps will allow the gate handle and rod to be properly aligned so that the gate can open and close without further damage.
Though the goal is to repair the existing parts and avoid waste, if you determine that the handle, rod, and/or latching mechanism are damaged beyond repair, then these same steps can be used for proper alignment of new parts.
What you need
-
-
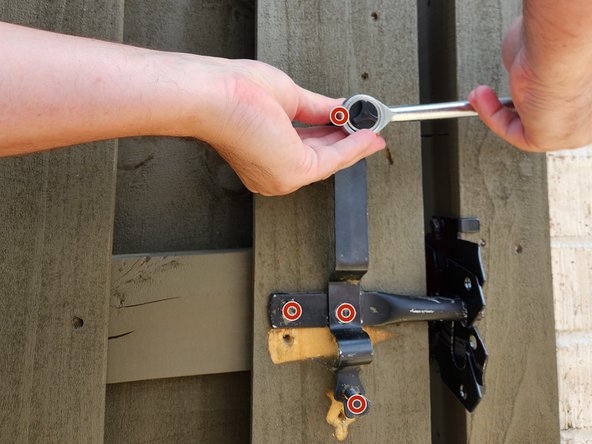
Place the ratcheting socket wrench opening on one of the 13mm hexagonal bolts, then turn counter clockwise to loosen and remove the bolt.
-
Do this step for each of the two (2) bolts holding the rod in place.
-
Once the bolts are removed, slide the rod out from behind the handle.
-
-
-
-
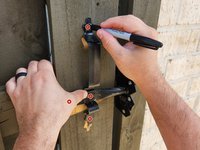
As in step 4, you will align the gate handle and rod with the latching mechanism and guide holes.
-
Place the ratcheting socket wrench opening on one of the 13mm hexagonal bolts, then turn clockwise to tighten the bolt.
-
Do this step for each of the four (4) bolts until both the gate handle and rod are securely in place.
-


Once you've completed this fix, you may want to fill the previous holes with wood filler. Allow the wood filler to dry, then paint over patched holes to match the existing fence color.
This guide on Ifixit.com may help with these extra steps: How to Repair Wood Dents with Wood Filler

Team

University of North Alabama, Team B-1, Winner Fall 2023 Member of University of North Alabama, Team B-1, Winner Fall 2023
UNA-WINNER-F23SBG1
1 Member
1 Guide authored