Introduction
If your MakerBot Smart Extruder+ isn't extruding filament well or if no filament is coming through the extruder, it is most likely clogged.
Before using this guide, try to reload the filament in the extruder. A partial clog can be fixed by reloading and pushing the filament through. This doesn't always work and disassembly is required to remove the clog.
Before beginning make sure to remove filament that is being fed into the extruder and remove the extruder from the 3D printer carriage when it is still 20° C to 50° C.
Be careful not to touch the nozzle during this guide as the nozzle will be hot.
What you need
-
-
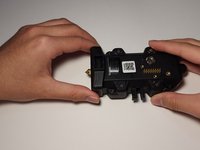
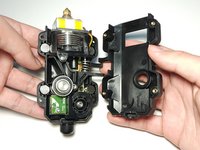
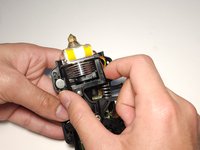
Place the extruder on a flat surface with the connection pins facing up.
 Ask FixBot
-
-
-
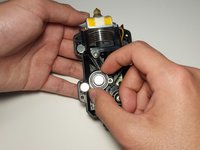
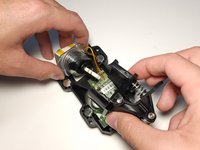
Remove the 4 screws on the outer edge of the extruder using the 2 mm hex wrench.
-
-
-
-
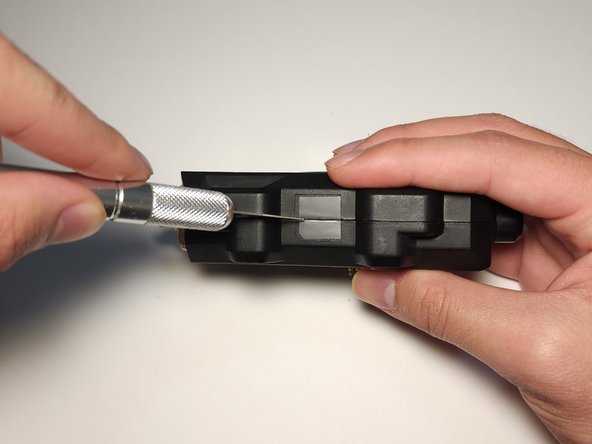
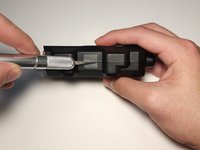
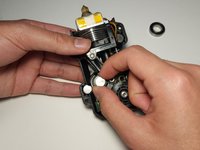
Turn the extruder on its side and cut through the black seal using the X-ACTO Knife.
-
-
-
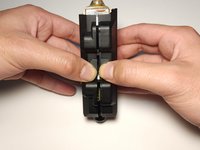
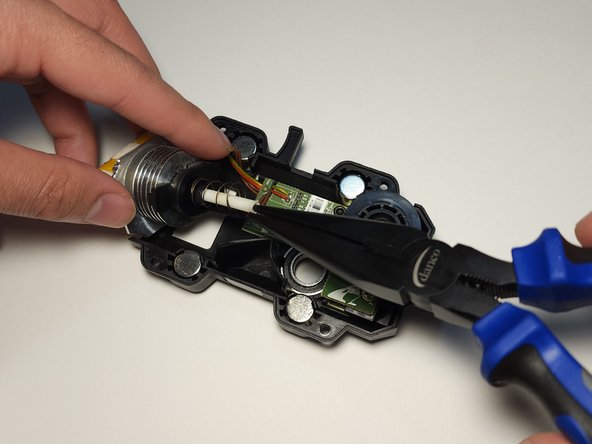
Remove the freed nozzle and use needle nose pliers to pull out the filament that is clogging the extruder.
-


To reassemble your device, follow these instructions in reverse order.
Team

UC Davis, Team 1-6, Morris Winter 2023 Member of UC Davis, Team 1-6, Morris Winter 2023
UCD-MORRIS-W23S1G6
2 Members
2 Guides authored