Introduction
Does your odometer not turn at all? Does it turn slowly (i.e. it takes longer to roll on another mile than it should)? Does it turn when cool out, but not when it's hot outside? All of these are signs that the shaft that turns the odometer has been worn smooth and is slipping.
This is by far the most common reason for odometer failure.
You will need to take out and inspect/test the odometer to confirm this is the problem before deciding to use the remainder of this guide to fix it. If you find that another problem exists, like broken teeth on one of the plastic gears, this guide will not be of use until you replace the gear and then test the odometer again to see if you also need to undertake this repair.
What you need
-
-
You'll need to begin by removing the instrument cluster from the car. You can read the removal guide for this process if you need help with this.
-
-
-
Get your cluster inside, someplace safe, and on to your work bench. Protect it with something on the bench like a towel to avoid scratching the clear plastic cover.
-
-
-
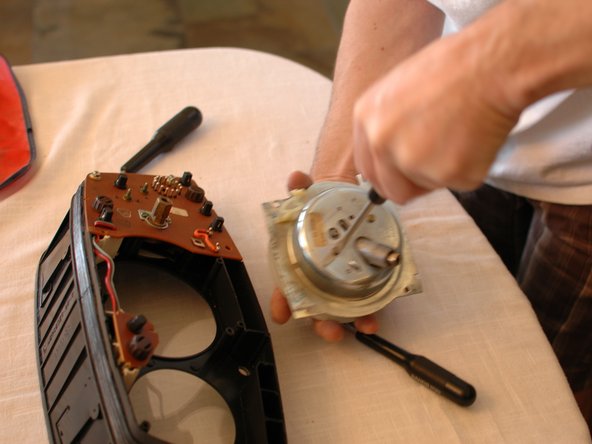
To get access to the odometer, the speedometer assembly needs to be removed.
-
First, however, the tachometer/clock assembly needs to be removed as it overlays on top of the speedometer.
-
-
-
Remove the screws holding the tachometer/clock assembly to the back of the cluster. There are three shown here; a fourth is obscured behind the fixer's hand. You will also need to remove the rheostat that dims the instrument lights.
-
-
-
You will now be able to carefully lift the tachometer/clock assembly out of the cluster. Set it aside someplace safe. Do not set it face down, on the needles.
-
-
-
-
You can now lift the speedometer assembly out, carefully. Note that there are wires that cross behind the gauge face; you will need to clear these wires to remove the gauge.
-
-
-
Now, remove the single screw that holds the black plug on the back of the speedometer assembly. With the screw removed the plug pulls out of a slot.
-
-
-
Now you can remove the two flat head screws that hold the metal back on the speedometer assembly.
-
-
-
Removing the metal cover will expose the odometer. Inspect the various plastic gears for broken parts. If you find any, they will need to be fixed before continuing.
-
-
-
If all of your odometer gears check out, you can then test the odometer operation to see where the problem lies.
-
To do this you should place a power drill, with an appropriately sized square drill bit, in to the speedometer cable opening and run the drill. Observe the speedometer and odometer function while you do this.
-
-
-
View this video to see the test in action. Note this video was recorded after this odometer was fixed via the steps in this guide.
-
If all of the gears on your odometer turn, and the speedometer also moves, but the numbers on your odometer do not turn this is the guide for you! Continue reading.
-
-
-
This brass gear is the item we are interested in. It is attached to a shaft that is responsible for turning the main odometer gear.
-
This grey gear is the main odometer gear that turns the small plastic gears along the top of the odometer numbers.
-
This is the other end of the shaft the brass gear is attached to. It is held in place by a tight fitting brass ring.
-
-
-
Now support the speedometer gauge face and the rest of the assembly on something soft that will protect it. Some foam was used in this case.
-
Then, using a hammer and small punch, tap out the shaft shown in the last step from the side with the small brass ring.
-
-
-
As soon as the metal shaft with the brass gear becomes loose, chase it out with an appropriately sized drill bit. Go slowly to make sure you don't leave too much space between the shaft and the bit or else one of the numbers might fall out of alignment.
-
-
-
Inspect the shaft. As you can see here, the area just inside of the brass gear is very shiny compared to the rest of the shaft. It has been worn smooth by years of friction. This is what slips underneath the grey gear, leading to the odometer not turning.
-
-
-
You will now want to score the shaft using a utility knife, or other sharp object. The tip of a sharp screw driver can work. Or you can rough it up with thick sandpaper. In any case, the idea is to create a surface that is rough enough to restore friction between the shaft and the grey gear.
-
It isn't easy to take a picture of, but the shaft has been scored in a cross-hatch pattern.
-
You can now re-insert the shaft, chasing the drill bit back out, ensuring that the numbers remain in sync. Once the shaft is all the way back in, you can then use a small punch and a hammer to tap the brass retaining ring back on the end of the shaft. If needed, support the brass gear with a small piece of hard wood.
-


Team
