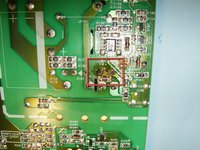
Repairing LG 17LX1R LCD Television Power board

What you need

  1. Repairing LG 17LX1R LCD Television Power board, Repairing LG 17LX1R LCD Television Power board: step 1, image 1 of 3 Repairing LG 17LX1R LCD Television Power board, Repairing LG 17LX1R LCD Television Power board: step 1, image 2 of 3 Repairing LG 17LX1R LCD Television Power board, Repairing LG 17LX1R LCD Television Power board: step 1, image 3 of 3
    • This is the LG 17LX1R that will no longer turn on.

    • Remove the cover from the stand by.

    • Press down on the two tabs. The cover should come off easily.

    • Remove the four screws that hold the stand assembly to the chassis.

  2. Repairing LG 17LX1R LCD Television Power board: step 2, image 1 of 3 Repairing LG 17LX1R LCD Television Power board: step 2, image 2 of 3 Repairing LG 17LX1R LCD Television Power board: step 2, image 3 of 3
    • Remove the four Phillips head screws that attach the stand to the chassis.

    • Remove the eight Phillips screws that hold the back to the chassis. Once the screws are removed, the back will simply snap off.

    • Remove the metal shield. It is fastened with six Phillips screws.

  3. Repairing LG 17LX1R LCD Television Power board: step 3, image 1 of 3 Repairing LG 17LX1R LCD Television Power board: step 3, image 2 of 3 Repairing LG 17LX1R LCD Television Power board: step 3, image 3 of 3
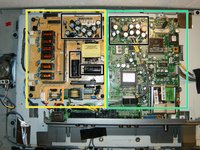
    • After the shield is removed, the power board and the main board are visible.

    • Power Board

    • Main Board

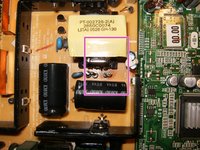
    • Fuse

    • Check all capacitors for blown tops and/or leakage.

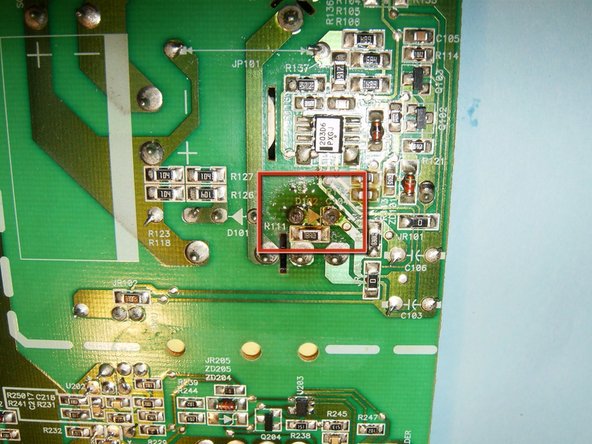
    • Thoroughly inspect the boards. Brown discoloration around Diode D102 is evidence of a short circuit, possibly a blown component.

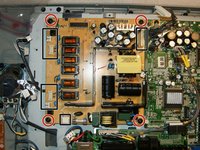
    • Disconnect all connectors from the power board

    • Remove the four screws that mount the power board to the chassis.

  4. Repairing LG 17LX1R LCD Television Power board: step 4, image 1 of 3 Repairing LG 17LX1R LCD Television Power board: step 4, image 2 of 3 Repairing LG 17LX1R LCD Television Power board: step 4, image 3 of 3
    • These are the chassis with the power board removed.

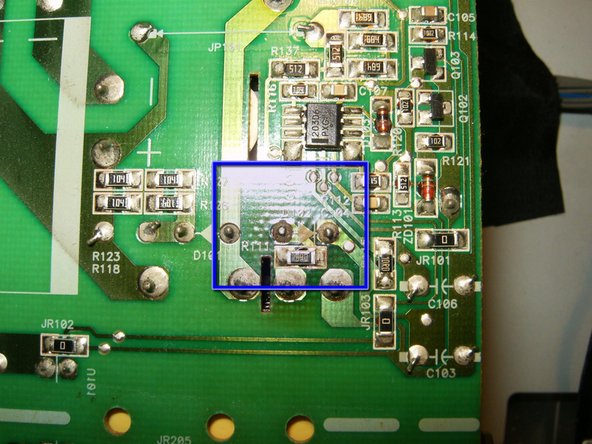
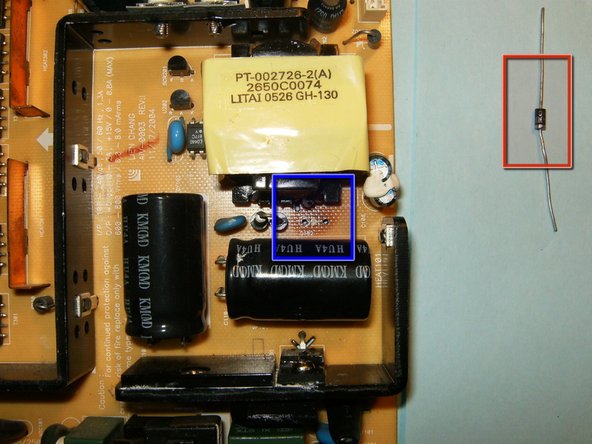
    • Discoloration of the back side of the power board is a sign of a faulty diode.

    • Unsolder the diode from the power board.

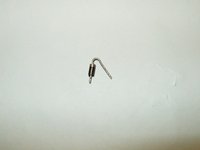
    • Replacement diode

  5. Repairing LG 17LX1R LCD Television Power board: step 5, image 1 of 3 Repairing LG 17LX1R LCD Television Power board: step 5, image 2 of 3 Repairing LG 17LX1R LCD Television Power board: step 5, image 3 of 3
    • Here is the removed diode. Description on the diode reads LT526 IN4007.

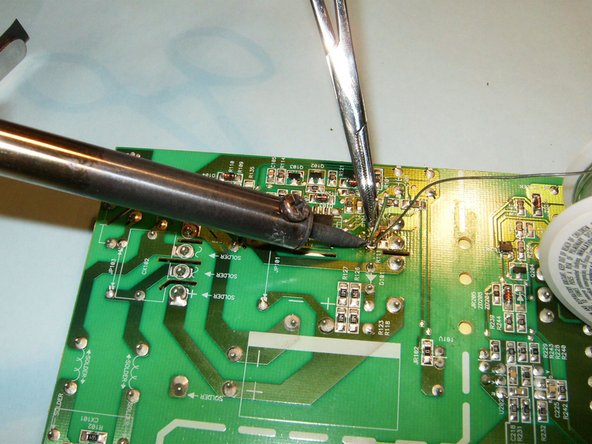
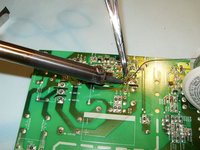
    • Solder the new diode onto the power board. Use a pair of tweezers or hemostat to hold the diode in place while soldering.

    • Once the diode is replaced, clean the board with isopropyl alcohol to get rid of any debris or old flux.

  6. Repairing LG 17LX1R LCD Television Power board: step 6, image 1 of 1
    • Device powers on and has audio and video after the repair.

Conclusion

To reassemble your device, follow these instructions in reverse order.

37 other people completed this guide.

oldturkey03

Member since: 09/29/10

782,246 Reputation

119 Guides authored

Team

Global Fixers Member of Global Fixers

Community

33 Members

537 Guides authored

3 Comments

Very nice good job

Bhullana - Reply

good job my frend

youcef - Reply

great idea thats perfect

Joseph Mwangome - Reply

Add Comment

View Statistics:

Past 24 Hours: 3

Past 7 Days: 9

Past 30 Days: 34

All Time: 10,983