Introduction
Welcome to the DC320 Repair Guide, your comprehensive resource for restoring power and performance to your electronic device. Whether you're a seasoned technician or a DIY enthusiast, this guide will walk you through the steps to address common issues and revitalize your DC320.
What you need
-
-
Pry off the four white feet with the pointed end of the spudger
 Ask FixBot
-
-
-
Gently unscrew the four 15.5 mm Phillips #2 screws that hold the bottom panel to the dock.
-
-
-
-
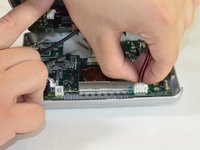
Use the flat end of the spudger to pry the lid off from the two connectors holding it to the body of the dock.
-
-
-
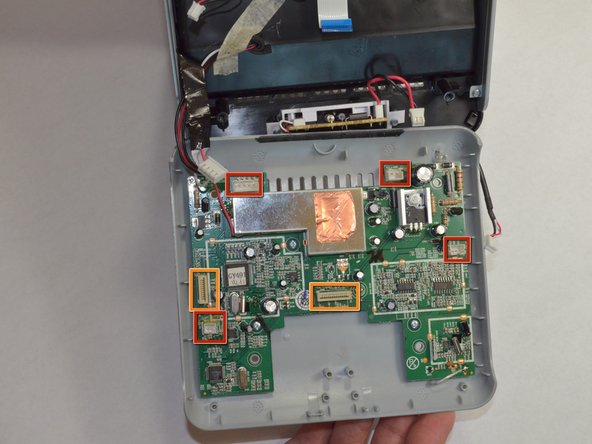
Carefully pull up and out the four electrical connectors and two ribbon connectors that connect the bottom panel to the dock.
-
Electrical Connectors
-
Ribbon Connectors
-


To reassemble your device, follow these instructions in reverse order.
Cancel: I did not complete this guide.
2 other people completed this guide.
Team

Cal Poly, Team 3-48, Amido Spring 2013 Member of Cal Poly, Team 3-48, Amido Spring 2013
CPSU-AMIDO-S13S3G48
4 Members
7 Guides authored