Introduction
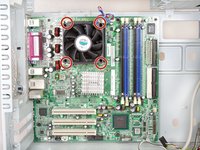
This guide will show you how to remove the CPU Cooler on your HP Compaq dx2000MT. If your CPU Cooler becomes damaged or stops working than you would need to replace it or if you need to remove the CPU Cooler to get to another part of the computer.
What you need
-
-
Turn off your computer and remove the power cable by pulling it straight out of its socket.
 Ask FixBot
-
-
-
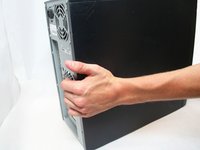
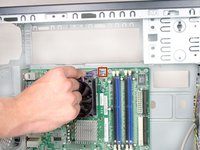
Remove the side case door by pushing towards the rear of the device with your hand.
-
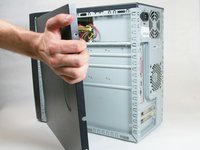
Once you slide the door back, remove it by pulling it outwards from the device.
-
-
-
-
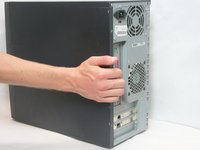
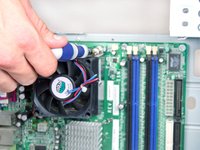
Remove the side case door by pushing towards the rear of the device with your hand.
-
Once you slide the door back, remove it by pulling it outwards from the device.
-
-
-
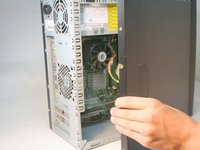
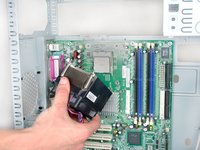
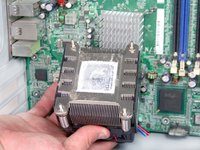
Remove the 3 pin power connector by pulling it towards the side of the device.
-


To reassemble your device, follow these instructions in reverse order.
Cancel: I did not complete this guide.
2 other people completed this guide.
Team

Cal Poly, Team 17-16, Regan Fall 2011 Member of Cal Poly, Team 17-16, Regan Fall 2011
CPSU-REGAN-F11S17G16
4 Members
17 Guides authored