Shop the Holiday Gift Guide
Free Shipping on Domestic Orders $75+

Remove iPhone 6 Plus LCD screen

Views: 3.1K

View statistics:

Past 24 Hours:
1
Past 7 Days:
1
Past 30 Days:
2
All Time:
3,070
Comments: 2

2 guide comments.

Go to guide comments
Completed: 7

7 people have marked this guide "completed." Will you be next?

Favorites: 5

5 people have favorited (and subscribed to) this guide. Will you be next?

Time Required: No estimate
Difficulty: Easy
Archived Guide

This guide is retained solely for historical purposes. Use the updated version of the guide to perform your repair.

Community-Contributed Guide

An awesome member of our community made this guide. It was not created by iFixit staff.

Remove  iPhone 6 Plus LCD screen

Introduction

Go to step 1 ↓

For the official iFixit guide to replace your 6s Plus screen, click here.The guide you are viewing is retained solely for historical purposes.

What you need

Tools

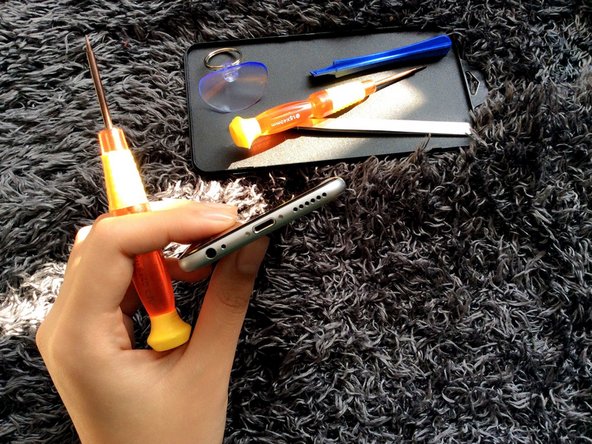
    1. Remove  iPhone 6 Plus LCD screen, Prepare the maintenance tools: step 1, image 1 of 1
      • Prepare the tools to be used for maintenance

      Ask FixBot

      Add Comment

    2. Remove  iPhone 6 Plus LCD screen, Shut down and remove the bottom screw: step 2, image 1 of 1
      • Shut down the phone and remove the bottom screw

      Ask FixBot

      Add Comment

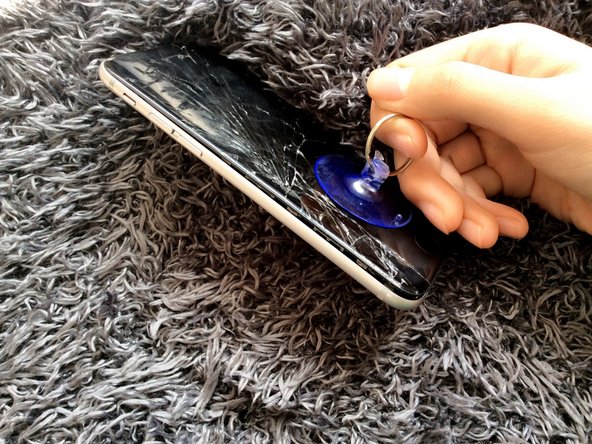
    3. Remove  iPhone 6 Plus LCD screen, Suck up the LCD screen: step 3, image 1 of 1
      • With the suction cup to suck up the LCD screen

      Ask FixBot

      Add Comment

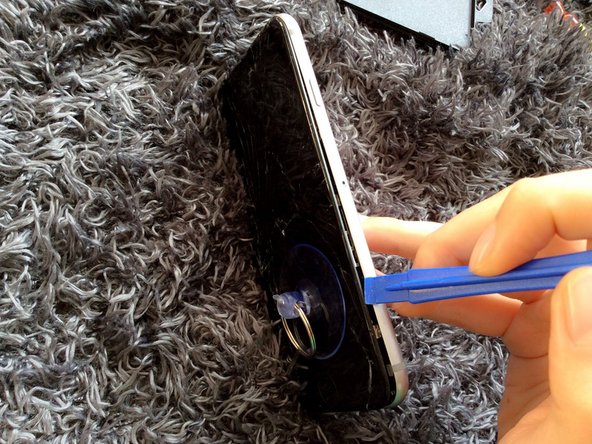
    4. Remove  iPhone 6 Plus LCD screen, Alice stick with the screen out of the three sides: step 4, image 1 of 2 Remove  iPhone 6 Plus LCD screen, Alice stick with the screen out of the three sides: step 4, image 2 of 2
      • Alice stick with the screen out of the three sides,gently pull down the screen ,and then you can open the screen.

      Ask FixBot

      Add Comment

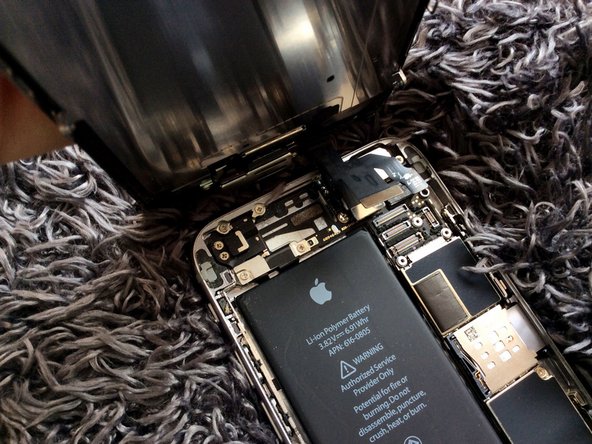
    5. Remove  iPhone 6 Plus LCD screen, Remove the five screws shown in the circle: step 5, image 1 of 1
      • To maintain the 90-degree position, remove the five screws shown in the circle, be sure to place in accordance with the original location.

      Ask FixBot

      Add Comment

    6. Remove  iPhone 6 Plus LCD screen, Unplug the four cable, separate  screen: step 6, image 1 of 2 Remove  iPhone 6 Plus LCD screen, Unplug the four cable, separate  screen: step 6, image 2 of 2
      • Unplug the four cable, separate screen

      Ask FixBot

      Add Comment

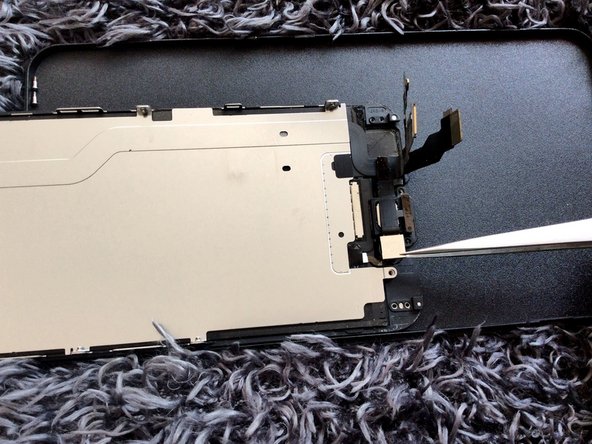
    7. Remove  iPhone 6 Plus LCD screen, Remove the cover of the front camera and the earpiece: step 7, image 1 of 1
      • Remove the cover of the front camera and the earpiece. Screw position is still in the distance without interference as the original place away.

      Ask FixBot

      Add Comment

    8. Remove  iPhone 6 Plus LCD screen, Unplug the front camera and remove the handset: step 8, image 1 of 2 Remove  iPhone 6 Plus LCD screen, Unplug the front camera and remove the handset: step 8, image 2 of 2
      • Unplug the front camera and remove the handset

      Ask FixBot

      Add Comment

    9. Remove  iPhone 6 Plus LCD screen, Remove the photoreceptor: step 9, image 1 of 2 Remove  iPhone 6 Plus LCD screen, Remove the photoreceptor: step 9, image 2 of 2
      • Insert wisdom here.

      Ask FixBot

      Add Comment

    10. Remove  iPhone 6 Plus LCD screen, Remove the home key and metal: step 10, image 1 of 2 Remove  iPhone 6 Plus LCD screen, Remove the home key and metal: step 10, image 2 of 2
      • Remove the home key and metal,around home button is glue, if the computer is open, on the cooling mouth blowing,can push it behind

      Ask FixBot

      Add Comment

Conclusion

To reassemble your device, follow these instructions in reverse order.

Cancel: I did not complete this guide.

7 other people completed this guide.

Author

with

rootmi

Member since: 12/22/16

513 Reputation

1 Guide authored

2 Guide Comments

Why in the !&&* are you doing this on carpet? Let me guess, only 9 of 10 screws went missing. Please Don't tell me it so it doesn't slip and slide around, just flip a mouse pad over

Dane Smith - Reply Share

Maybe I should not do this on the carpet, but my screws are intact.

rootmi - Reply Share

Add Comment

View Statistics:

Past 24 Hours: 1

Past 7 Days: 1

Past 30 Days: 2

All Time: 3,070