Introduction
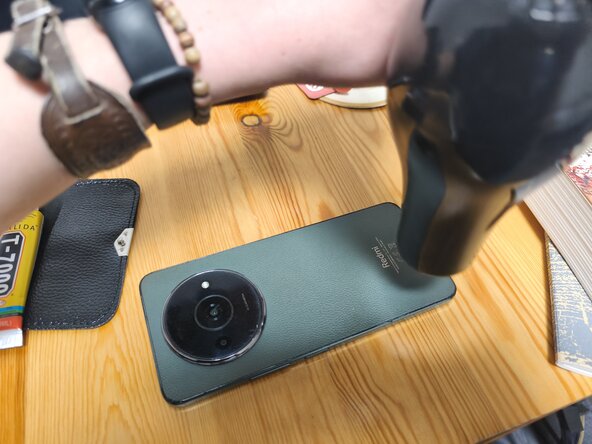
Say you smashed the screen and your Redmi A3 phone is unusable, right. Here's how you replace it.
In case you do not have a heat gun or a heating pad, you can use a hair dryer like I did.
What you need
-
-
-
Remove the SIM slot so that it doesn't break when you take the phone apart
 Ask FixBot
-
-
-
Heat the edges of the back cover and the area of the camera cover using your heat gun, heating pad, or hair dryer
-
If using a hair dryer, be careful, because it's obviously quite imprecise
-
-
-
Insert a thin piece of plastic under the back cover and pry it open by dragging the plastic around the edges and carefully under the camera cover
-
If the adhesive is too tough, heat it up again
-
-
-
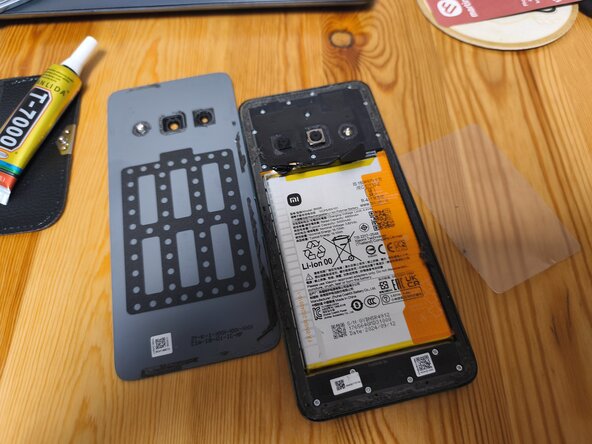
Carefully remove the back cover of your phone
-
If the back cover is glass, it's better to use a suction cup or a piece of duct tape to avoid cracking
-
Remove the remaining adhesive using adhesive remover or by carefully scraping it off (I forgot to do that initially)
-
-
-
-
Using a small phillips screwdriver, unscrew the frame of the phone
-
Be careful not to lose any of the screws
-
-
-
The frame of your phone should come off fairly easily
-
CAREFUL! You probably know this already, but the lock button is the fingerprint sensor; don't forget to disconnect it.
-
-
-
Disconnect the battery (you can do it with your fingers, I'm just using the screwdriver as a pointer)
-
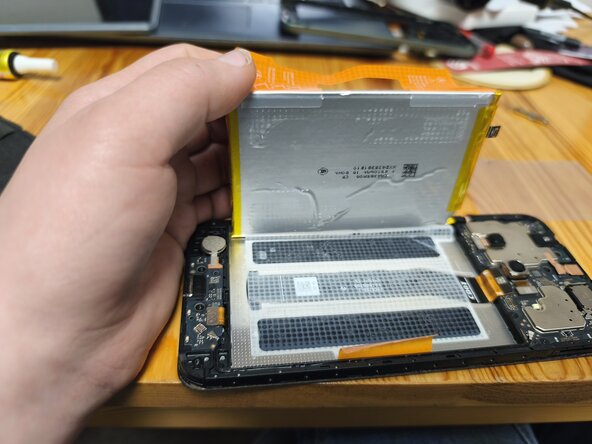
This is a bit tricky: the orange sticker on the battery is separated into two parts labelled A (sides) and B (middle). Peel off the sticker and pull on A
-
Remove the battery with the rest of the sticker. Do not throw the sticker away
-
-
-
There are two spots where the screen is connected, don't forget to unplug both cables
-
-
-
Similarly to the back cover, heat the adhesive and pry the screen off the phone
-
If your screen is as badly cracked as mine, put duct tape all over it to avoid injury (I didn't do that)
-
Remove the remaining adhesive from the phone
-
-
-
Carefully apply a small but substantial amount of phone adhesive around the edges of the phone. Make sure not to touch the front camera
-
Put the new screen on the phone
-
Connect the screen
-
-


To reassemble your device, follow these instructions in reverse order. Do not forget that the back cover is also glued to the phone around the camera. It's recommended that you wait for several hours (preferably 48) for the adhesive to cure.
Cancel: I did not complete this guide.
7 other people completed this guide.
