Introduction
This guide will allow you to access the internal components of the Razer Huntsman Tournament Edition. This guide should take over an hour.
The Razer Huntsman Tournament Edition is a tenkeyless mechanical keyboard.
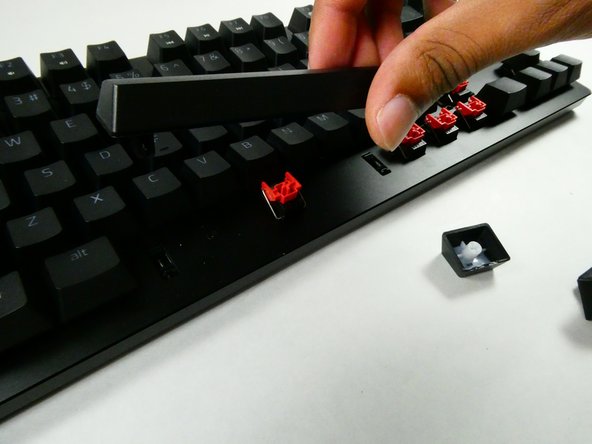
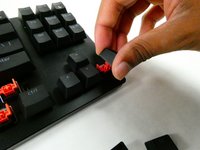
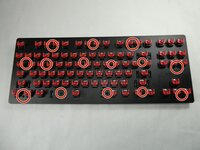
You must know how to remove keycaps in order to complete this guide.
What you need
-
-
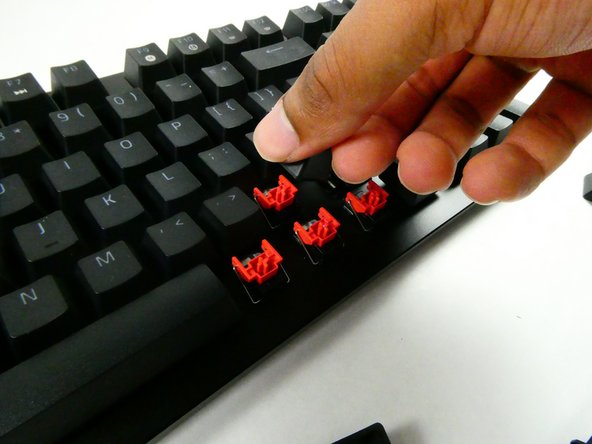
Place the unplugged keyboard on a flat, clean surface appropriate for working on.
-
-


Conclusion
To reassemble your device, follow these instructions in reverse order.

Team

UMass Dartmouth, Team 4-3, Sinclaire Fall 2022 Member of UMass Dartmouth, Team 4-3, Sinclaire Fall 2022
UMASSD-SINCLAIRE-F22S4G3
5 Members
7 Guides authored