Introduction
The following guide will demonstrate how to open your Razer Blackwidow Tournament Edition Chroma. You will also learn how to remove and replace the USB port board.
What you need
-
-
Turn the keyboard over so that it is lying flat on its face.
-
Use the iFixit opening tool to pry the rubber feet off the keyboard.
-
-
-
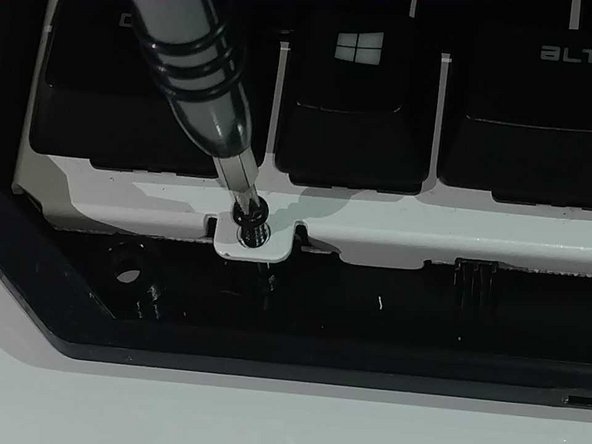
Use a Phillips #1 screwdriver to remove the six screws on the back of the keyboard.
-
Use an opening tool as a wedge between the front and back panel to pry open the front panel.
-
Instead, slide the opening tool across the keyboard in between the front and back panel. Go around the edges of the keyboard until the panels disconnect.
-
Flip the keyboard over so the keys are facing up.
-
Grabbing the left and right lips of the front panel, lift both ends up, removing the front panel.
-
-
-
-
Use a Philips #1 Screwdriver to remove the four screws located below the keys.
-
Lift the main circuit board and flip it over, placing it on its top.
-


To reassemble your device, follow these instructions in reverse order.
To reassemble your device, follow these instructions in reverse order.
Team

University of North Texas, Team S6-G5, Thomas Spring 2018 Member of University of North Texas, Team S6-G5, Thomas Spring 2018
UNT-THOMAS-S18S6G5
4 Members
13 Guides authored
One Comment
Where can I get another USB board? And it's possible to build one from scratch? I was thinking in upgrading to a USB C port