Introduction
If you've spent enough time exploring the wonderful uses of a Raspberry Pi (Model B Revision 2.0), then you may have explored enough to discover a faulty/broken USB port. No worries; a USB port replacement is an easy fix. First, you are going to need an adequate workspace and some knowledge of soldering/desoldering. Nothing fancy, just a well-ventilated space with clean, stable surfaces. If you do not already own a soldering iron, a fine-tipped model is recommended. Careful, the iron will be very hot; always make sure the iron cord is not in the way of your work.
If you decide to work outside, position yourself away from the wind; the fumes will remain out of your way. Also if you wear contact lenses you must remove them before soldering. If any fumes or debris were to intermingle with the lenses, they might get lodged and be difficult to remove.
Lastly, be patient. The estimated time is only a reference. If you have little or no experience with soldering, it might take some time to develop a rhythm. Also, if you find a technique that works for you, carry on. This is a learning experience, and a perfect port to practice on!
Caution: Soldering/desoldering presents a potential for device damage and burns. Always work in a well-ventilated area.
What you need
-
Tool used on this step:Microfiber Cleaning Cloths$3.99
-
Clean your work area with a lint-resistant wipe.
 Ask FixBot
-
-
-
Preheat your soldering iron.
-
Wet a heat-resistant cleaning sponge and have it nearby.
-
-
-
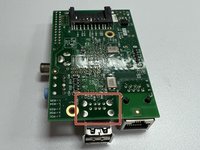
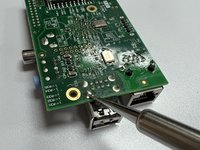
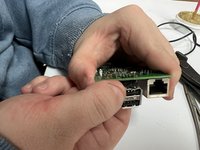
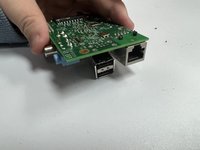
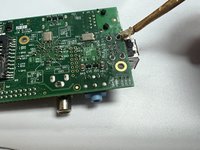
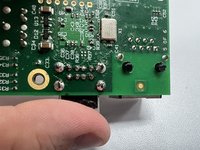
Orient the Raspberry Pi so that the port-covered side faces downwards, and the opening of the USB port is visible.
-
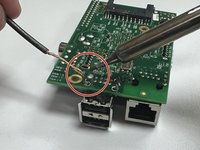
Identify the 12 silver USB pins on the lower-middle section of the board.
-
-
-
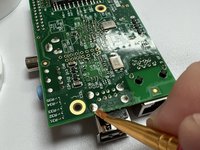
Use an inexpensive paint brush, or the applicator that came with the flux, to apply flux around the 12 pins on the printed circuit board (PCB).
-
-
-
-
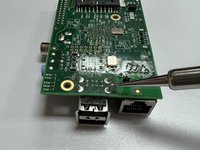
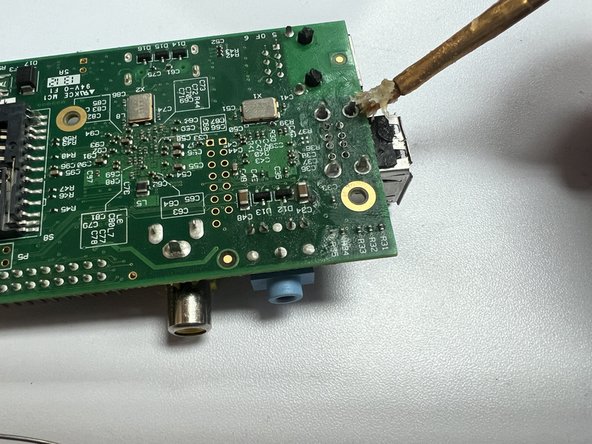
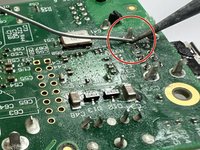
Starting with the largest pins first, but individually, use the soldering iron to carefully melt the solder on each of the pins, with care not to damage the PCB.
-
-
-
Make a wire loop out of the desoldering braid to "soak up" the solder on the smaller pins. Hook the pin and place the soldering iron tip on the loop and pin simultaneously.
-
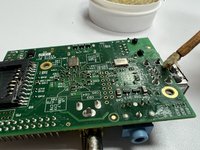
Use the desoldering braid to “soak up" the melted solder. If the braid will not catch more solder, cut off the end and continue to the smaller pins.
-
-
-
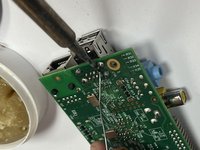
After all the solder securing the pins is removed, lightly heat each silver pin. Use a hemostat or needle-nose pliers to disconnect the smaller pins from the board.
-
Remove the faulty port with a gentle pull if necessary.
-
-
-
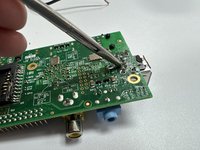
Melt a few millimeters of lead-free solder on the tip of the iron.
-
Bring the soldering iron with the melted solder close to the pin and its respective base. Slowly apply solder to a combination of the pin, pin-base, and the iron tip until the solder collects into a “bubble,” encapsulating the pin and base.
-


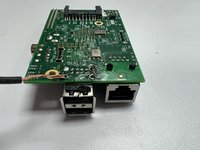


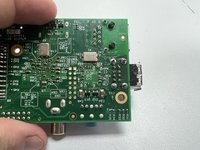
Your new USB port should be fully functional!
Cancel: I did not complete this guide.
4 other people completed this guide.

Team

University of Memphis, Team 2-8, Willis Spring 2022 Member of University of Memphis, Team 2-8, Willis Spring 2022
UM-WILLIS-S22S2G8
1 Member
1 Guide authored