RCA RCT6378W2 Screen Replacement

Archived Guide
This guide is retained solely for historical purposes. Use the updated version of the guide to perform your repair.

What you need

  1. RCA RCT6378W2 Screen Replacement, Screen Replacement: step 1, image 1 of 1
    • Remove two 2.4mm x 4mm screws from bottom of the tablet with Phillips #00 Screwdriver.

  2. RCA RCT6378W2 Screen Replacement: step 2, image 1 of 2 RCA RCT6378W2 Screen Replacement: step 2, image 2 of 2
    • Remove back cover with lever tool, exposing the battery and motherboard.

  3. RCA RCT6378W2 Screen Replacement: step 3, image 1 of 2 RCA RCT6378W2 Screen Replacement: step 3, image 2 of 2
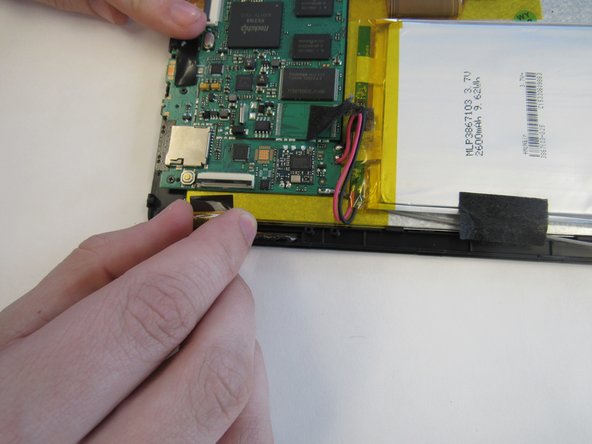
    • Using the tweezers, remove the black tape connecting the screen to the motherboard.

  4. RCA RCT6378W2 Screen Replacement: step 4, image 1 of 2 RCA RCT6378W2 Screen Replacement: step 4, image 2 of 2
    • Pull up the switch to remove the input connector.

  5. RCA RCT6378W2 Screen Replacement: step 5, image 1 of 1
    • Heat the iOpener in the microwave, following the instructions provided with the tool. Lay the heated iOpener on the front screen for two minutes to soften the connection of the screen to the tablet.

  6. RCA RCT6378W2 Screen Replacement: step 6, image 1 of 2 RCA RCT6378W2 Screen Replacement: step 6, image 2 of 2
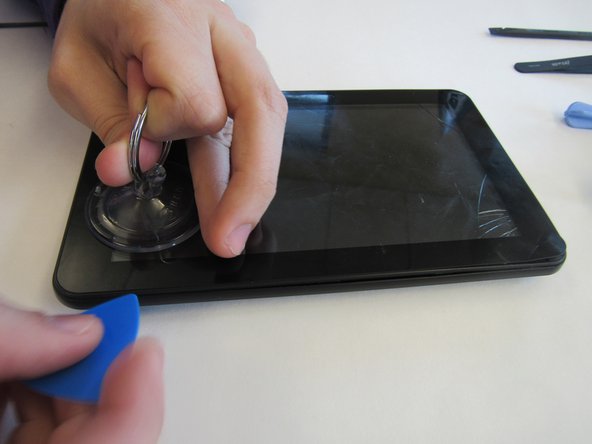
    • Use the suction cup and lever tool tool to pry the front screen from the tablet.

Conclusion

To reassemble your device, follow these instructions in reverse order.

2 other people completed this guide.

mikayla

Member since: 01/29/15

408 Reputation

2 Guides authored

Team

Clemson, Team 14-4, Shirley Spring 2015 Member of Clemson, Team 14-4, Shirley Spring 2015

CLEM-SHIRLEY-S15S14G4

6 Members

15 Guides authored

0 Comments

Add Comment

View Statistics:

Past 24 Hours: 0

Past 7 Days: 0

Past 30 Days: 0

All Time: 1,189