What you need
-
-
Using a separating tool, look for a seam in the plastic casing that looks most accessible.
-
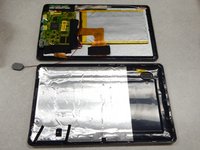
Use the prying tool to separate the front and back casing, working your way around the perimeter.
-
Utilize a card tool or a pick to assist in keeping the case separated.
 Ask FixBot
-
-
-
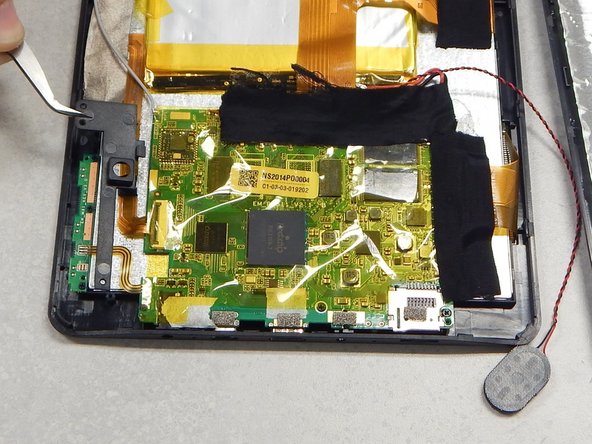
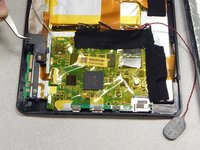
Flip over the back of the device while keeping it close to the front, the speaker is attached to it.
-
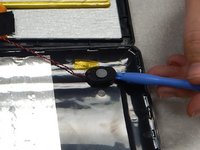
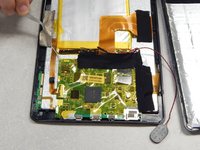
Remove the yellow tape securing the speaker to the back casing.
-
-
-
-
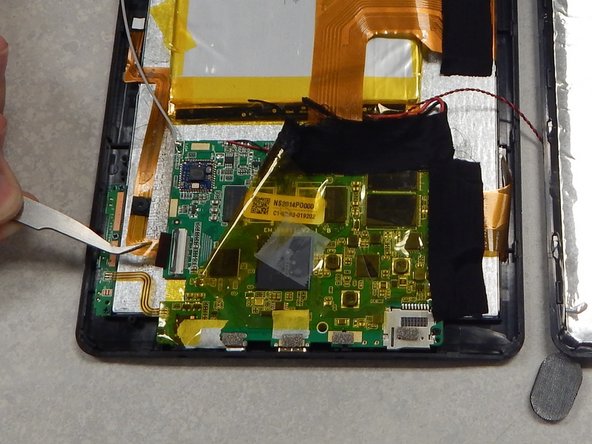
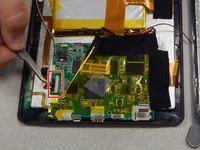
Use the separating tool to pry the speaker from its surface.
-
Cut or desolder the wires to replace or repair the speaker.
-
-
-
Using a P00 Phillips screwdriver, remove the three screws securing the black plastic camera housing and remove it.
-
Peel back the beige tape while holding down the camera ribbon cable to prevent tears
-
-
-
Lift the locking tab that is securing the camera ribbon cable.
-
Slide the ribbon cable out from the connector and remove from casing.
-
-
-
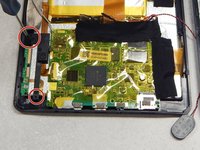
Use a P00 Phillips screwdriver to remove the three screws securing the button board.
-
Desolder the contacts on the button board to remove or replace it.
-


To reassemble your device, follow these instructions in reverse order.
Cancel: I did not complete this guide.
One other person completed this guide.
Team

Pasco Hernando, Team 1-1, Prince Winter 2015 Member of Pasco Hernando, Team 1-1, Prince Winter 2015
PHSC-PRINCE-W15S1G1
6 Members
10 Guides authored