-
-
This is what it looks like from the front and the back.
-
First disconnect it by unplugging it from the power outlet.
 Ask FixBot
-
-
-
Remove the bean container by pulling the black slider out. With that, the bean container will be locked from the bottom at the same time. Thus, the coffee beans can remain in the container. If a coffee bean spreads, the container may be slightly stuck.
-
-
-
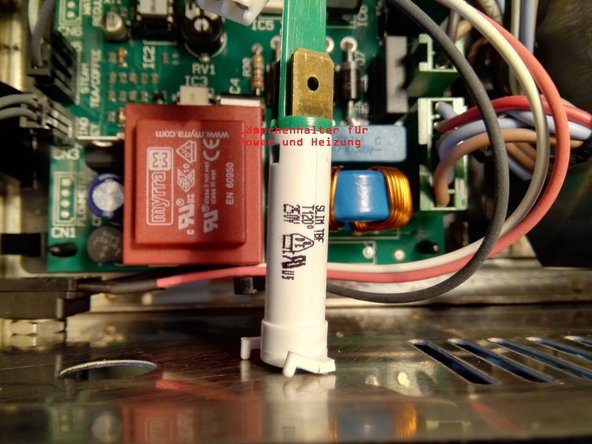
Overview of the installed parts. To get to the three-way valve, some hoses and cables must be removed. Similarly, the grounding and the thermal fuse will be unscrewed.
-
-
-
-
Remove the 4 machine screws from below with a 7mm wrench.
-
Some space will be needed needed to lift the thermoblock out of the housing. For that, the toggle switches for coffee and broths must be unscrewed. This is done from the inside to prevent scratching the front.
-
Remove the rest of the cables and hoses that are in the way. Take some pictures from different angles in order to find the right slot and the cable and hose guide for re-assembly.
-
-
-
After the thermoblock has been removed, the 3-way valve can also be unscrewed. (In the picture the thermoblock is still installed)
-
First remove the hose for the overflow, then loosen the nut. Then unscrew the hose to the filter holder. Now loosen the connection to the thermoblock / copper tube.
-
Using a hexagon socket, the iron angle can be released from the thermoblock and the two screws can be removed with a Phillips screwdriver.
-
The three brass union nuts are very tight on the 3-way valve. To loosen those, it is important to directly hold on to the valve not the thermoblock. Otherwise, the copper line between thermoblock and valve will bend.
-
To hold the 3-way valve in position, it can be gently clamped into but not too tight. It may also be helpful to heat the nuts with a heat gun. The material expands and the connection becomes loose.
-
-
-
If everything went well, then all the parts are in front of you.
-
Now it is easy to see how the steam lance engages the valve and shifts the ram as the lance rotates.
-
The ball and spring serves as a pressure relief valve.
-
-
-
Here are some pictures of components.
-


To reassemble your device follow the steps in reverse order
Cancel: I did not complete this guide.
One other person completed this guide.
Special thanks to these translators:
100%


These translators are helping us fix the world! Want to contribute?
Start translating ›
