Introduction
If your Protocol Slipstream WiFi (model number 6182-3MXB) has a broken canopy on it, use this guide to replace the canopy. The canopy is the frame that holds and protects most of the parts. The canopy has two parts; the lower canopy and the upper canopy. If you canopy is broken, then the internal parts will not be held or protected correctly and could result in the drone crashing and breaking internal and external parts. Be careful not to replace the camera with the device turned on. The propeller spins very fast and can be potentially harmful. When you are doing this repair be very careful with all the wires. The wires are very small and very easy to damage or disconnect. Be careful prying the computer from the upper canopy. Make sure to layout all the screws and keep them organized.
What you need
-
-
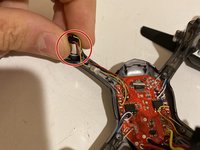
Remove the 4.5 mm Philips #00 screw that holds the propeller in place.
 Ask FixBot
-
-
-
Lift the propeller off the device
-
Note: When sliding on the new propeller, make sure to align the groove on the propeller with the shaft of the gear. If aligned correctly the propeller should slide on smoothly.
-
-
-
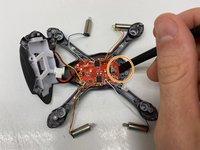
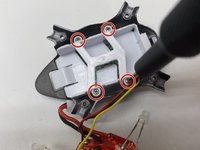
There are 3 points where the propeller guard attaches to the device.
-
Place one finger on the body (black object) of the device and one finger under the propeller guard (silver object) and gently but firmly push the propeller guard up until it disconnects from the body at the 3 points circled in red.
-
-
-
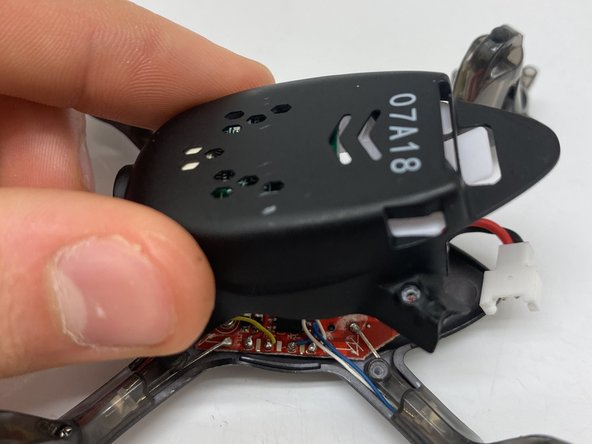
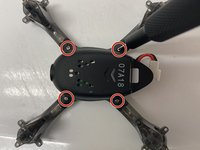
Remove the four 5.5 mm Philips #00 screws that hold the lower canopy to the upper canopy.
-
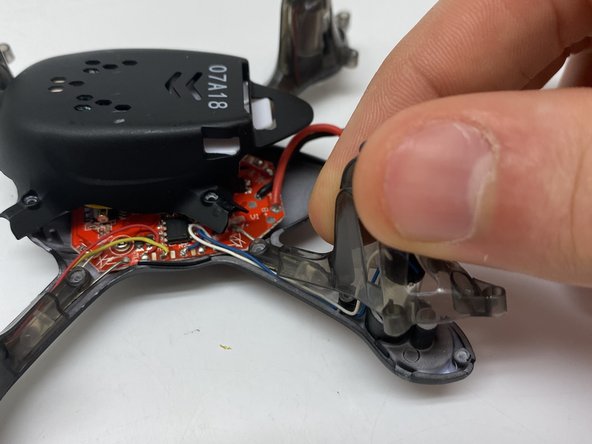
Gently pull the lower canopy up and towards the back of the drone. The lower canopy will still be attached to the upper canopy by 3 wires. Just set the lower canopy aside and continue with the repair.
-
-
-
-
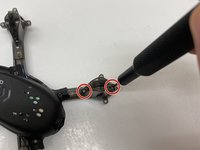
Remove the two 4.5 mm Philips #00 screws that hold the motor cover onto the upper canopy.
-
Gently pull up on the motor cover until it disconnects from the upper canopy.
-
Repeat this step for the other 3 motor covers.
-
-
-
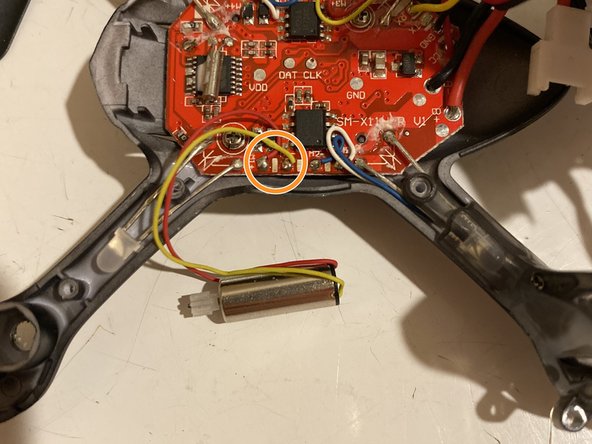
Grab the motor and pull the motor out of the upper canopy slot.
-
Be careful pulling the motor out of the slot in the upper canopy. The motor will still be attached to the main computer by 2 wires.
-
Repeat this step for the other three propeller motors.
-
-
-
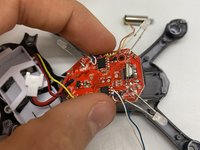
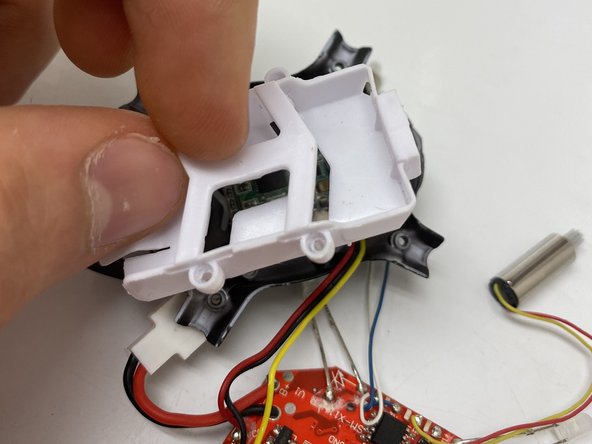
Remove the two 4.0 mm Philips #00 screws that hold the computer to the upper canopy.
-
-
-
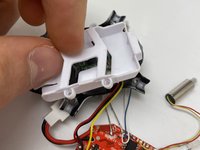
Use the flat side of the spudger to gently pry the computer from the upper canopy.
-
Separate the upper canopy from the rest of the parts.
-
-
-
Remove the four 5.5 mm Phillips #00 screws that holds the battery tray to the lower canopy.
-
Once the four 5.5 mm Philips #00 screws are removed, gently pull on the battery tray to separate it from the lower canopy.
-
-
-
Use a spudger to gently pry around the outside edge of the camera to remove the camera from its mounting hole.
-
Remove the camera and computer assembly from the lower canopy.
-


To reassemble your device, follow these instructions in reverse order.

Team

Embry-Riddle Aeronautical University, Team S13-G5, Lamothe Fall 2019 Member of Embry-Riddle Aeronautical University, Team S13-G5, Lamothe Fall 2019
ERAU-LAMOTHE-F19S13G5
2 Members
5 Guides authored