Introduction
All electrical components of the ProntoTec Axius tablet are connected to the motherboard. Water damage, dropping, and any other physical damage can cause the motherboard to short or malfunction; rendering the device unusable. This guide will highlight how to disconnect the motherboard from the other components of the device for replacement.
What you need
-
-
-
Starting near the headphone port, fit the flat end of the spudger in between the screen and back case.
-
Pry the back case from the screen around each point on the device to release the clips securing the case halves to each other.
-
-
-
Gently remove the back case of the device and lay it in a flat surface as shown in the photo.
-
-
-
-
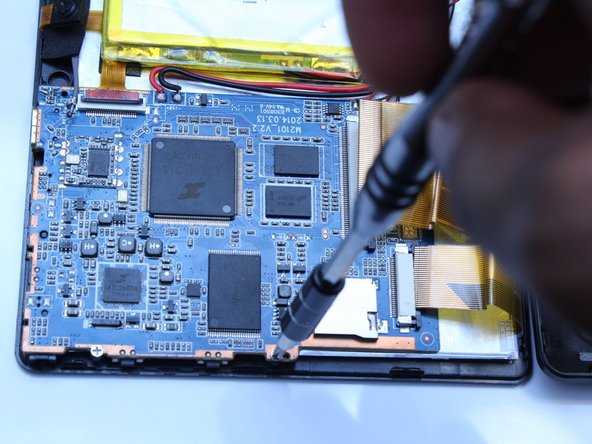
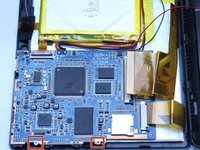
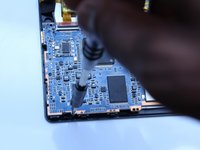
Use a Phillips screwdriver (PH00) to unscrew the two screws that connects the motherboard to the device
-
-
-
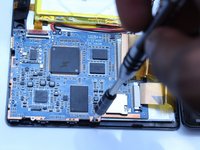
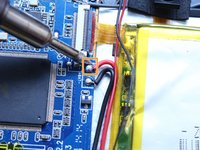
Using a soldering iron, desolder the contact points of the speaker, battery and screen on the motherboard
-
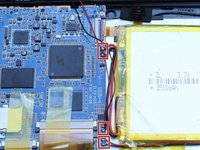
Use pliers to pull the wire from the board
-
-
-
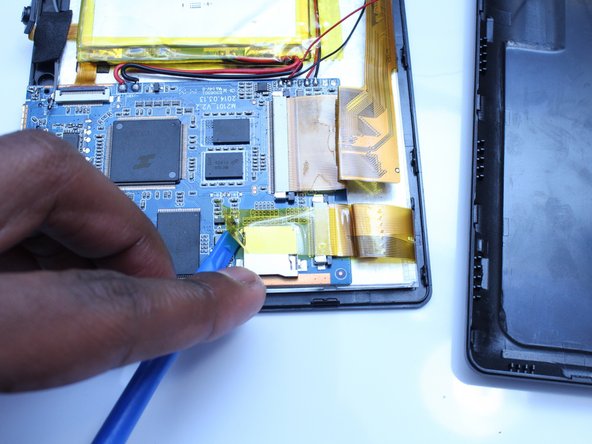
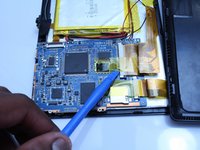
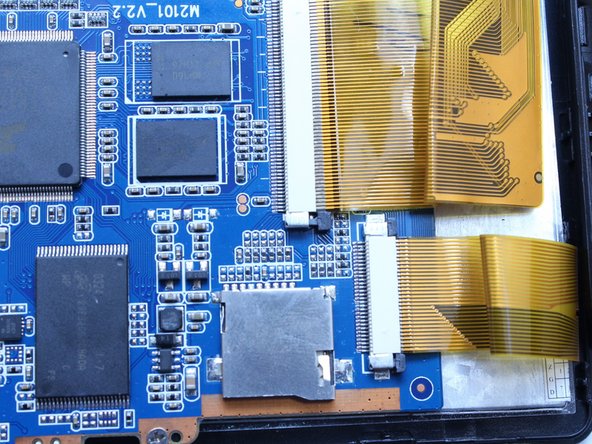
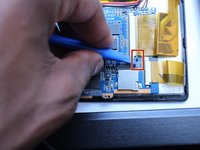
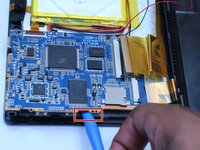
Using the spudger, disconnect the ribbon cable connecting the camera to the motherboard
-
-
-
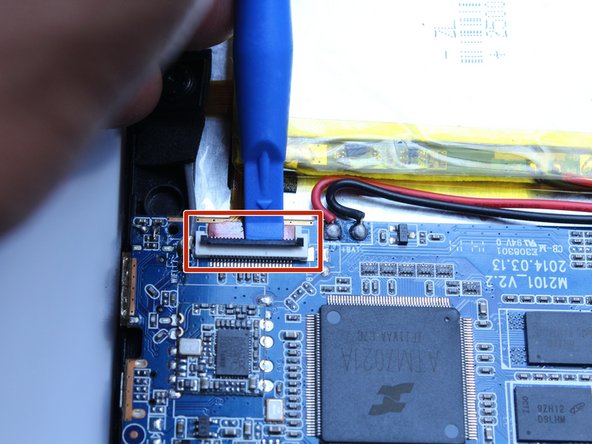
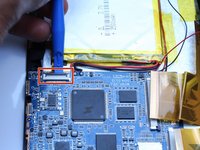
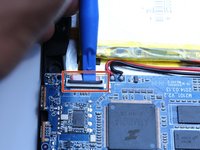
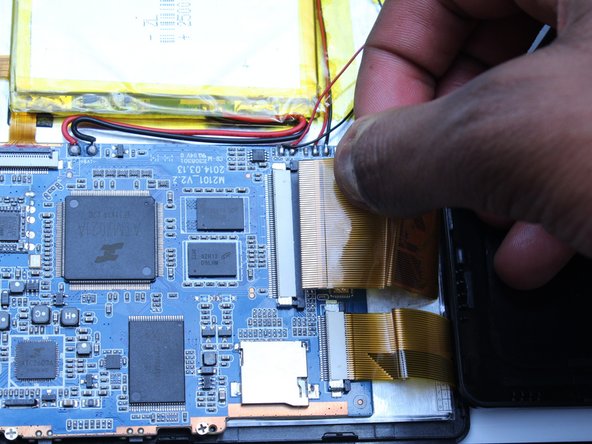
Using the spudger, push the black tabs towards the ribbon cable to unlock the ribbon cables that connect the screen to the motherboard.
-
Gently pull and remove the ribbon cables from the motherboard
-
-
-
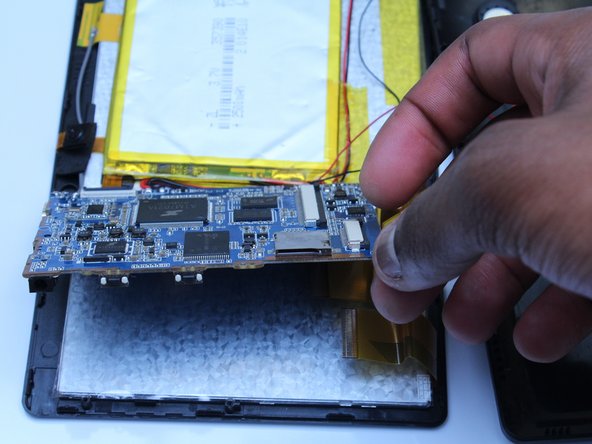
Using the flat side of the spudger, lift up the mother board to disconnect from the screen.
-


To reassemble your device, follow these instructions in reverse order.
Cancel: I did not complete this guide.
One other person completed this guide.
Team

UMass Dartmouth, Team 5-3, Martin Fall 2016 Member of UMass Dartmouth, Team 5-3, Martin Fall 2016
UMASSD-MARTIN-F16S5G3
3 Members
10 Guides authored