Introduction
This is the replacement guide for the screen. If the screen is broken , use this guide to replace the screen
What you need
-
-
Make sure device is unplugged and turned off while working on the device.
-
Remove 2 Phillips head, 4.3 mm screws from the bottom side of the tablet with a PH00 screwdriver.
 Ask FixBot
-
-
-
Use the plastic opening tools to pry the back of the tablet open.
-
You may need to slide the tool along the sides of the device to get it to open. You might hear some popping noises, it is okay.
-
-
-
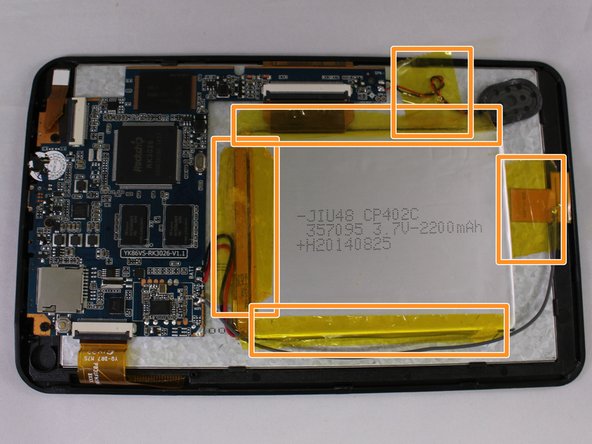
Remove the 3 black pieces of tape from the device.
-
Remove the 5 yellow pieces of tape from the device.
-
-
-
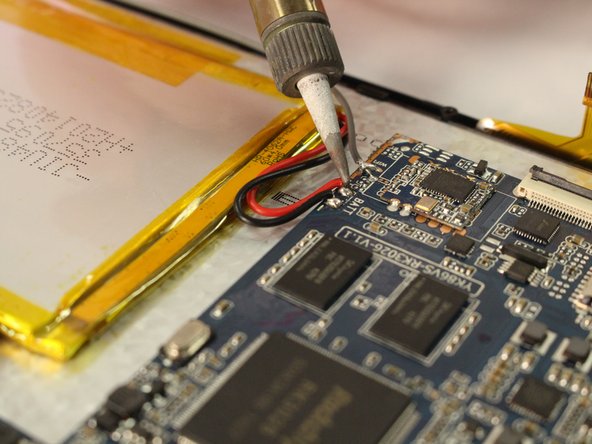
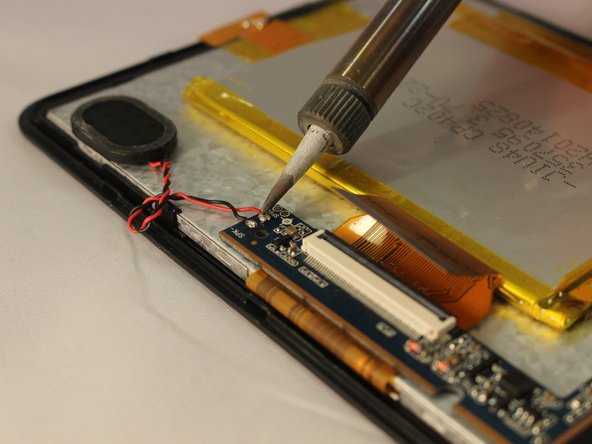
Use the soldering tool to remove the 3 wires from the mother board to the battery (black, red, gray).
-
-
-
-
Remove 3 Phillips head, 4.3 mm screws from the bottom side of the tablet with a PH00 screwdriver.
-
-
-
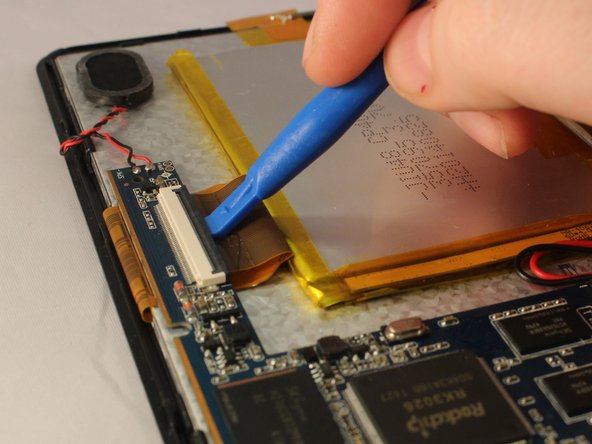
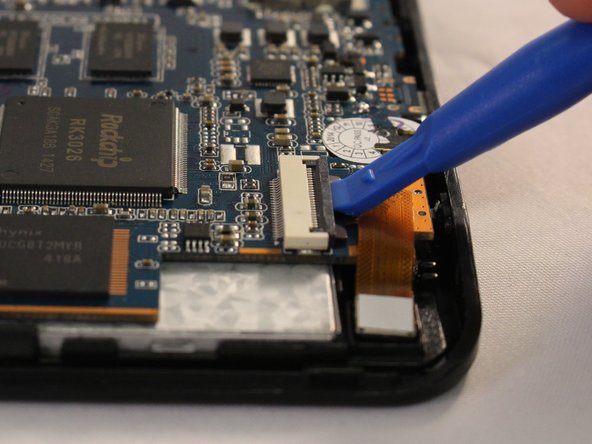
Use the plastic opening tool to pop open all 3 ZIF connector tabs connected to the motherboard.
-
Remove each ribbon from the ZIF connector port.
-
-
-
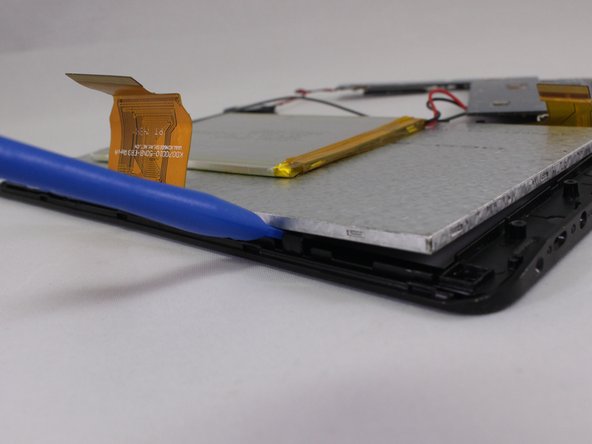
Lift the motherboard off the device taking care to pull the ports out of the casing.
-
-
-
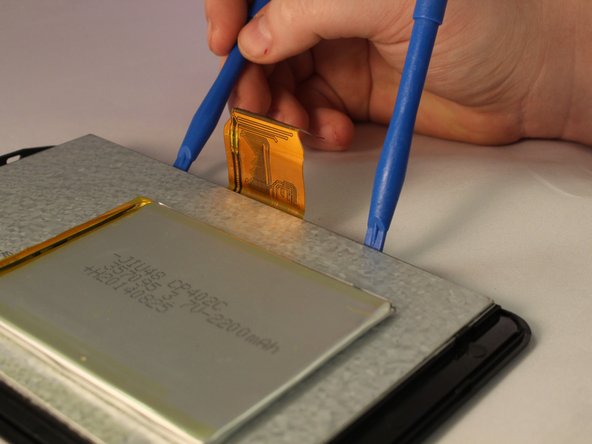
Use one of the plastic opening tools next to one of the black clips on the side of silver screen.
-
Use the second plastic opening tool to push back the black clip next to the one you have worked on. Push the second plastic opening tool under the screen.
-


To reassemble your device, follow these instructions in reverse order.

Team

Eastern Washington University, Team 1-4, Mathisen Winter 2017 Member of Eastern Washington University, Team 1-4, Mathisen Winter 2017
EWU-MATHISEN-W17S1G4
5 Members
12 Guides authored