Power Mac G5 CD-ROM Drive Replacement

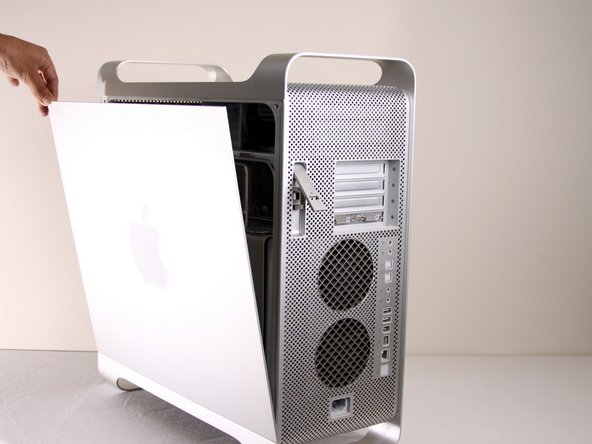
  1. Power Mac G5 CD-ROM Drive Replacement, Side Panel: step 1, image 1 of 1
    • To avoid electrocution, shut down the computer. Do not open the computer or attempt to install any items inside it while the computer is on.

    • To avoid being burned, wait at least 10 minutes to allow the computer's internal components to cool.

  2. Power Mac G5 CD-ROM Drive Replacement: step 2, image 1 of 1
    • Remove all the cables, including the power cables before opening the unit.

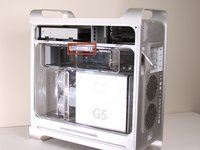
  3. Power Mac G5 CD-ROM Drive Replacement: step 3, image 1 of 2 Power Mac G5 CD-ROM Drive Replacement: step 3, image 2 of 2
    • Lift the tab to unlock the side panel.

    • The panel should fall out. If the panel does not fall out by itself pull a little from the edges.

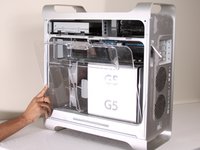
  4. Power Mac G5 CD-ROM Drive Replacement: step 4, image 1 of 3 Power Mac G5 CD-ROM Drive Replacement: step 4, image 2 of 3 Power Mac G5 CD-ROM Drive Replacement: step 4, image 3 of 3
    • Remove the air deflector (the clear plastic cover) by pulling on the handle.

  5. Power Mac G5 CD-ROM Drive Replacement, CD-ROM Drive: step 5, image 1 of 1
    • Locate the CD-ROM Drive on the top left corner of desktop.

  6. Power Mac G5 CD-ROM Drive Replacement: step 6, image 1 of 3 Power Mac G5 CD-ROM Drive Replacement: step 6, image 2 of 3 Power Mac G5 CD-ROM Drive Replacement: step 6, image 3 of 3
    • Pull and rotate latches to the left.

  7. Power Mac G5 CD-ROM Drive Replacement: step 7, image 1 of 1
    • Wiggle and pull out the CD Drive.

  8. Power Mac G5 CD-ROM Drive Replacement: step 8, image 1 of 2 Power Mac G5 CD-ROM Drive Replacement: step 8, image 2 of 2
    • Detach the first cable from the CD-ROM drive.

    • Detach the second cable from the CD-ROM drive.

    • On some models, the IDE cable is stuck to the top of the CD-ROM with foam tape. It is easier to unplug the IDE connector from the motherboard, and de-route the IDE cable as you remove the drive.

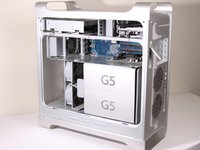
  9. Power Mac G5 CD-ROM Drive Replacement: step 9, image 1 of 1
    • After the CD-ROM drive is removed, the area should look like this.

Conclusion

To reassemble your device, follow these instructions in reverse order.

43 other people completed this guide.

Jessica Chaidez

Member since: 01/13/10

7,947 Reputation

3 Guides authored

Team

Cal Poly, Team 5-8, Forte Winter 2010 Member of Cal Poly, Team 5-8, Forte Winter 2010

CPSU-FORTE-W10S5G8

7 Members

20 Guides authored

One Comment

Is it possible to use an IDE to SATA connector? I want to install my Pioneer BDR burner to potentially use the PMG5 for data disc burning only. Any thoughts?

nirv - Reply

Add Comment

View Statistics:

Past 24 Hours: 5

Past 7 Days: 17

Past 30 Days: 53

All Time: 34,566