Introduction
Replacing the motherboard will require time and patience as there are multiple steps in this guide. Make sure laptop is powered off and be cautious when working around the board as its cables and plugs may be fragile.
What you need
-
-
Flip the laptop over with the screen facing down to reveal the bottom panel.
-
Unscrew each of the highlighted screws with a Phillips #0 screwdriver.
-
-
-
Use a metal spudger to remove fitting and reveal the screw.
-
Use a screwdriver with a Torx T7 bit to remove the screw.
-
-
-
The SD Card slot is on the top right corner of the device near the headphone jacks.
-
Depress the fake SD Card and release.
-
Pull the fake SD Card out and remove it completely from the slot, as this will help in the removal of the backplate.
-
-
-
Lift the back plate starting at the opposing edge to the SD card. Lift from left to right and continue lifting this plate at this angle until it's free from the laptop.
-
Once the backplate is completely off, this will reveal the inside components of the device.
-
-
-
Remove six 5mm screws holding down the battery using a Phillips PH0 screwdriver.
-
Lift the battery and separate from its place holder.
-
-
-
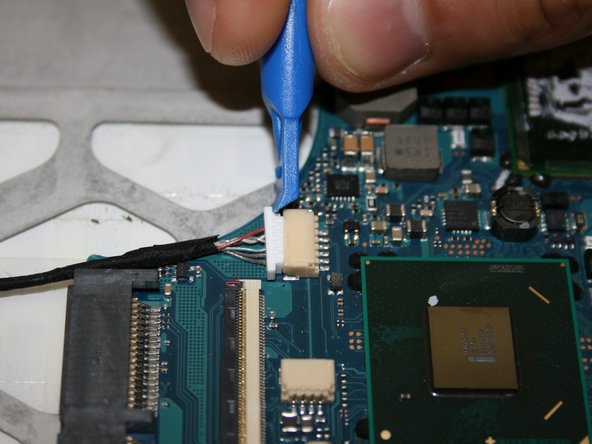
Using the nylon spudger, disconnect the white plugin.
-
Once the wire has been disconnected you may remove the battery.
-
-
-
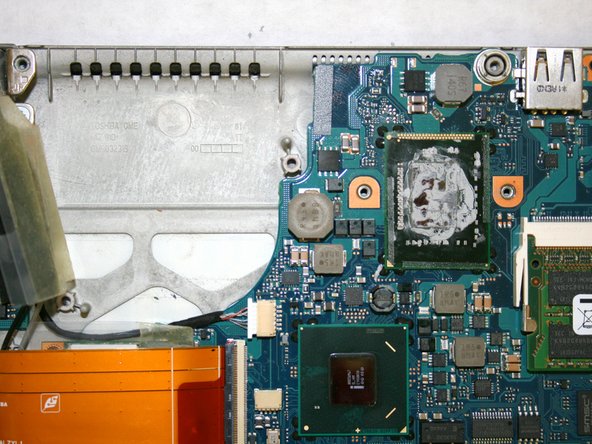
Lift up the wire and peel back the clear protective tape.
-
Split the black protective foam inside the tape in half to uncover the wires.
-
-
-
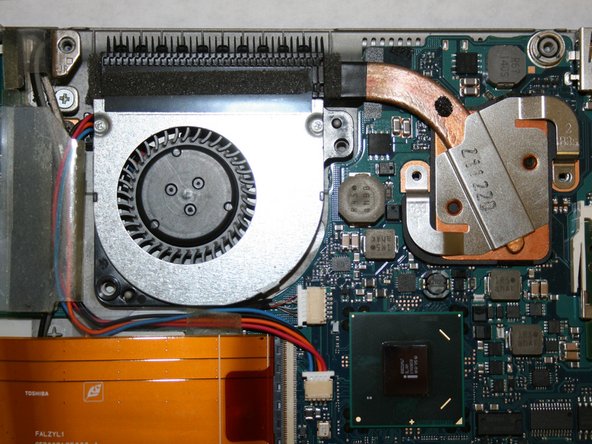
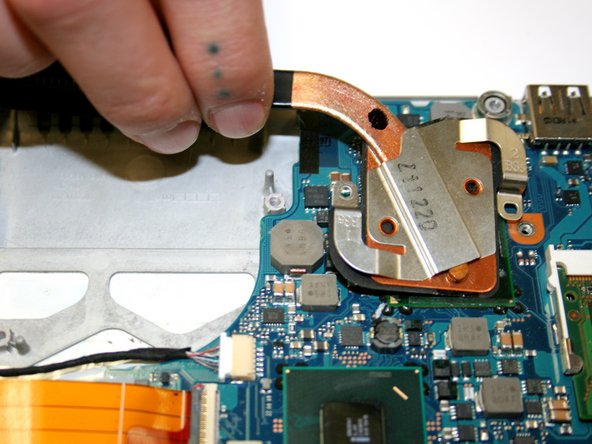
Remove the two Phillips #0 4mm screws from the heat sink.
-
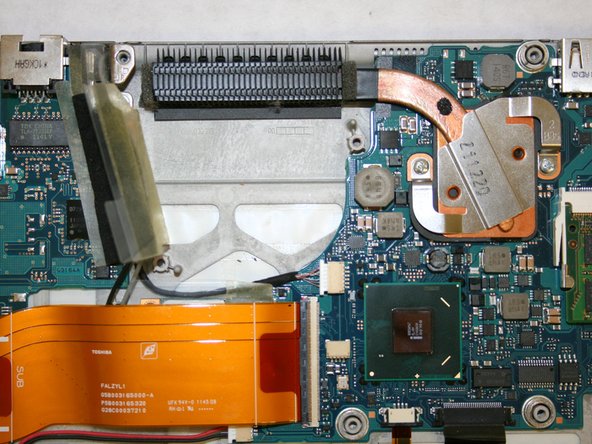
Lift and remove the heat sink off the CPU.
-
-
-
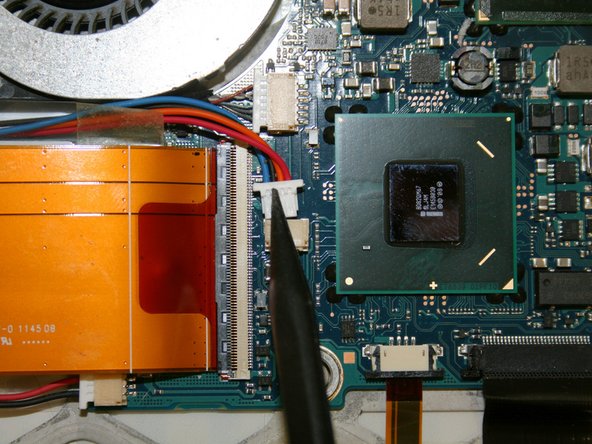
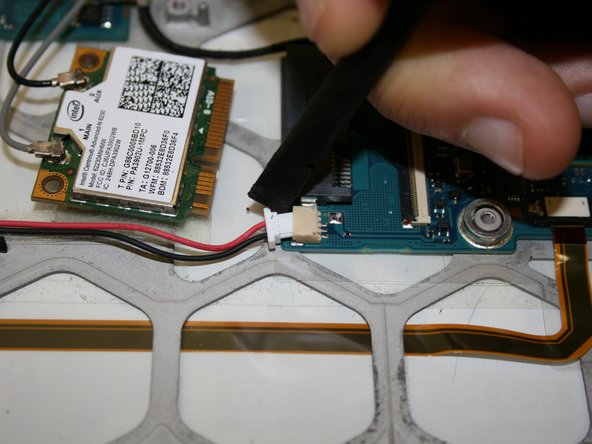
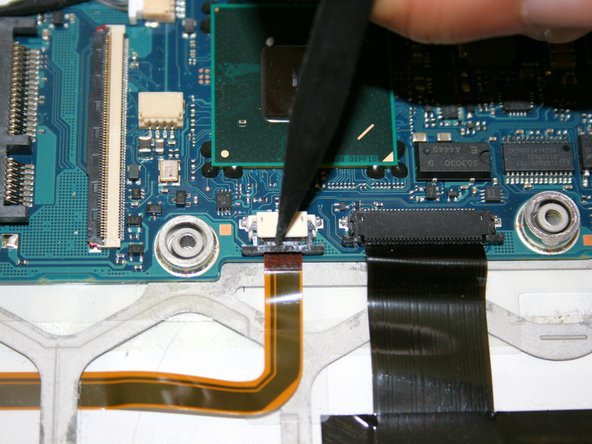
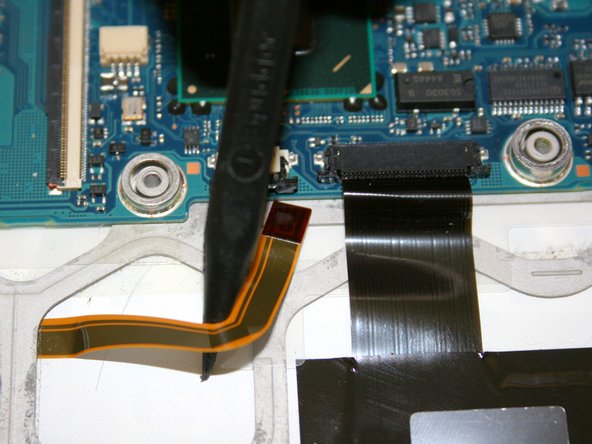
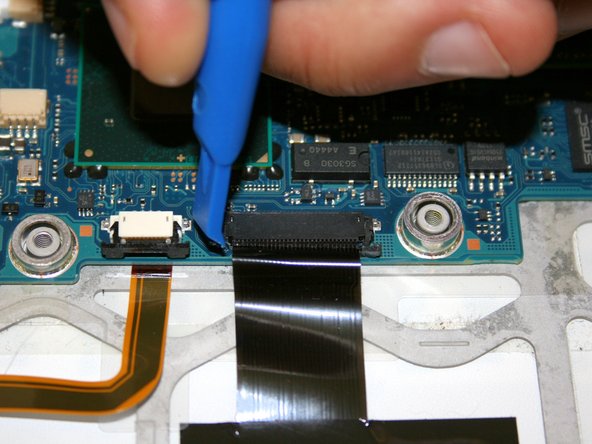
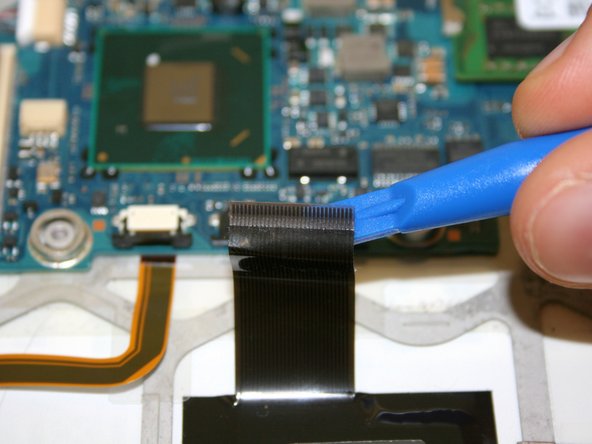
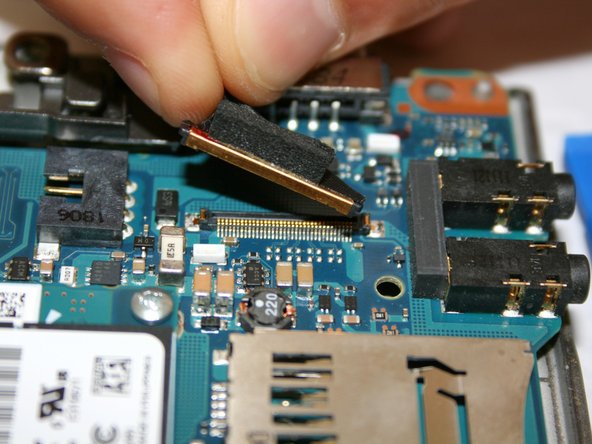
Use a plastic opening tool to disconnect the orange daughterboard cable and pull out of the connector.
-
Do the same on other side of the orange cable and remove cable completely.
-
-
-
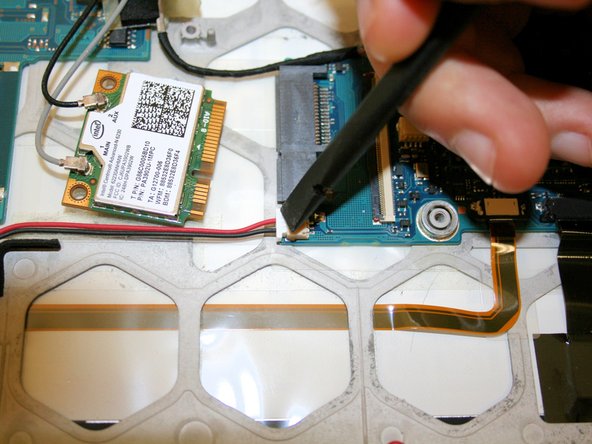
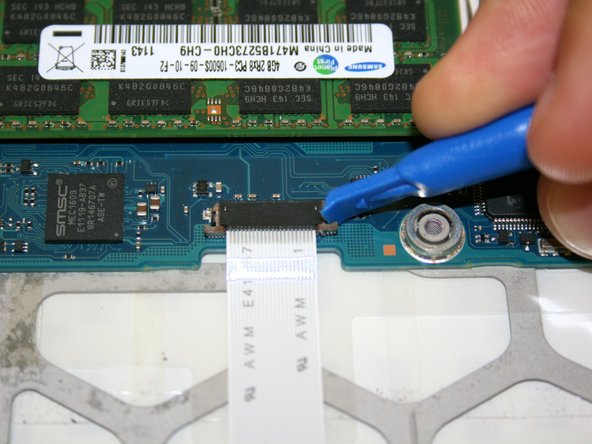
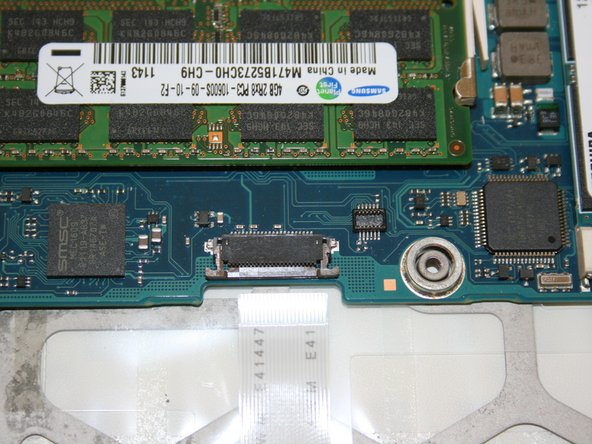
Remove one Phillips #0 3mm screw from the Wifi module.
-
Disconnect the wifi module from the motherboard by gently sliding piece out of the port.
-
-
-
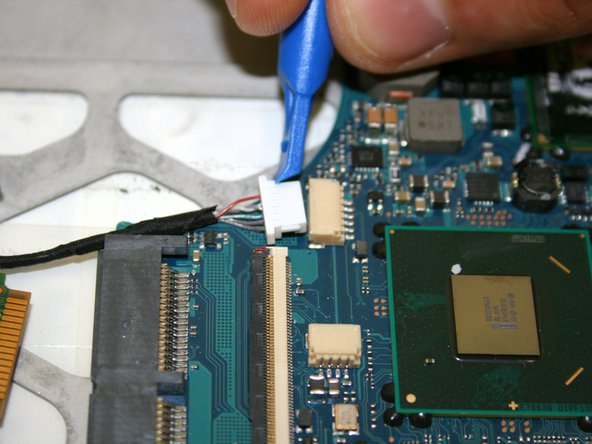
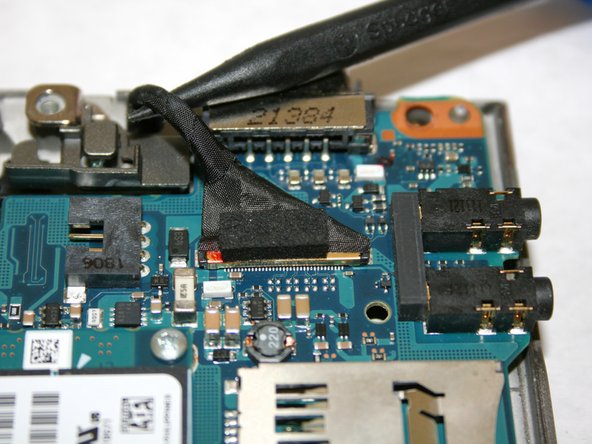
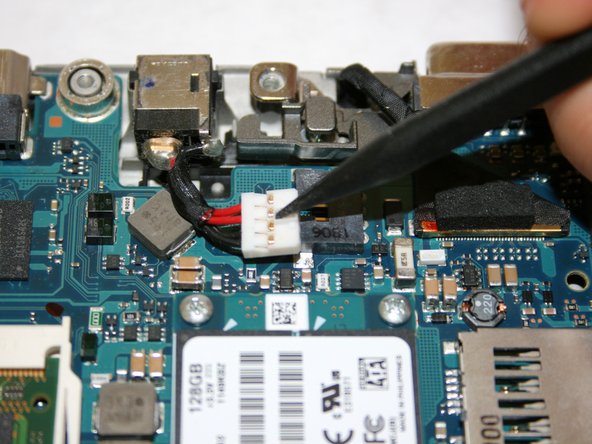
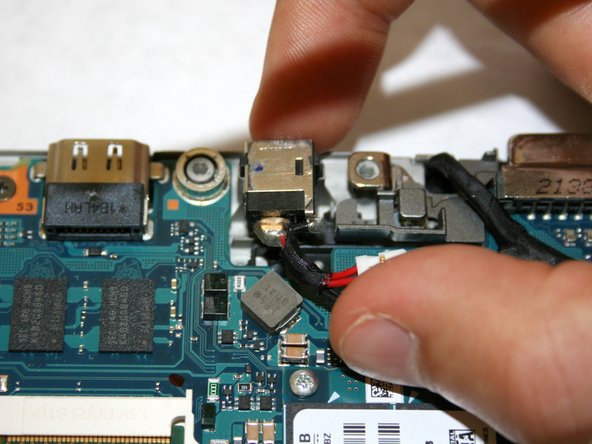
Using a nylon spudger, disconnect the DC power plug connector at the top of the motherboard.
-
Gently remove the whole piece from its holder and place it aside.
-
-
-
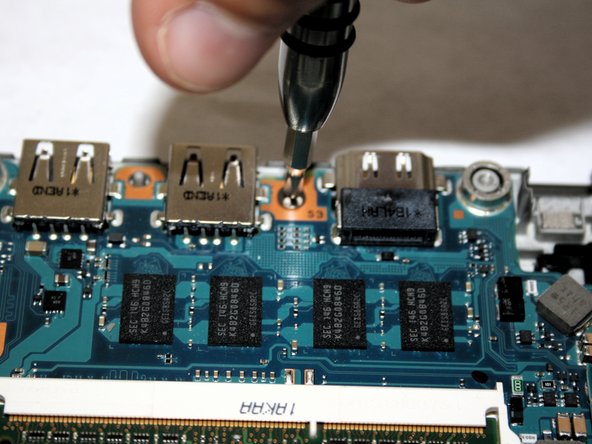
Remove one Phillips PH0 3mm screw from the top of the motherboard.
-
Gently lift the motherboard out of its casing to fully remove from the device.
-


Team

Washington State, Team S2-G7, Hope Fall 2018 Member of Washington State, Team S2-G7, Hope Fall 2018
WSU-HOPE-F18S2G7
3 Members
15 Guides authored