Introduction
This guide will tell you exactly how to replace the buttons on your Polaroid i533 camera if they stop working properly. The only skill required to finish this guide are being able to use a screwdriver and to be able to work with small replacement parts.
What you need
-
-
-
Using a #00 screw driver, remove all of the screws on the body of the camera. There are 9 screws total on the face of the camera
 Ask FixBot
-
-
-
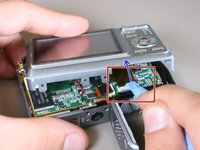
Slide open the battery door, then using the plastic opening tool, slightly open the side of the camera case.
-
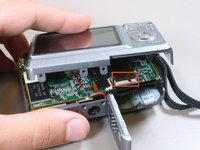
Gently pull apart the cover from the body of the camera.
-
-
-
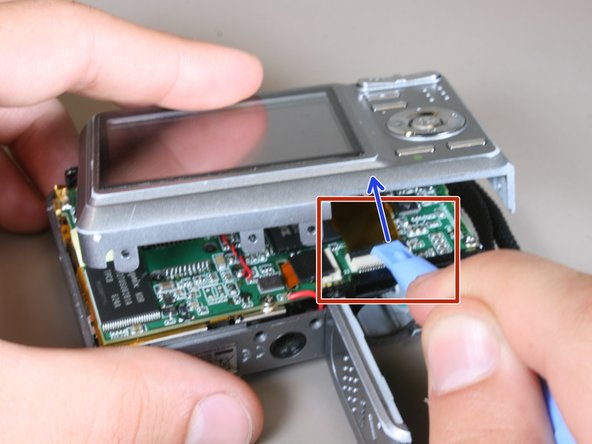
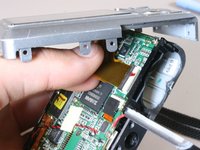
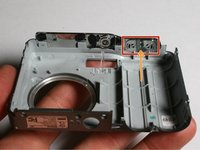
Locate the black tab where the LCD screen ribbon is attached to the logic board.
-
Using the plastic opening tool, flip the black tab towards the ribbon.
-
Gently pull the ribbon away from the logic board.
-
-
-
-
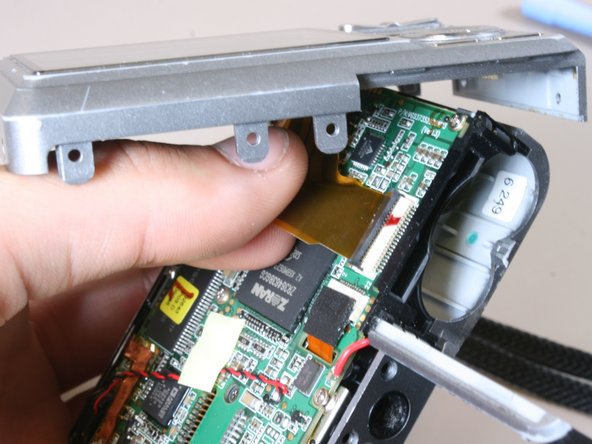
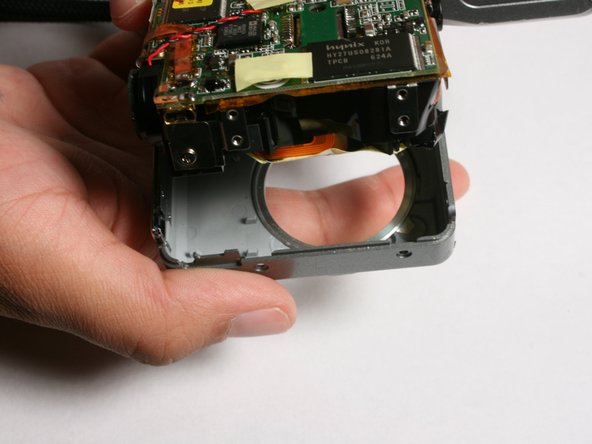
The back half of the camera with the LCD screen should now be separated from the front casing.
-
-
-
Using a #00 screwdriver, remove the four screws located at each corner of the LCD screen.
-
-
-
Remove the LCD screen from the old casing.
-
attach the LCD screen to the new casing using the screws removed in step 5.
-
-
-
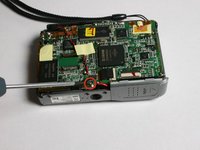
Using a #00 screw driver, remove the screw on the bottom of the logic board just above the tripod attachment.
-
Gently pull the front of the case away from the insides of the camera.
-
-
-
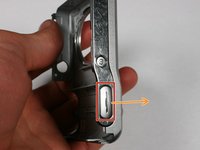
Locate the button that will be removed.
-
To remove: gently push outward on the button from the inside of the casing.
-
-
-
Remove spring from bottom of broken button.
-
Remove and replace defective button.
-
-


To reassemble your device, follow these instructions in reverse order.
Team

Cal Poly, Team 3-4, Johann Summer 2010 Member of Cal Poly, Team 3-4, Johann Summer 2010
CPSU-JOHANN-R10S3G4
4 Members
9 Guides authored