Introduction
This guide provides a quick and practical fix for common controller issues, such as unresponsive buttons or minor stick problems. It emphasizes simple steps, minimal tools, and efficiency. Whether you're dealing with early signs of wear or a sudden malfunction, this fast fix aims to get your controller back to working condition without the need for costly replacements.
What you need
-
-
Prepare tools including a precision screwdriver set, plastic pry tool, tweezers, isopropyl alcohol, and cotton swabs.
-
-
-
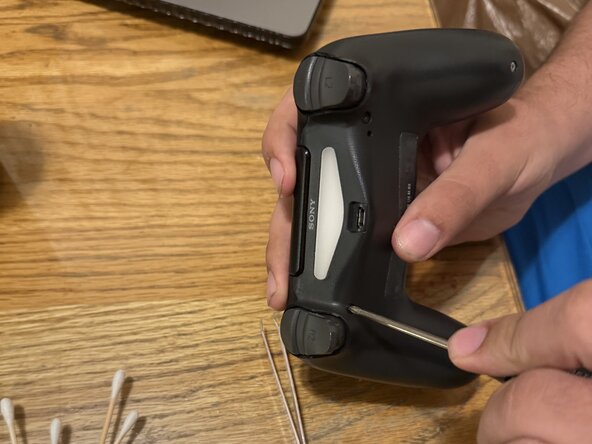
Locate and remove all screws from the controller casing using a screwdriver. top and bottom.
-
-
-
-
Carefully pry open the controller using a plastic tool to avoid damaging components.
-
-
-
Gently detach the battery and ribbon cables to access the motherboard, and then unscrew the motherboard retainer(black cover)
-
-
-
Identify the joystick assembly attached to the circuit board. Note: look hard for this one. It's a bit small
-
-
-
Apply isopropyl alcohol to the base of the analog stick and rotate it to remove dirt and other stuff. Note: be careful on how hard you clean with the swabs, and don't apply too much rubbing alcohol.
-
-
-
Reconnect all components, close the controller, and test it to ensure the stick drift is resolved. Note: since the battery was removed during the procedure, charging the controller is a must after putting it back together.
-
-
-
Reconnect all components, close the controller, and test it to ensure the stick drift is resolved. Note: since the battery was removed during the procedure, charging the controller is a must after putting it back together.
-


To reassemble your device, follow these instructions in reverse order.
Cancel: I did not complete this guide.
2 other people completed this guide.