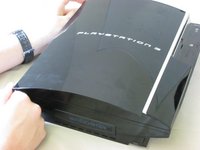
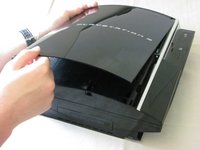
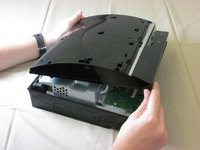
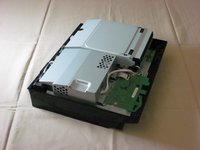
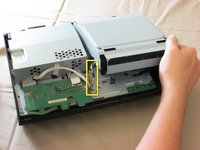
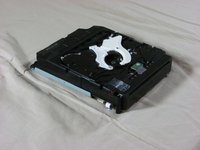
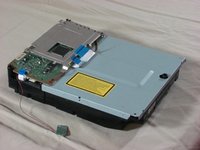
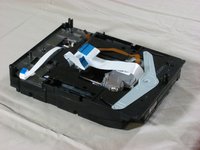
Playstation 3 Optical Drive Replacement

Archived Guide
This guide is retained solely for historical purposes. Use the updated version of the guide to perform your repair.

What you need

  1. Playstation 3 Optical Drive Replacement, Top Cover: step 1, image 1 of 2 Playstation 3 Optical Drive Replacement, Top Cover: step 1, image 2 of 2
    • Remove the rubber screw cover near the hard drive cover with a spudger.

  2. Playstation 3 Optical Drive Replacement: step 2, image 1 of 1
    • Remove the screw holding the top cover in place with a Torx T10 screwdriver.

  3. Playstation 3 Optical Drive Replacement: step 3, image 1 of 2 Playstation 3 Optical Drive Replacement: step 3, image 2 of 2
    • Slide the top cover down about half an inch.

    • Lift the cover off of the PS3.

  4. Playstation 3 Optical Drive Replacement: step 4, image 1 of 2 Playstation 3 Optical Drive Replacement: step 4, image 2 of 2
    • Remove the seven screws in the top cover with a Phillips #2 screwdriver.

    • One of the screws is shorter than the others. The short screw is marked in yellow.

  5. Playstation 3 Optical Drive Replacement: step 5, image 1 of 3 Playstation 3 Optical Drive Replacement: step 5, image 2 of 3 Playstation 3 Optical Drive Replacement: step 5, image 3 of 3
    • You can now lift off the top cover.

  6. Playstation 3 Optical Drive Replacement, Optical Drive: step 6, image 1 of 3 Playstation 3 Optical Drive Replacement, Optical Drive: step 6, image 2 of 3 Playstation 3 Optical Drive Replacement, Optical Drive: step 6, image 3 of 3
    • Lift the optical drive enclosure and disconnect the grey wires.

    • Do not lift it too far up before disconnecting the wires.

  7. Playstation 3 Optical Drive Replacement: step 7, image 1 of 3 Playstation 3 Optical Drive Replacement: step 7, image 2 of 3 Playstation 3 Optical Drive Replacement: step 7, image 3 of 3
    • Tilt the front of the optical drive enslosure upwards.

    • Lift the black ribbon cable latch on the back side with your finger or a spudger.

    • Disconnect the ribbon cable.

  8. Playstation 3 Optical Drive Replacement: step 8, image 1 of 1
    • Remove the optical drive enclosure from the PS3.

  9. Playstation 3 Optical Drive Replacement: step 9, image 1 of 3 Playstation 3 Optical Drive Replacement: step 9, image 2 of 3 Playstation 3 Optical Drive Replacement: step 9, image 3 of 3
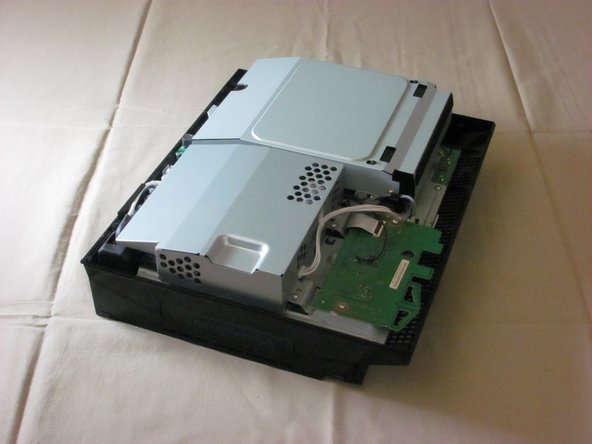
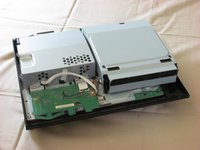
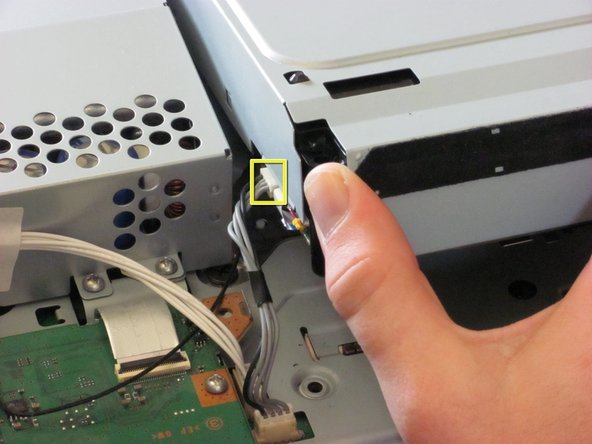
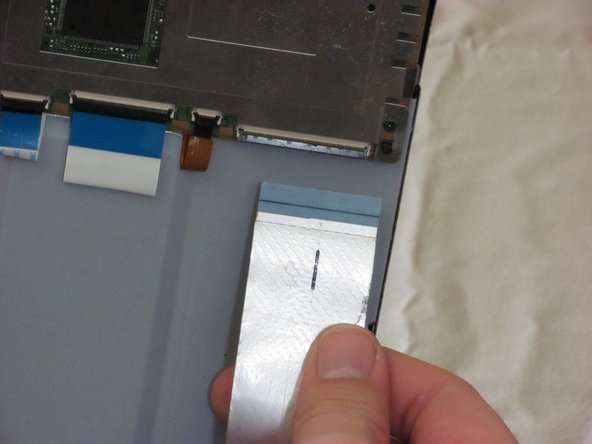
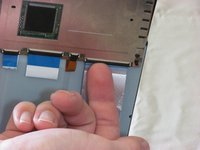
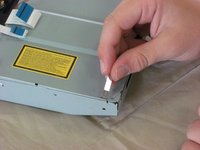
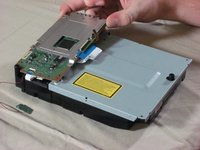
    • Flip over the optical drive enclosure. There are four ribbon cables connected to the circuit board. Using a spudger or your finger, lift each ribbon cable latch and disconnect each ribbon cable.

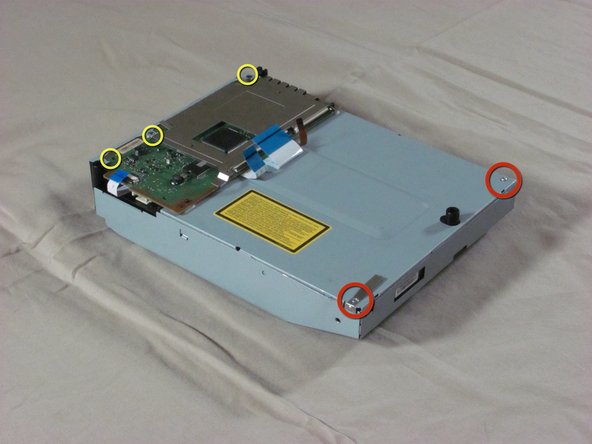
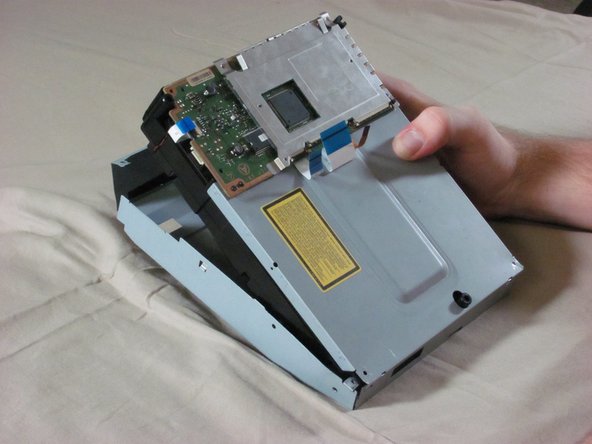
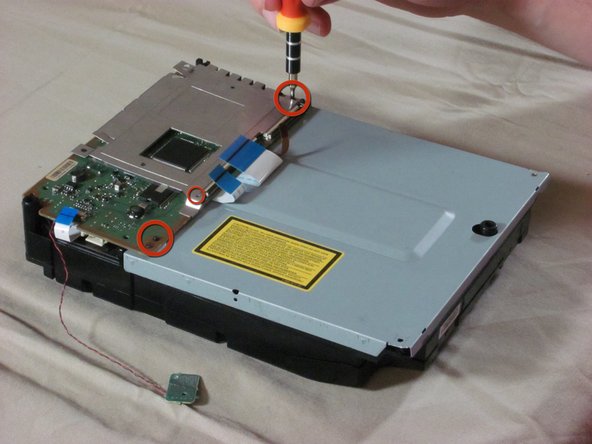
    • Remove the three screws on the board with a Phillips #00 screwdriver.

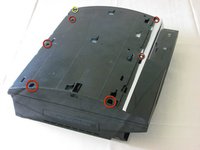
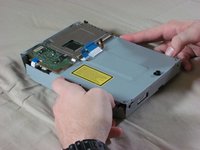
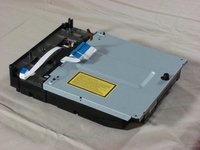
    • Remove the two silver screws on the bottom of the case. These screws are different from the ones on the board and should be kept separate.

    • Note: The longer of these two screws holds down a metal tab that comes loose as seen in the third picture.

  10. Playstation 3 Optical Drive Replacement: step 10, image 1 of 2 Playstation 3 Optical Drive Replacement: step 10, image 2 of 2
    • Using your thumbs, carefully bend out the sides of the metal enclosure.

    • Lift the plastic enclosure out of the metal enclosure.

  11. Playstation 3 Optical Drive Replacement: step 11, image 1 of 3 Playstation 3 Optical Drive Replacement: step 11, image 2 of 3 Playstation 3 Optical Drive Replacement: step 11, image 3 of 3
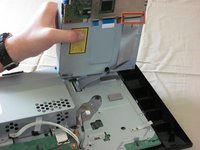
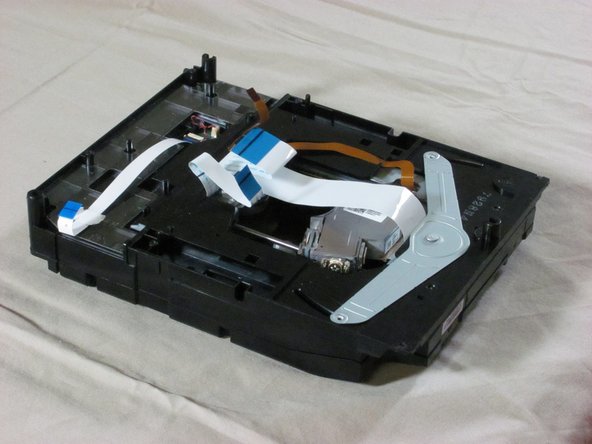
    • Flip over the enclosure so that the circuit board is on the bottom and the optical sensor is on top.

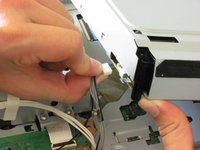
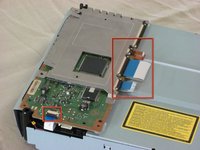
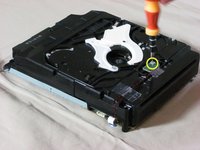
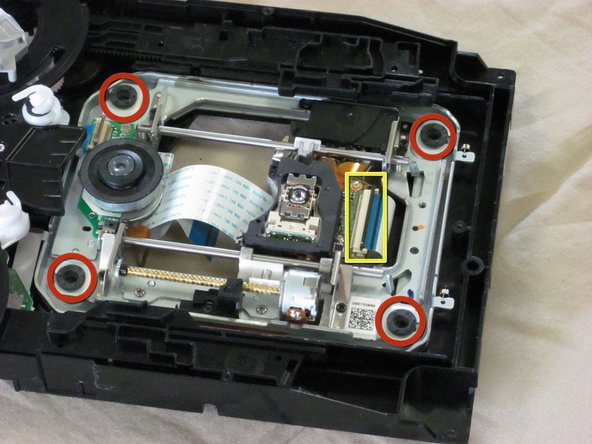
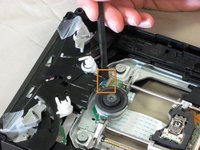
    • Remove the screw on the optical sensor using a Phillips #00 screwdriver.

    • Remove the tape on the red and black wires that connect to the optical sensor. With the wires still attached, take the sensor off the ensclosure.

    • The wires on the optical sensor are very weak. They will break easily if excessive force is applied to them.

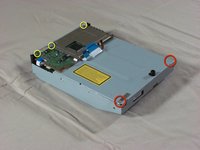
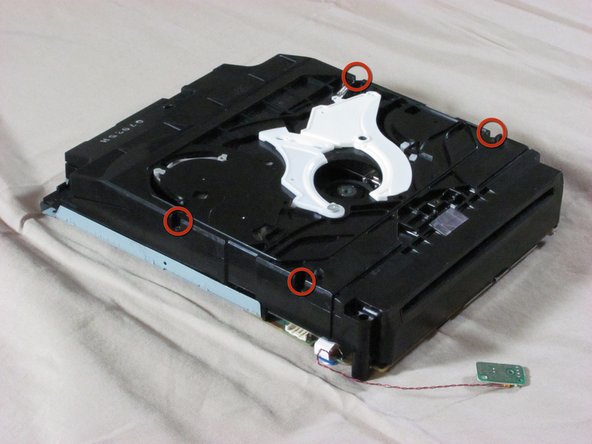
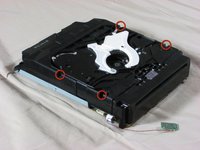
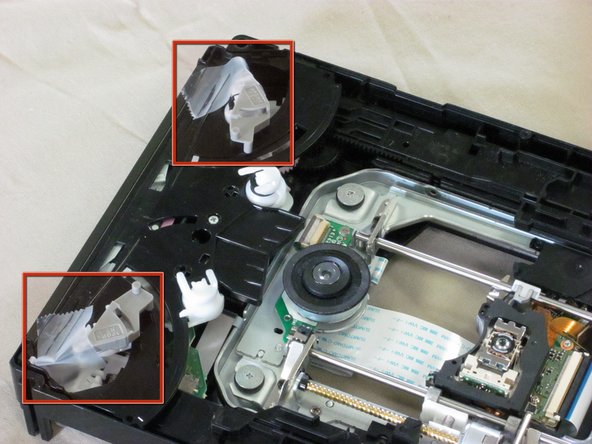
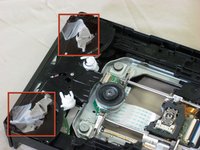
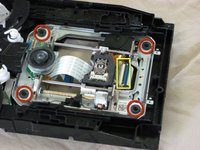
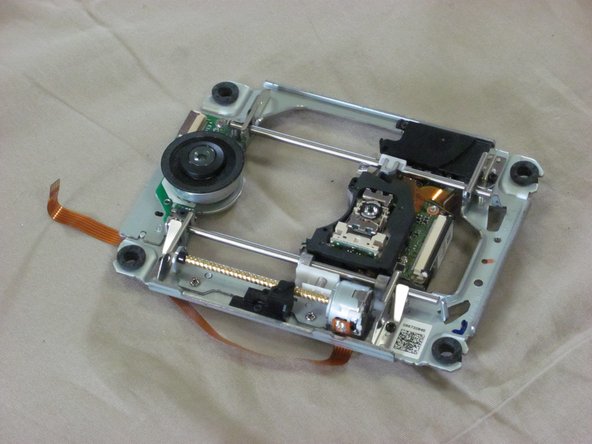
    • Remove the four black screws on the edges of the enclosure using a Phillips #00 screwdriver.

    • After taking out the screws, you don't have to open the enclosure just yet.

  12. Playstation 3 Optical Drive Replacement: step 12, image 1 of 2 Playstation 3 Optical Drive Replacement: step 12, image 2 of 2
    • Flip over the enclosure again.

    • Remove the rest of the screws in the corners of the circuit board.

  13. Playstation 3 Optical Drive Replacement: step 13, image 1 of 3 Playstation 3 Optical Drive Replacement: step 13, image 2 of 3 Playstation 3 Optical Drive Replacement: step 13, image 3 of 3
    • Lift the circuit board off the enclosure.

    • The metal EM shield on the circuit board is loose, so make sure to keep it together with the circuit board.

    • Remove the metal plate.

  14. Playstation 3 Optical Drive Replacement: step 14, image 1 of 2 Playstation 3 Optical Drive Replacement: step 14, image 2 of 2
    • Flip over the enclosure. Remove the black, plastic cover so that the drive and its enclosure match the first picture.

    • Proceed carefully. There are loose parts inside the optical drive. We recommend that you tape these parts.

  15. Playstation 3 Optical Drive Replacement: step 15, image 1 of 2 Playstation 3 Optical Drive Replacement: step 15, image 2 of 2
    • Using a spudger, lift the brown latch and disconnect the small ribbon cable.

    • Remove the four fat screws in the corners of the optical drive.

    • Using a spudger, lift the black latch and disconnect the larger ribbon cable.

  16. Playstation 3 Optical Drive Replacement: step 16, image 1 of 2 Playstation 3 Optical Drive Replacement: step 16, image 2 of 2
    • Carefully lift the optical drive out of the enclosure.

Conclusion

To reassemble your device, follow these instructions in reverse order.

2 other people completed this guide.

iDeleted

Member since: 07/07/10

2,101 Reputation

39 Guides authored

One Comment

When reassembling it there is a key part that needs to be exactly inline. see this video for help: http://www.youtube.com/watch?v=hzHPRGHFj...

Paddy - Reply

Add Comment

View Statistics:

Past 24 Hours: 0

Past 7 Days: 0

Past 30 Days: 0

All Time: 7,421