Playstation 3 Motherboard Replacement

Archived Guide
This guide is retained solely for historical purposes. Use the updated version of the guide to perform your repair.

What you need

  1. Playstation 3 Motherboard Replacement, Top Cover: step 1, image 1 of 2 Playstation 3 Motherboard Replacement, Top Cover: step 1, image 2 of 2
    • Remove the rubber screw cover near the hard drive cover with a spudger.

  2. Playstation 3 Motherboard Replacement: step 2, image 1 of 1
    • Remove the screw holding the top cover in place with a Torx T10 screwdriver.

  3. Playstation 3 Motherboard Replacement: step 3, image 1 of 2 Playstation 3 Motherboard Replacement: step 3, image 2 of 2
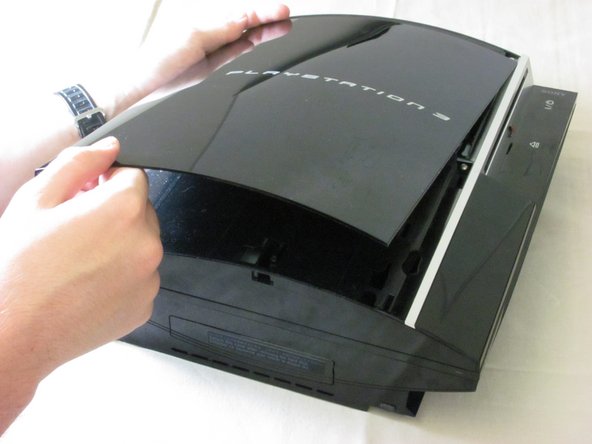
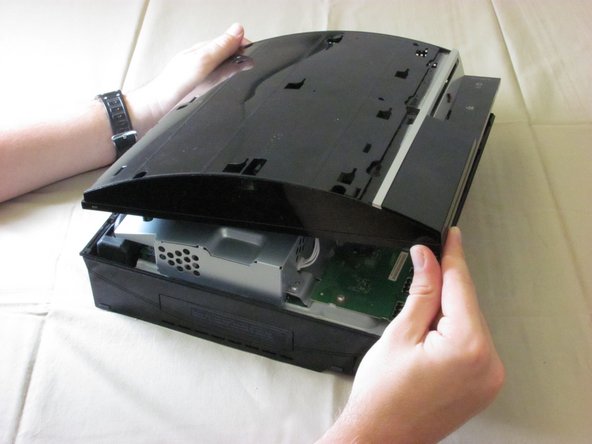
    • Slide the top cover down about half an inch.

    • Lift the cover off of the PS3.

  4. Playstation 3 Motherboard Replacement: step 4, image 1 of 2 Playstation 3 Motherboard Replacement: step 4, image 2 of 2
    • Remove the seven screws in the top cover with a Phillips #2 screwdriver.

    • One of the screws is shorter than the others. The short screw is marked in yellow.

  5. Playstation 3 Motherboard Replacement: step 5, image 1 of 3 Playstation 3 Motherboard Replacement: step 5, image 2 of 3 Playstation 3 Motherboard Replacement: step 5, image 3 of 3
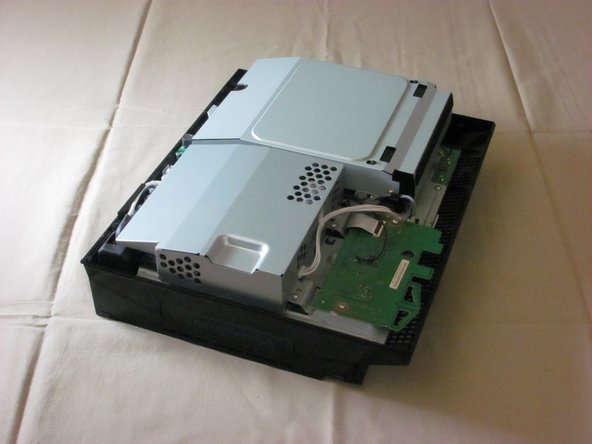
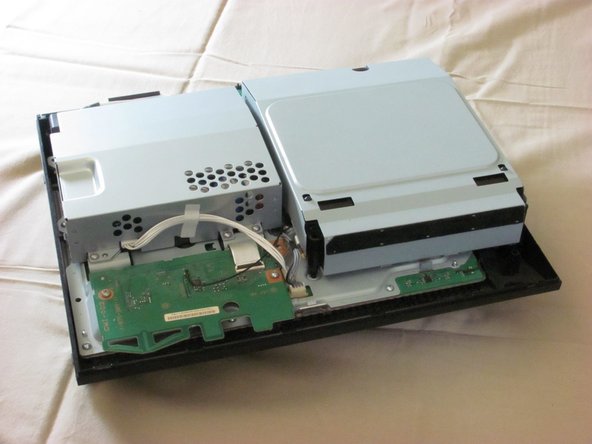
    • You can now lift off the top cover.

  6. Playstation 3 Motherboard Replacement, Power Supply: step 6, image 1 of 2 Playstation 3 Motherboard Replacement, Power Supply: step 6, image 2 of 2
    • Unplug the white wires connected to the wireless board. There are two sets of wires: one set in the front, one in the back.

    • Push down the tab on the connector to disconnect the wires.

    • Remove the two screws on the front of the power supply.

  7. Playstation 3 Motherboard Replacement: step 7, image 1 of 1
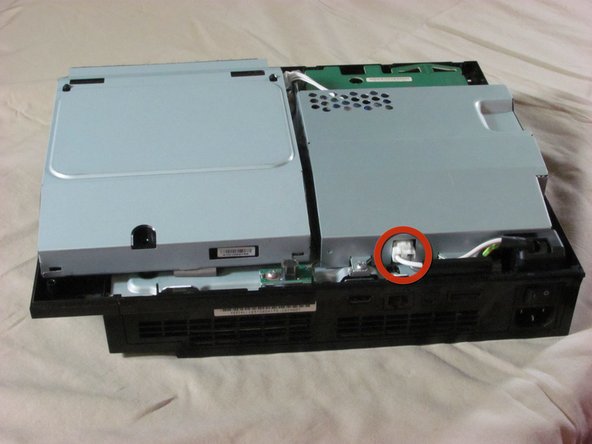
    • Remove the screws on the back of the power supply with a Phillips #2 screwdriver.

  8. Playstation 3 Motherboard Replacement: step 8, image 1 of 2 Playstation 3 Motherboard Replacement: step 8, image 2 of 2
    • Remove the power supply by lifting it straight up.

  9. Playstation 3 Motherboard Replacement, Motherboard Enclosure: step 9, image 1 of 2 Playstation 3 Motherboard Replacement, Motherboard Enclosure: step 9, image 2 of 2
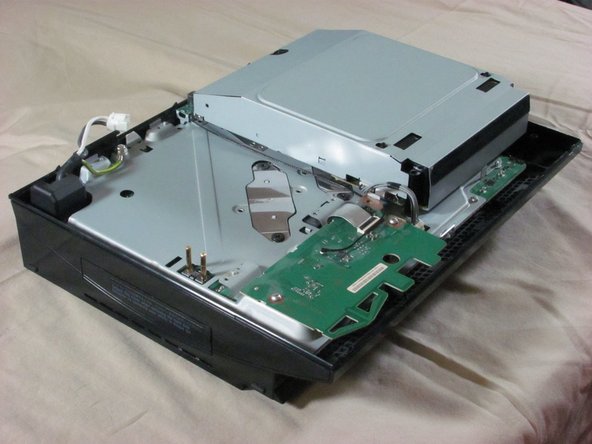
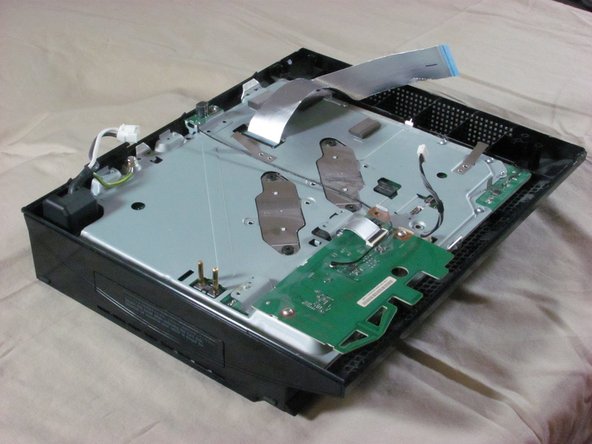
    • Unplug the optical drive power cable.

    • Detach the ribbon cable that connects the optical drive to the motherboard.

    • Set the optical drive aside.

  10. Playstation 3 Motherboard Replacement: step 10, image 1 of 2 Playstation 3 Motherboard Replacement: step 10, image 2 of 2
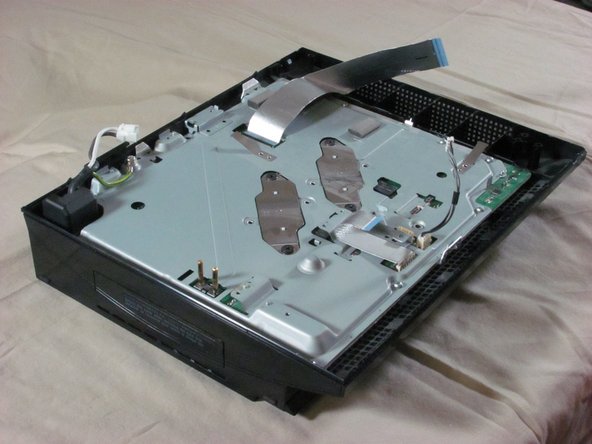
    • Remove three screws (Phillips #2) from the wireless board and antenna.

    • Detach the ribbon cable that connects the wireless board to the motherboard.

  11. Playstation 3 Motherboard Replacement: step 11, image 1 of 1
    • Remove nine screws (Phillips #2) from the perimeter of the metal plate covering the motherboard.

  12. Playstation 3 Motherboard Replacement: step 12, image 1 of 3 Playstation 3 Motherboard Replacement: step 12, image 2 of 3 Playstation 3 Motherboard Replacement: step 12, image 3 of 3
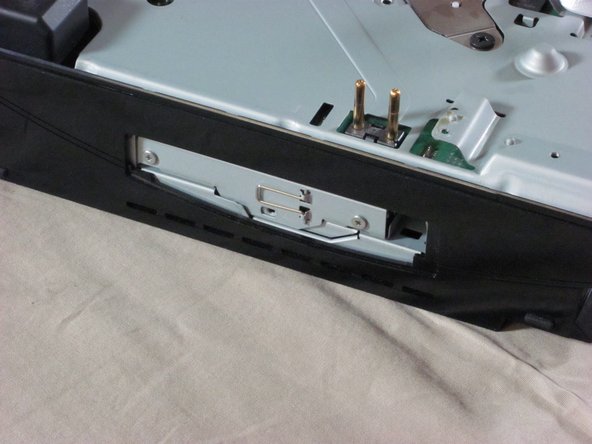
    • Remove the hard drive door with a spudger.

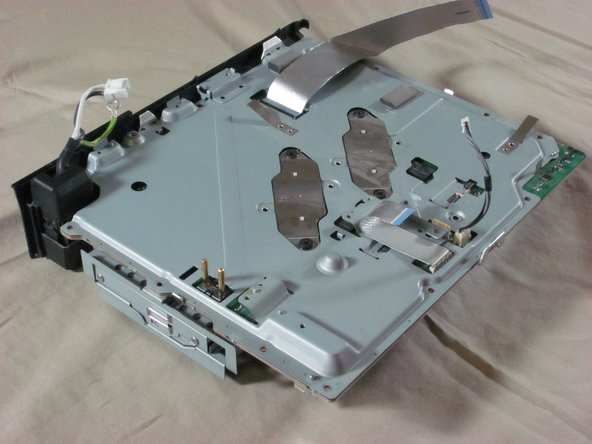
    • Lift the metal enclosure out of the plastic bottom case.

  13. Playstation 3 Motherboard Replacement, Motherboard: step 13, image 1 of 2 Playstation 3 Motherboard Replacement, Motherboard: step 13, image 2 of 2
    • Remove four black screws (Phillips #2) from the top plate of the motherboard enclosure.

    • The two, small plates held down by the screws should become loose. Remove these plates.

    • Remove these plates.

  14. Playstation 3 Motherboard Replacement: step 14, image 1 of 1
    • Remove the large, top plate by tilting it back until it comes off.

  15. Playstation 3 Motherboard Replacement: step 15, image 1 of 2 Playstation 3 Motherboard Replacement: step 15, image 2 of 2
    • Slide the back panel out of the enclosure.

  16. Playstation 3 Motherboard Replacement: step 16, image 1 of 3 Playstation 3 Motherboard Replacement: step 16, image 2 of 3 Playstation 3 Motherboard Replacement: step 16, image 3 of 3
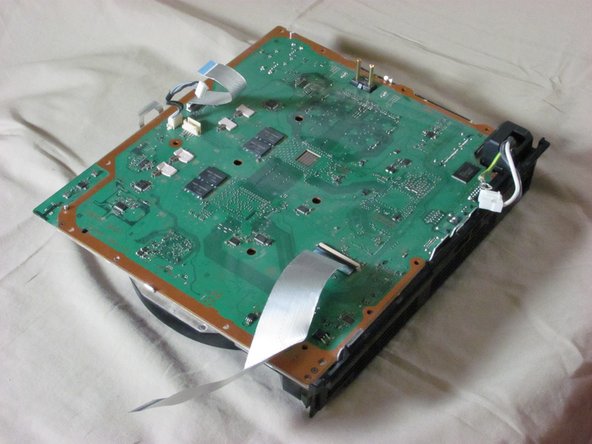
    • Lift the motherboard to separate it from the rest of the enclosure.

    • There are two blocks on the bottom of the motherboard that stick to the metal plate with thermal paste. When reattaching the motherboard to its enclosure, make sure to put thermal paste on those blocks.

    • Detach the two ribbon cables from the motherboard.

Conclusion

To reassemble your device, follow these instructions in reverse order.

3 other people completed this guide.

iDeleted

Member since: 07/07/10

2,101 Reputation

39 Guides authored

0 Comments

Add Comment

View Statistics:

Past 24 Hours: 0

Past 7 Days: 0

Past 30 Days: 1

All Time: 3,140