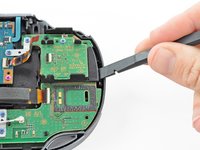
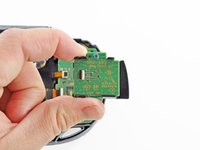
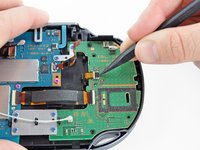
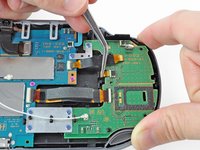
Free Shipping on Domestic Orders $75+

PlayStation Vita PS Button Replacement

What you need

  1. PlayStation Vita PS Button Replacement, Case Separation: step 1, image 1 of 2 PlayStation Vita PS Button Replacement, Case Separation: step 1, image 2 of 2
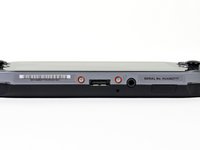
    • Power off and remove the memory card.

    • Using a Phillips #00 screwdriver, remove the four 6.4mm screws on the back casing.

    Ask FixBot
  2. PlayStation Vita PS Button Replacement: step 2, image 1 of 3 PlayStation Vita PS Button Replacement: step 2, image 2 of 3 PlayStation Vita PS Button Replacement: step 2, image 3 of 3
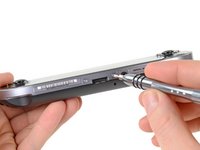
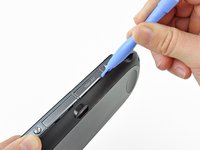
    • Using your fingernail or a spudger, pry open the accessory port cover on the top of the device.

    • Using a Phillips #00 screwdriver, remove the two 5.4mm screws hidden beneath the accessory port cover.

    Ask FixBot
  3. PlayStation Vita PS Button Replacement: step 3, image 1 of 2 PlayStation Vita PS Button Replacement: step 3, image 2 of 2
    • Remove the two 5.4mm Phillips #00 screws on the bottom of the device near the charging port.

    Ask FixBot
  4. PlayStation Vita PS Button Replacement: step 4, image 1 of 3 PlayStation Vita PS Button Replacement: step 4, image 2 of 3 PlayStation Vita PS Button Replacement: step 4, image 3 of 3
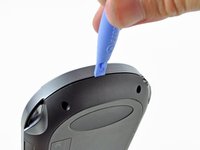
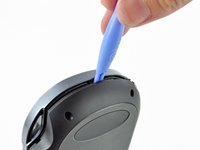
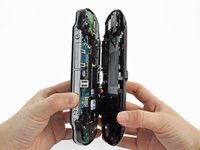
    • Beginning at the sides of the device, use a plastic opening tool to separate the front and rear cases.

    • Continue working your way around the device gently prying it open.

    • There are still wires holding the front and rear cases together. You may damage the connections if you yank the cases completely apart.

    Ask FixBot
  5. PlayStation Vita PS Button Replacement: step 5, image 1 of 2 PlayStation Vita PS Button Replacement: step 5, image 2 of 2
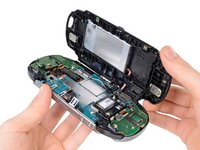
    • Gently separate the two cases, minding the battery and the touch screen controller connectors holding the two cases together.

    Ask FixBot
  6. PlayStation Vita PS Button Replacement: step 6, image 1 of 1
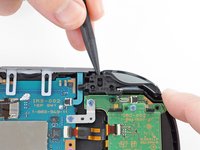
    • Using a spudger, free the touch screen controller flex cable by gently prying up the connection.

    Ask FixBot
  7. PlayStation Vita PS Button Replacement: step 7, image 1 of 1
    • Free the battery cable by gently prying up on the connection with a spudger.

    Ask FixBot
  8. PlayStation Vita PS Button Replacement: step 8, image 1 of 1
    • Separate the front and rear cases.

    Ask FixBot
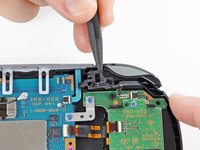
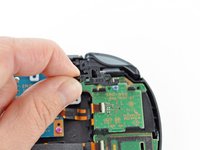
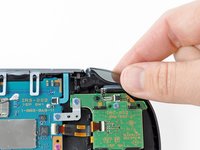
  9. PlayStation Vita PS Button Replacement, Left Shoulder Button: step 9, image 1 of 3 PlayStation Vita PS Button Replacement, Left Shoulder Button: step 9, image 2 of 3 PlayStation Vita PS Button Replacement, Left Shoulder Button: step 9, image 3 of 3
    • Pry up the left shoulder button casing with a spudger.

    • Remove the left shoulder button casing.

    Ask FixBot
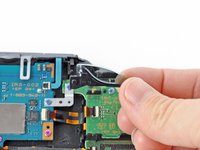
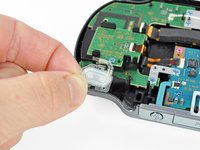
  10. PlayStation Vita PS Button Replacement: step 10, image 1 of 2 PlayStation Vita PS Button Replacement: step 10, image 2 of 2
    • Remove the translucent, plastic left shoulder button cover.

    Ask FixBot
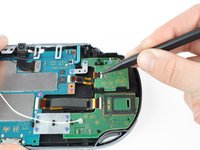
  11. PlayStation Vita PS Button Replacement: step 11, image 1 of 3 PlayStation Vita PS Button Replacement: step 11, image 2 of 3 PlayStation Vita PS Button Replacement: step 11, image 3 of 3
    Tool used on this step:
    Tweezers
    $4.99
    Buy
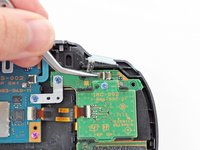
    • Release the left shoulder button flex cable socket by using a spudger to pry open the tab.

    • Be careful to not break off this small black tab!

    • Using tweezers, slide the flex cable out of the socket. Do not pull on the black tab! Instead, pull the thin flex cable away from the connector (to the left in this image).

    Ask FixBot
  12. PlayStation Vita PS Button Replacement: step 12, image 1 of 2 PlayStation Vita PS Button Replacement: step 12, image 2 of 2
    • Using a spudger, gently peel up the left shoulder button from the light adhesive connecting it to casing.

    Ask FixBot
  13. PlayStation Vita PS Button Replacement, Left Button Board: step 13, image 1 of 2 PlayStation Vita PS Button Replacement, Left Button Board: step 13, image 2 of 2
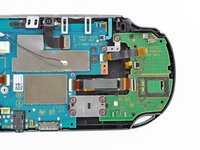
    • Using a spudger, lift and release the tab on the ZIF socket sitting on the SIM card reader.

    • Carefully pull the flex cable out of the ZIF socket, and rest it out of the way.

    Ask FixBot
  14. PlayStation Vita PS Button Replacement: step 14, image 1 of 3 PlayStation Vita PS Button Replacement: step 14, image 2 of 3 PlayStation Vita PS Button Replacement: step 14, image 3 of 3
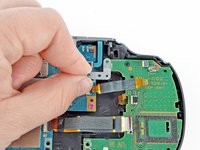
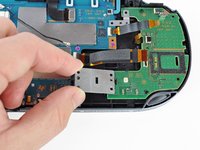
    • Use a spudger to release the tab between the SIM card reader and the back casing assembly.

    • Lift the SIM card reader off the back casing assembly.

    Ask FixBot
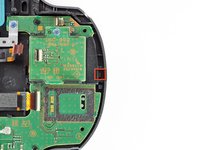
  15. PlayStation Vita PS Button Replacement: step 15, image 1 of 2 PlayStation Vita PS Button Replacement: step 15, image 2 of 2
    Tool used on this step:
    Tweezers
    $4.99
    Buy
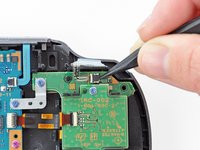
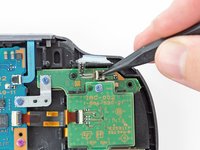
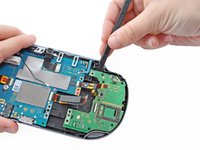
    • Release the plastic tab on the small flex cable socket by prying it up with a spudger.

    • Using tweezers, gently remove the small flex cable from the socket, and rest it out of the way.

    Ask FixBot
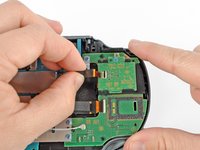
  16. PlayStation Vita PS Button Replacement: step 16, image 1 of 2 PlayStation Vita PS Button Replacement: step 16, image 2 of 2
    • Use a spudger to lift up the tab on the large ZIF socket.

    • Gently pull the flex cable out of the ZIF socket, and rest it out of the way.

    Ask FixBot
  17. PlayStation Vita PS Button Replacement: step 17, image 1 of 2 PlayStation Vita PS Button Replacement: step 17, image 2 of 2
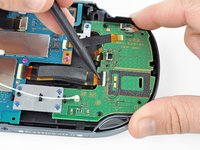
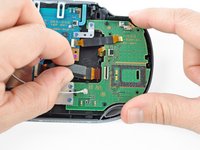
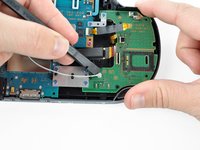
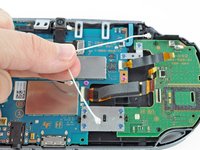
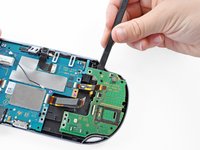
    • Disconnect the white Wi-Fi antenna cable with a spudger.

    • Remove the Wi-Fi antenna cable.

    Ask FixBot
  18. PlayStation Vita PS Button Replacement: step 18, image 1 of 3 PlayStation Vita PS Button Replacement: step 18, image 2 of 3 PlayStation Vita PS Button Replacement: step 18, image 3 of 3
    • Using a Phillips #00 screwdriver, remove the six screws on the two metal brackets:

    • Two 5.0mm, blue screws on the L-bracket securing the upper left button board to the motherboard.

    • Four 5.0mm, blue screws on the square bracket securing the lower left button board to the motherboard.

    Ask FixBot
  19. PlayStation Vita PS Button Replacement: step 19, image 1 of 3 PlayStation Vita PS Button Replacement: step 19, image 2 of 3 PlayStation Vita PS Button Replacement: step 19, image 3 of 3
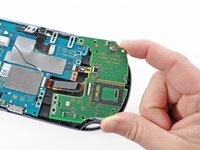
    • Starting from the upper left corner, use a spudger to pry up and remove the left button board.

    Ask FixBot
  20. PlayStation Vita PS Button Replacement, PS Button: step 20, image 1 of 3 PlayStation Vita PS Button Replacement, PS Button: step 20, image 2 of 3 PlayStation Vita PS Button Replacement, PS Button: step 20, image 3 of 3
    Tool used on this step:
    Tweezers
    $4.99
    Buy
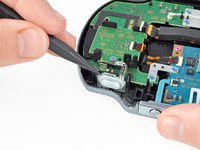
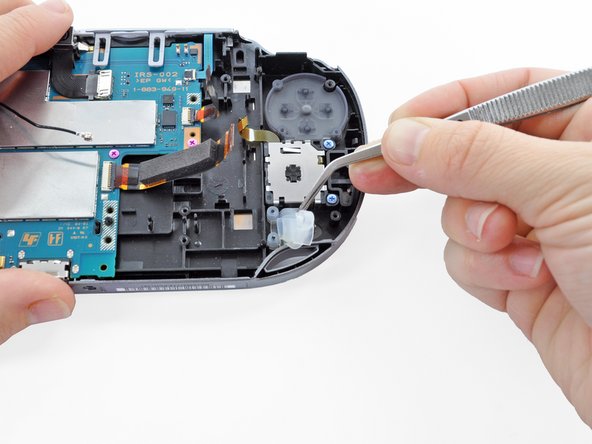
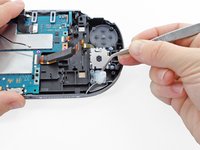
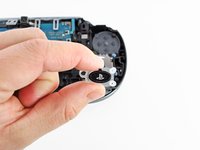
    • Using tweezers, peel up and remove the PS button.

    Ask FixBot
Conclusion

To reassemble your device, follow these instructions in reverse order.

7 other people completed this guide.

Brittany McCrigler

Member since: 03/05/12

90,868 Reputation

142 Guides authored

Team

iFixit Member of iFixit

Staff

123 Members

25,710 Guides authored

0 Guide Comments

Add Comment

View Statistics:

Past 24 Hours: 6

Past 7 Days: 41

Past 30 Days: 222

All Time: 13,159