
15% Off Selected iFixit Tools — Limited Time
Free Shipping on Domestic Orders $75+

PlayStation VR Display Replacement

What you need

  1. PlayStation VR Display Replacement, LED Light Tracker: step 1, image 1 of 3 PlayStation VR Display Replacement, LED Light Tracker: step 1, image 2 of 3 PlayStation VR Display Replacement, LED Light Tracker: step 1, image 3 of 3
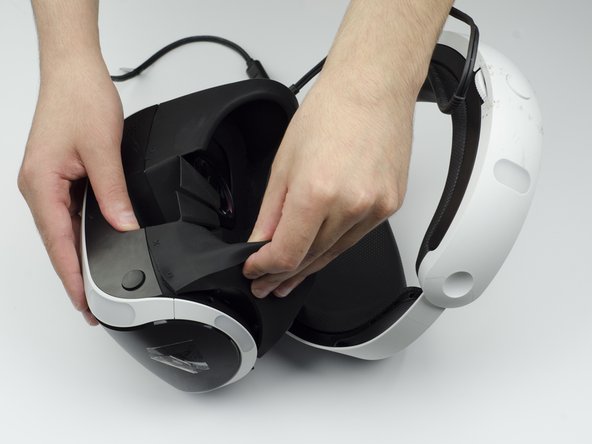
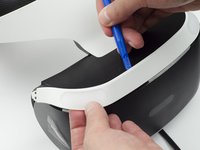
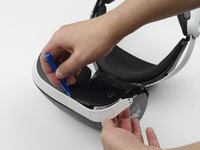
    • Peel back the rubber covering around the lenses to remove the surrounding plastic eyepieces.

    Ask FixBot

    Add Comment

  2. PlayStation VR Display Replacement: step 2, image 1 of 2 PlayStation VR Display Replacement: step 2, image 2 of 2
    • Unscrew four 13 mm screws with a PH #000 screwdriver.

    Ask FixBot

    Add Comment

  3. PlayStation VR Display Replacement: step 3, image 1 of 2 PlayStation VR Display Replacement: step 3, image 2 of 2
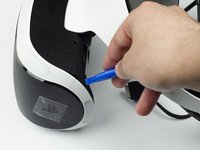
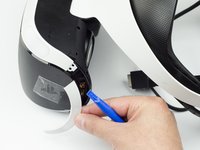
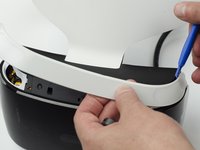
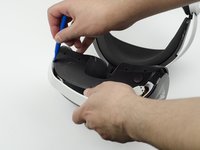
    • Using the plastic opening tool, carefully pry the white plastic panel free from the side of the headset. Repeat this action for the opposite side.

    Ask FixBot

    Add Comment

  4. PlayStation VR Display Replacement: step 4, image 1 of 3 PlayStation VR Display Replacement: step 4, image 2 of 3 PlayStation VR Display Replacement: step 4, image 3 of 3
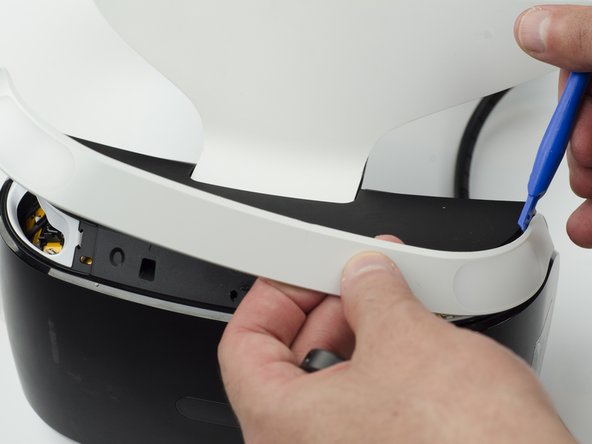
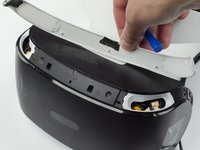
    • Use the plastic opening tool to pry the top white plastic panel free from the headset.

    • Do not try to remove the bottom plastic panel. There is a screw attaching it that must be removed first.

    • There may be a small amount of adhesive attaching the top panel to the headset, in which case you may need to use a bit more force to remove the panel.

    Ask FixBot

    Add Comment

  5. PlayStation VR Display Replacement: step 5, image 1 of 1
    • Flip the headset over.

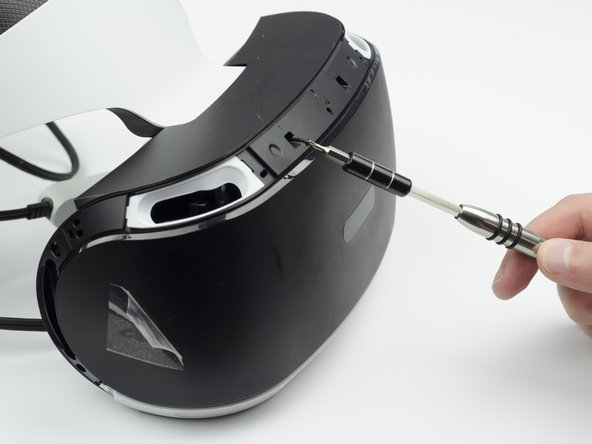
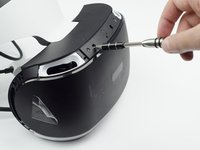
    • Using a PH #000, unscrew the 7 mm screw found on the bottom of the headset.

    Ask FixBot

    Add Comment

  6. PlayStation VR Display Replacement: step 6, image 1 of 3 PlayStation VR Display Replacement: step 6, image 2 of 3 PlayStation VR Display Replacement: step 6, image 3 of 3
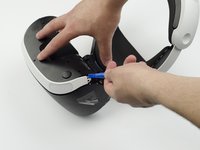
    • Using the plastic opening tool, pry the bottom white plastic panel loose and remove it from the headset.

    • There is adhesive attaching the panel to the headset, in which case it will take more force to remove the panel.

    Ask FixBot

    Add Comment

  7. PlayStation VR Display Replacement: step 7, image 1 of 3 PlayStation VR Display Replacement: step 7, image 2 of 3 PlayStation VR Display Replacement: step 7, image 3 of 3
    • Unscrew the two 7 mm screws from the top of the headset.

    Ask FixBot

    Add Comment

  8. PlayStation VR Display Replacement: step 8, image 1 of 3 PlayStation VR Display Replacement: step 8, image 2 of 3 PlayStation VR Display Replacement: step 8, image 3 of 3
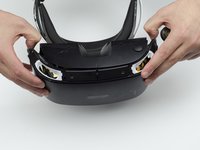
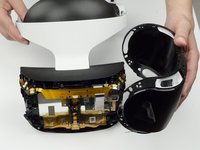
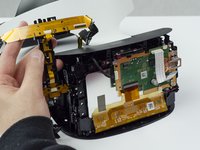
    • Using your fingers, carefully pry the black front panel free from the headset.

    • We recommend that you start the removal from the sides by pulling them forward.

    • There is adhesive holding the front panel in place, which means you will need a bit of extra force to remove it.

    Ask FixBot

    Add Comment

  9. PlayStation VR Display Replacement: step 9, image 1 of 1
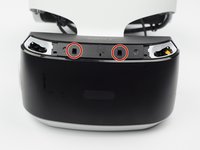
    • Unscrew the four silver 6 mm screws in each corner using a PH #000 screwdriver.

    Ask FixBot

    Add Comment

  10. PlayStation VR Display Replacement: step 10, image 1 of 3 PlayStation VR Display Replacement: step 10, image 2 of 3 PlayStation VR Display Replacement: step 10, image 3 of 3
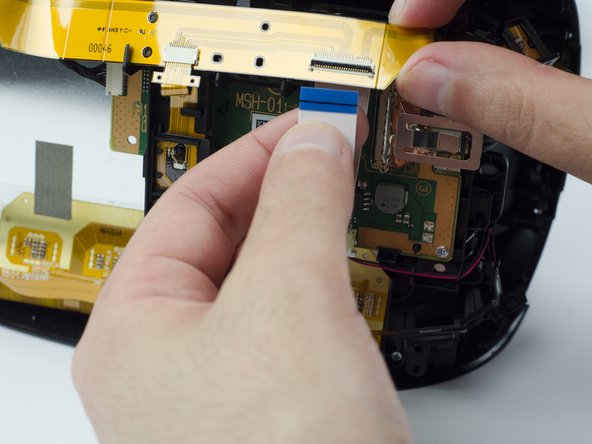
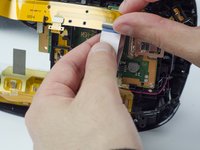
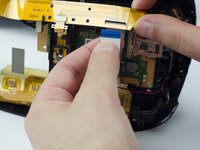
    • Lift the small silver latch attaching the ZIF (zero insertion force) connector to the circuit board.

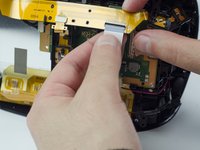
    • Carefully pull the end of the white ribbon connector from its slot.

    • Be careful not to damage or dirty the ribbon connector.

    Ask FixBot

    Add Comment

  11. PlayStation VR Display Replacement: step 11, image 1 of 2 PlayStation VR Display Replacement: step 11, image 2 of 2
    • Unhitch the yellow led connector ribbon and move it aside.

    • Be careful not to damage or dirty the ribbon connector.

    Ask FixBot

    Add Comment

  12. PlayStation VR Display Replacement: step 12, image 1 of 3 PlayStation VR Display Replacement: step 12, image 2 of 3 PlayStation VR Display Replacement: step 12, image 3 of 3
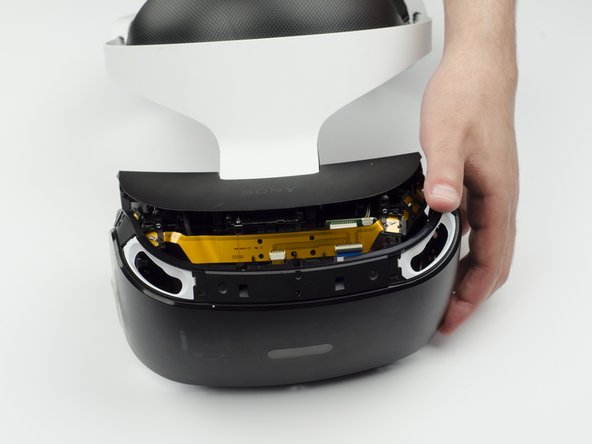
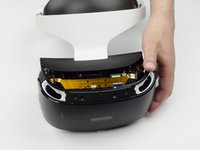
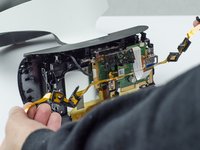
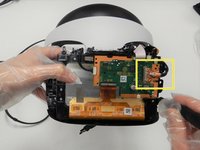
    • Carefully pry the black plastic piece attaching the yellow ribbon to the headset away from the green circuit board.

    • Remove the yellow LED ribbons and black plastic connecting piece from the headset.

    Ask FixBot

    Add Comment

  13. PlayStation VR Display Replacement, Motherboard: step 13, image 1 of 1
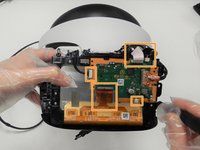
    • Remove the two 6mm screws on the L shaped silver clip to the upper left of the motherboard using the Phillips #000 screwdriver.

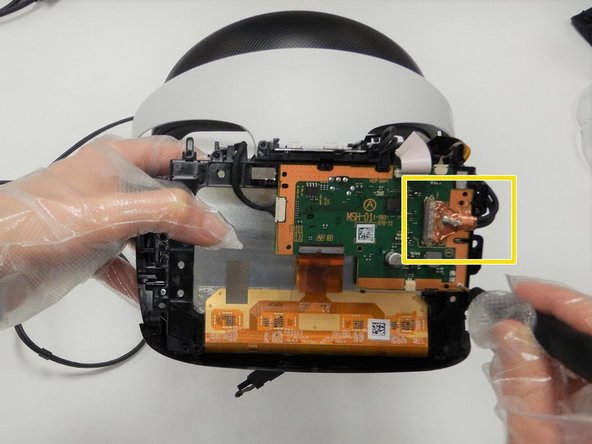
    • Remove the one 6mm screw that is securing the silver clip on the far right side using the Phillips #000 screwdriver.

    Ask FixBot

    Add Comment

  14. PlayStation VR Display Replacement: step 14, image 1 of 3 PlayStation VR Display Replacement: step 14, image 2 of 3 PlayStation VR Display Replacement: step 14, image 3 of 3
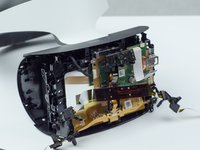
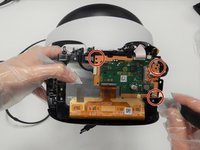
    • Remove the three 6mm screws from the motherboard using the Phillips #000 screwdriver.

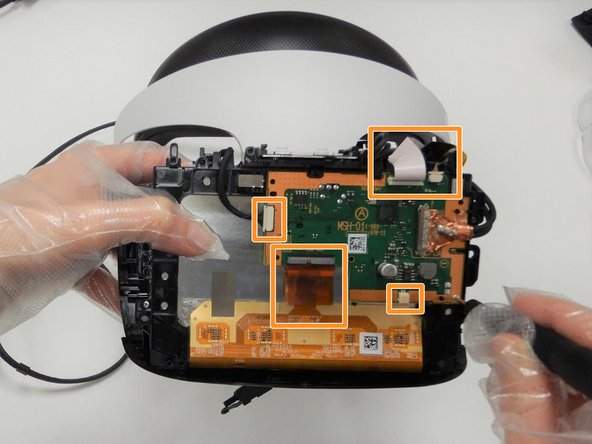
    • Unplug the white cable and ribbons from the motherboard(make sure to lift the gates on the ribbons before pulling out).

    • Unplug the HDMI cable by lifting the gate and pulling gently(there will be adhesive).

    Ask FixBot

    Add Comment

  15. PlayStation VR Display Replacement: step 15, image 1 of 1
    • Carefully remove the motherboard and place it on a hard dry surface.

    Ask FixBot

    Add Comment

  16. PlayStation VR Display Replacement, Display: step 16, image 1 of 1
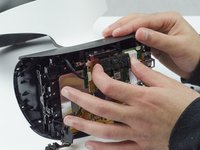
    • Press down firmly on the two clips on the sides of the device to remove the display.

    • If dust enters the display, it can impair function of the device.

    Ask FixBot

    Add Comment

  17. PlayStation VR Display Replacement: step 17, image 1 of 1
    • Remove the four 6mm screws holding the display in place using the Phillips #000 screwdriver.

    Ask FixBot

    Add Comment

  18. PlayStation VR Display Replacement: step 18, image 1 of 1
    • Carefully remove the display from the headset.

    Ask FixBot

    Add Comment

Conclusion

To reassemble your device, follow these instructions in reverse order.

Cancel: I did not complete this guide.

2 other people completed this guide.

1 Guide Comment

Where did you get the display that you replaced the first display with?

Junebug - Reply Share

Add Comment

View Statistics:

Past 24 Hours: 2

Past 7 Days: 20

Past 30 Days: 63

All Time: 4,480