Introduction
If your Playstation DualShock 3 controller's Start, Select, or PlayStation rubber buttons are damaged, cracked, or ripped, use this guide to replace the rubber and restore the button's function. When this rubber piece is damaged, the controller might not be able to read the button's input.
Before using this guide, test the buttons by pressing down on them from different angles. Typically, there will be no input received if the button is pressed too lightly, or from the sides.
In Step 3, the #2 trigger buttons might pop off while removing the rear cover. If that happens, refer to this guide.
What you need
-
-
Use a Phillips #1 screwdriver to remove the five 7.2 mm screws securing the rear cover.
-
-
-
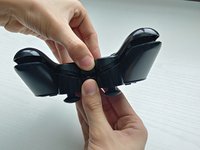
Gently push the rear cover towards the front of the #2 trigger buttons.
-
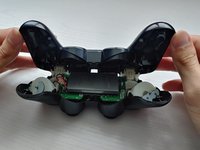
Lift the rear cover.
-
-
-
-
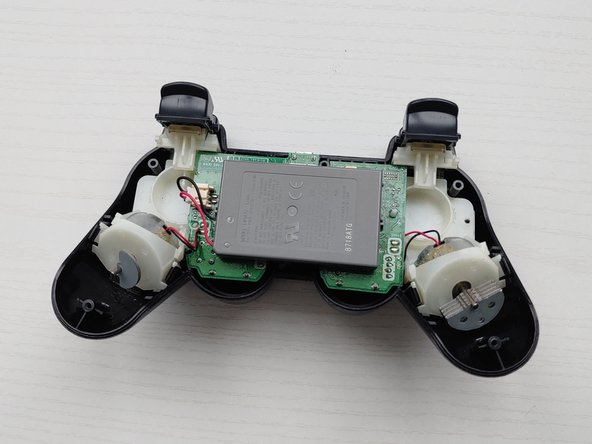
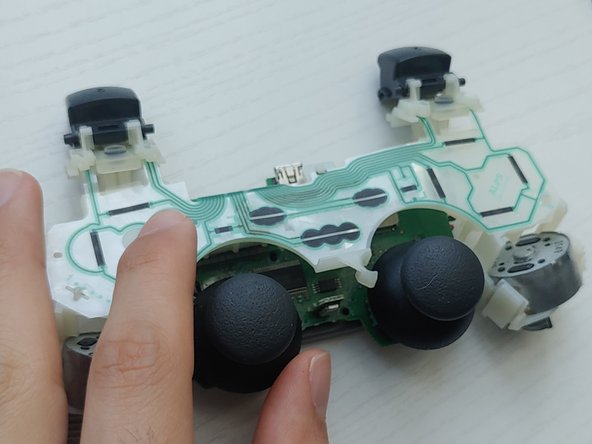
Lift the battery and set it beside the controller, with care not to strain the wires.
-
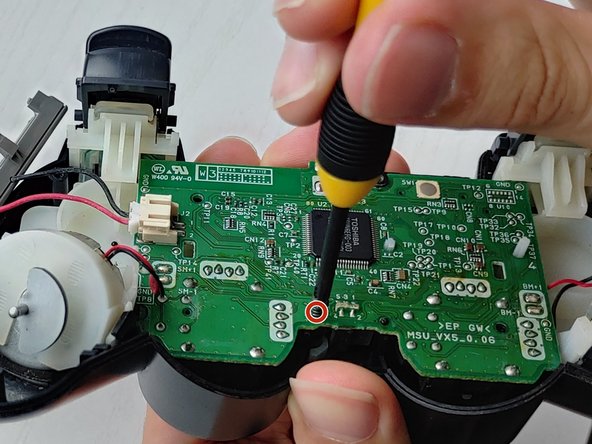
Use a Phillips #1 screwdriver to remove the single 7.2 mm screw securing the motherboard.
-
-
-
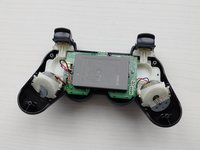
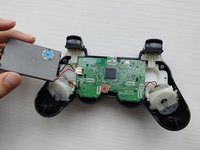
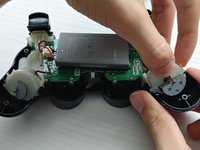
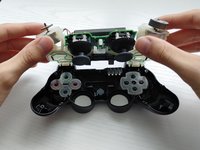
Lift off the plastic housing holding the motherboard, battery, and vibrating motors.
-
-
Tool used on this step:Tweezers$4.99
-
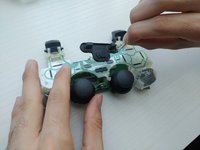
Remove the rubber buttons with a pair of tweezers.
-


To reassemble your device, follow these instructions in reverse order.
Cancel: I did not complete this guide.
3 other people completed this guide.
Team

University of Puerto Rico Mayagüez, Team 3-6, Cools Stephens Spring 2022 Member of University of Puerto Rico Mayagüez, Team 3-6, Cools Stephens Spring 2022
UPRM-COOLS STEPHENS-S22S3G6
1 Member
2 Guides authored