Free Shipping on Domestic Orders $75+

PlayStation Move Motherboard Replacement

What you need

    1. PlayStation Move Motherboard Replacement, Battery: step 1, image 1 of 3 PlayStation Move Motherboard Replacement, Battery: step 1, image 2 of 3 PlayStation Move Motherboard Replacement, Battery: step 1, image 3 of 3
      • Using a Phillips #0 screwdriver, remove the four 10mm screws located on the back of the device.

      Ask FixBot

      Add Comment

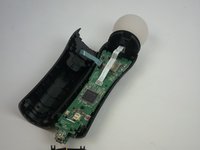
    2. PlayStation Move Motherboard Replacement: step 2, image 1 of 2 PlayStation Move Motherboard Replacement: step 2, image 2 of 2
      • Insert the plastic opening tool at the indent.

      • Gently use a forward and backward motion to safely pop open the cover.

      • Using your hands to further pull it apart.

      Ask FixBot

      Add Comment

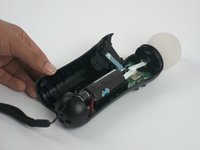
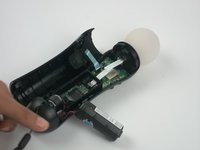
    3. PlayStation Move Motherboard Replacement: step 3, image 1 of 2 PlayStation Move Motherboard Replacement: step 3, image 2 of 2
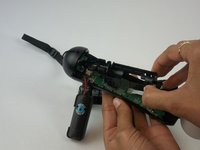
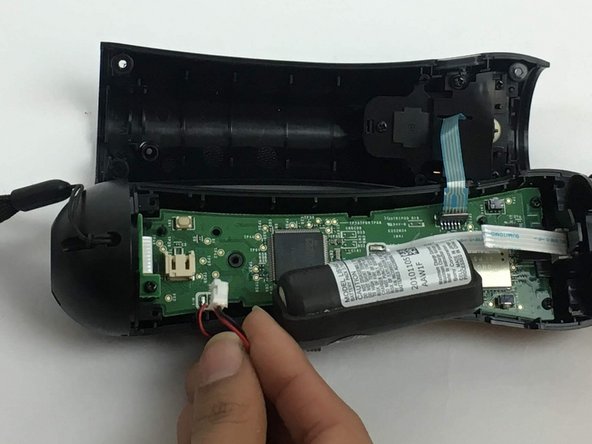
      • Once the device is opened, lift the battery out of the black plastic holder.

      • Carefully pull the battery out and ensure that it's wires are still connected to the inside.

      Ask FixBot

      Add Comment

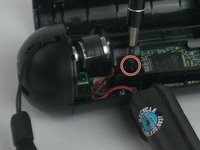
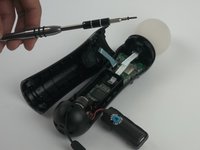
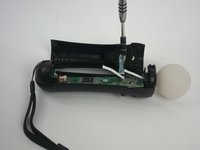
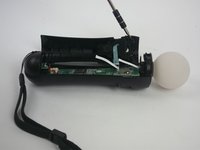
    4. PlayStation Move Motherboard Replacement: step 4, image 1 of 3 PlayStation Move Motherboard Replacement: step 4, image 2 of 3 PlayStation Move Motherboard Replacement: step 4, image 3 of 3
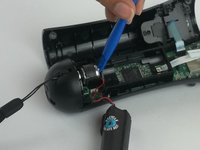
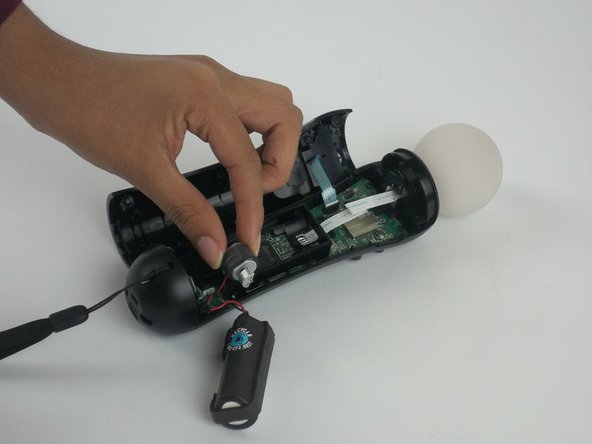
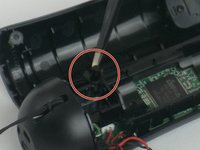
      • Using a Phillips head screwdriver, remove the 9mm screw located to the right of the battery, which is connected to the inner plastic frame.

      • Using the plastic opening tool carefully take out the grey cylindrical piece (vibrator) that is also attached to a wire.

      Ask FixBot

      Add Comment

    5. PlayStation Move Motherboard Replacement: step 5, image 1 of 2 PlayStation Move Motherboard Replacement: step 5, image 2 of 2
      • Gently pull out the small grey cylindrical piece (vibrator).

      • Removing this piece makes it easier to access the wire connection of the battery and remove it.

      Ask FixBot

      Add Comment

    6. PlayStation Move Motherboard Replacement: step 6, image 1 of 2 PlayStation Move Motherboard Replacement: step 6, image 2 of 2
      Tool used on this step:
      Tweezers
      $4.99
      Buy
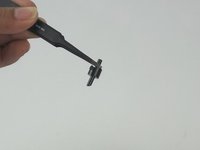
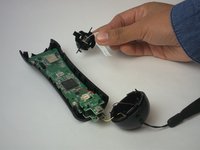
      • Using tweezers, remove the small piece with a cylindrical top that is located to the left of the inner plastic frame.

      Ask FixBot

      Add Comment

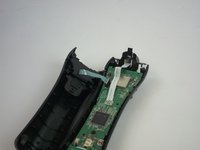
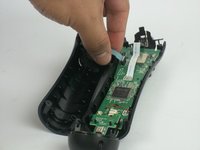
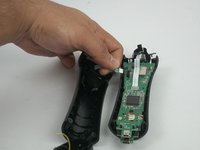
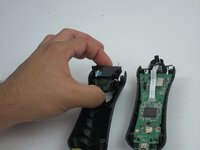
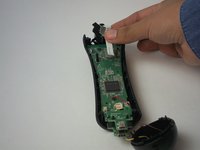
    7. PlayStation Move Motherboard Replacement: step 7, image 1 of 3 PlayStation Move Motherboard Replacement: step 7, image 2 of 3 PlayStation Move Motherboard Replacement: step 7, image 3 of 3
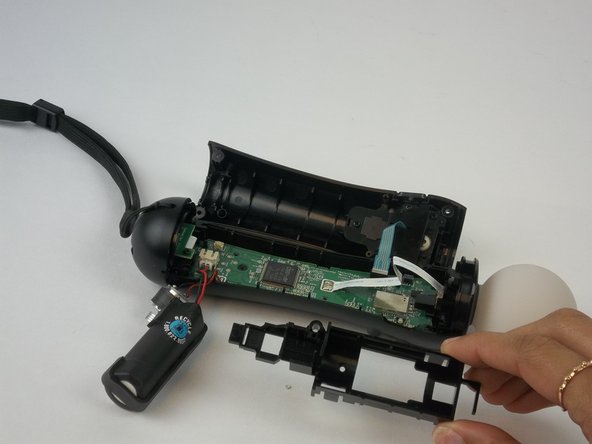
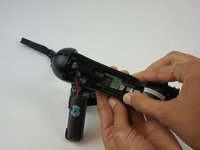
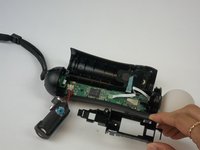
      • Using one hand to hold the device, and the other hand to squeeze the inner plastic frame.

      • Remove by squeezing the inner plastic frame, lift and pull it towards you.

      • While removing the frame, be extremely careful because it could damage the frame or the motherboard.

      Ask FixBot

      Add Comment

    8. PlayStation Move Motherboard Replacement: step 8, image 1 of 2 PlayStation Move Motherboard Replacement: step 8, image 2 of 2
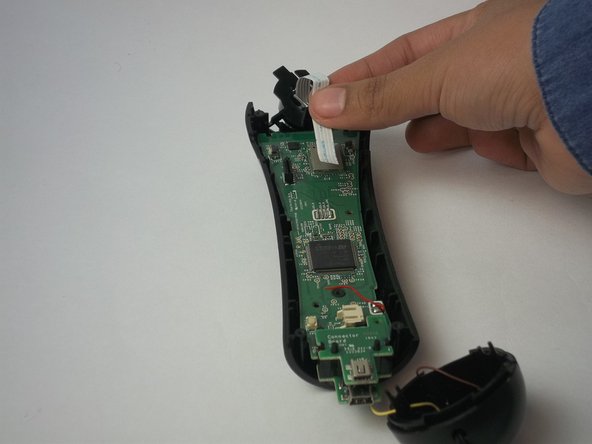
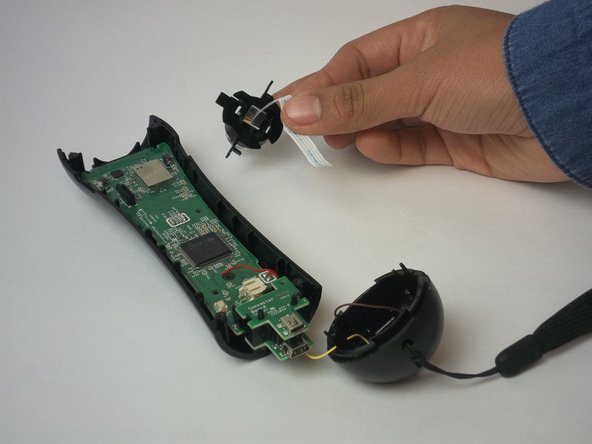
      • Gently pull on the white piece connecting the battery and the connector.

      Ask FixBot

      Add Comment

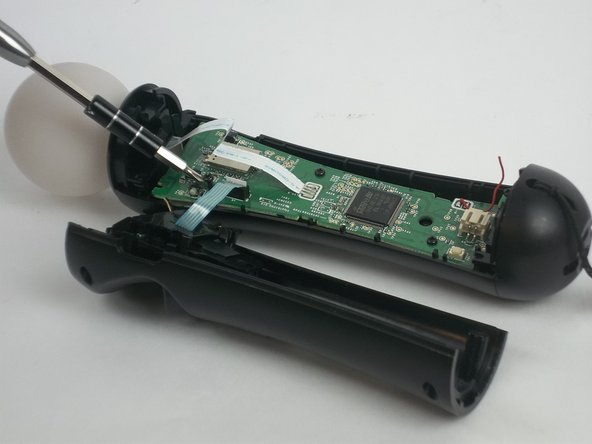
    1. PlayStation Move Motherboard Replacement, Motherboard: step 9, image 1 of 3 PlayStation Move Motherboard Replacement, Motherboard: step 9, image 2 of 3 PlayStation Move Motherboard Replacement, Motherboard: step 9, image 3 of 3
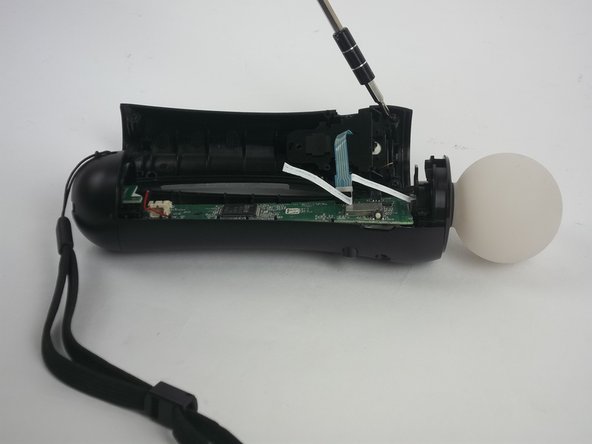
      • Remove the five 1.2 mm screws from upper portion of the controller.

      • If you are replacing the trigger button, continue to step 13.

      Ask FixBot

      Add Comment

    2. PlayStation Move Motherboard Replacement: step 10, image 1 of 2 PlayStation Move Motherboard Replacement: step 10, image 2 of 2
      • Remove the two 1.2mm Phillips #1 screws.

      Ask FixBot

      Add Comment

    3. PlayStation Move Motherboard Replacement: step 11, image 1 of 3 PlayStation Move Motherboard Replacement: step 11, image 2 of 3 PlayStation Move Motherboard Replacement: step 11, image 3 of 3
      • Cautiously remove the circular white piece at the top without removing the LED inside.

      Ask FixBot

      Add Comment

    4. PlayStation Move Motherboard Replacement: step 12, image 1 of 3 PlayStation Move Motherboard Replacement: step 12, image 2 of 3 PlayStation Move Motherboard Replacement: step 12, image 3 of 3
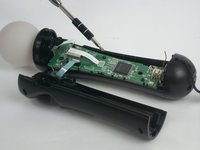
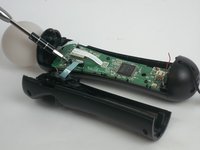
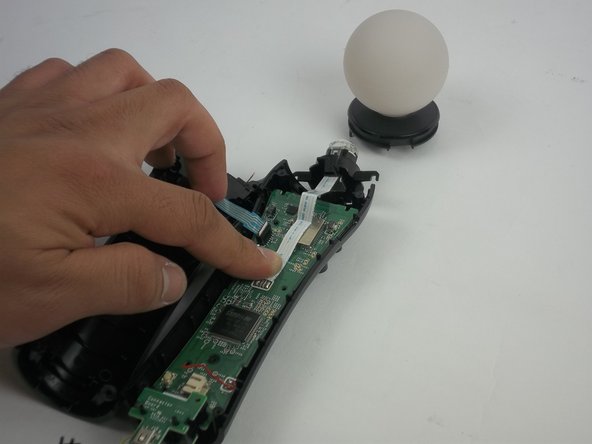
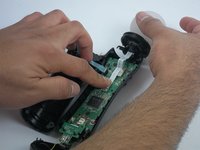
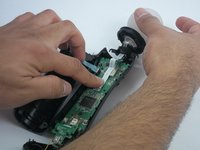
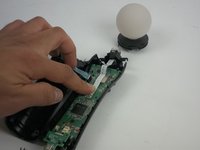
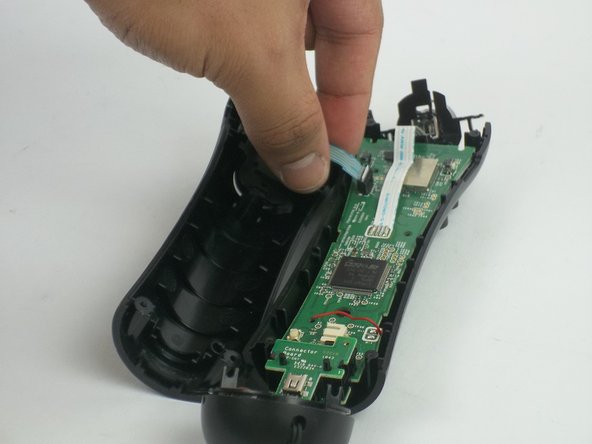
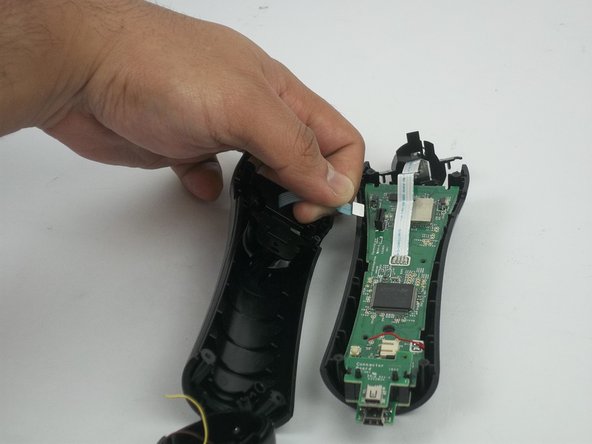
      • Remove the blue strip that is connected to the trigger button from the motherboard.

      • Be careful to gently detach it from the motherboard. The strip may rip if too much strength is applied.

      Ask FixBot

      Add Comment

    5. PlayStation Move Motherboard Replacement: step 13, image 1 of 2 PlayStation Move Motherboard Replacement: step 13, image 2 of 2
      • Remove the trigger button from the controller.

      Ask FixBot

      Add Comment

    6. PlayStation Move Motherboard Replacement: step 14, image 1 of 3 PlayStation Move Motherboard Replacement: step 14, image 2 of 3 PlayStation Move Motherboard Replacement: step 14, image 3 of 3
      • Remove the LED light by removing the white strip.

      • If you are replacing the LED light, continue to Step 17.

      Ask FixBot

      Add Comment

    7. PlayStation Move Motherboard Replacement: step 15, image 1 of 2 PlayStation Move Motherboard Replacement: step 15, image 2 of 2
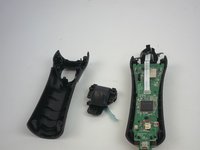
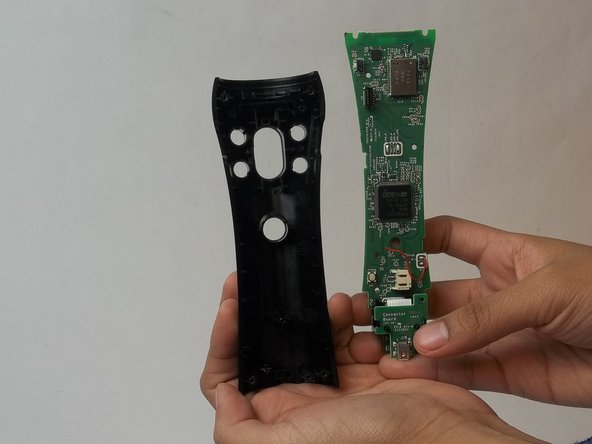
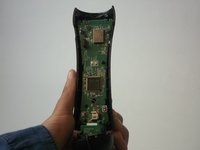
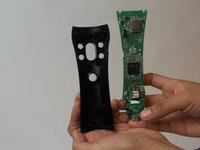
      • Remove the motherboard from the plastic case.

      Ask FixBot

      Add Comment

Conclusion

To reassemble your device, follow these instructions in reverse order.

Cancel: I did not complete this guide.

One other person completed this guide.

Destiny Jenkins

Member since: 09/28/16

175 Reputation

1 Guide authored

Team

USF Tampa, Team 3-3, Passmore Fall 2016 Member of USF Tampa, Team 3-3, Passmore Fall 2016

USFT-PASSMORE-F16S3G3

4 Members

44 Guides authored

2 Guide Comments

Where does one obtain a replacement motherboard?

Tekkromancer - Reply Share
my controllers are also dying anyone know where to get a replacement board? I live in Canada

Jin - Reply Share
Add Comment

View Statistics:

Past 24 Hours: 0

Past 7 Days: 10

Past 30 Days: 37

All Time: 2,354