
CyberHome CH-DVD 300 Disc Tray Bracket Replacement

Chris Menezes and 5 other contributors
Last updated on Jun 3, 2014
Views: 4.9K
View statistics:
- Past 24 Hours:
- 3
- Past 7 Days:
- 18
- Past 30 Days:
- 107
- All Time:
- 4,896
Comments: 0
No one has left comments on this guide. Will you be first?
Go to guide commentsCompleted: 4 5
4 people have marked this guide "completed." Will you be next?
5 people have marked this guide "completed." Including you — great job!
Favorites: 0 1
No one has favorited (and subscribed to) this guide. Will you be the first?
1 person has favorited (and subscribed to) this guide — and that's you!
Featured Student Guide
This guide has been the hard work of our awesome students and is found to be exceptionally cool by the iFixit staff.
Introduction
Go to step 1 ↓To remove the disc tray bracket, you must first remove the top panel of the DVD, which exposes the disc tray bracket. The Disc tray bracket sits on top of the disc tray to keep the disc in place while in use.
What you need
Tools

-
-
-
Unplug the DVD player from the wall socket.
-
Locate the 15mm Phillips screws on the left side (1 screw), right side (1 screw), and back (4 screws) of the DVD Player. Use the appropriate Phillips head screwdriver to remove the six screws.
 Ask FixBot
-
-
-
Remove the top panel of the DVD Player by:
-
Sliding the top panel backwards.
-
Gently lifting the back of the top panel up.
-
-
-
-
-
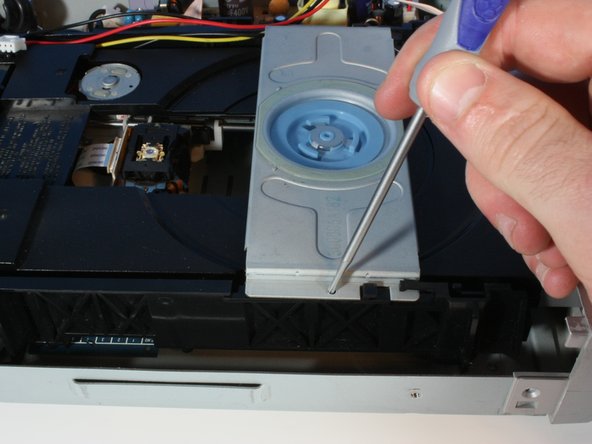
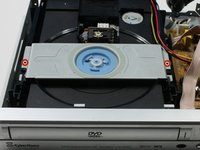
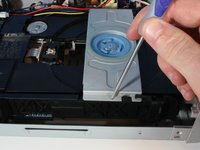
Remove the 6.3mm screws keeping the disc tray bracket connected to the disc tray.
-
-
-
-
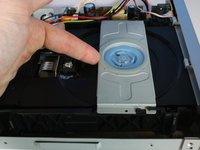
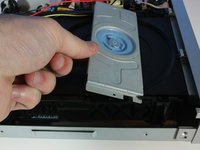
Lift up on the bracket by:
-
Sliding the disc tray bracket forward.
-
Lifting the back edge up.
-
-




To reassemble your device, follow these instructions in reverse order.
Cancel: I did not complete this guide.
4 other people completed this guide.

Team

Cal Poly, Team 6-5, Forte Spring 2014 Member of Cal Poly, Team 6-5, Forte Spring 2014
CPSU-FORTE-S14S6G5
5 Members
60 Guides authored
