PlayStation 3 Super Slim Laser Unit Replacement

Video Overview

  1. PlayStation 3 Super Slim Laser Unit Replacement, Laser Unit / Deck  replacement: step 1, image 1 of 1
    • Turn off the console and disconnect all cables.

  2. PlayStation 3 Super Slim Laser Unit Replacement: step 2, image 1 of 3 PlayStation 3 Super Slim Laser Unit Replacement: step 2, image 2 of 3 PlayStation 3 Super Slim Laser Unit Replacement: step 2, image 3 of 3
    • You must remove the warranty sticker and 4 screws.

  3. PlayStation 3 Super Slim Laser Unit Replacement: step 3, image 1 of 3 PlayStation 3 Super Slim Laser Unit Replacement: step 3, image 2 of 3 PlayStation 3 Super Slim Laser Unit Replacement: step 3, image 3 of 3
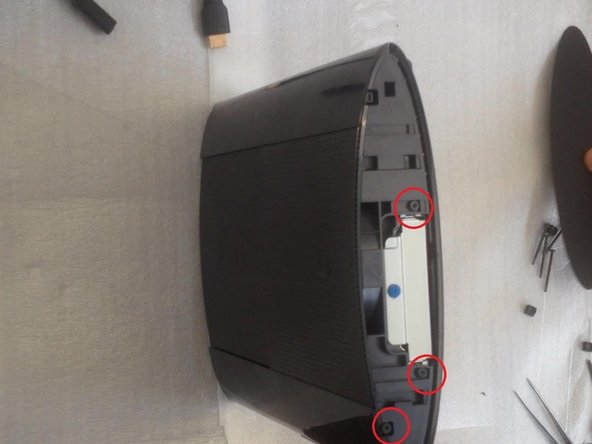
    • After removing HDD bay cover, you will see another 3 screw.

  4. PlayStation 3 Super Slim Laser Unit Replacement: step 4, image 1 of 3 PlayStation 3 Super Slim Laser Unit Replacement: step 4, image 2 of 3 PlayStation 3 Super Slim Laser Unit Replacement: step 4, image 3 of 3
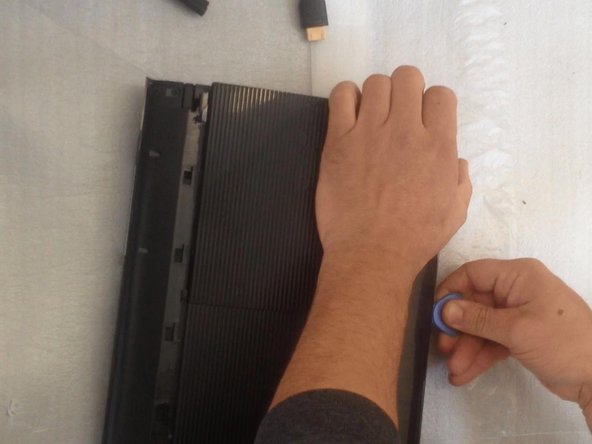
    • Push there to release and remove upper back bezel.

  5. PlayStation 3 Super Slim Laser Unit Replacement: step 5, image 1 of 3 PlayStation 3 Super Slim Laser Unit Replacement: step 5, image 2 of 3 PlayStation 3 Super Slim Laser Unit Replacement: step 5, image 3 of 3
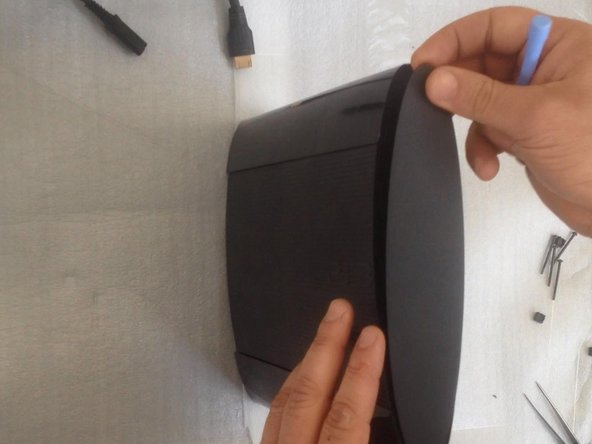
    • The upper front bezel is harder to remove.

  6. PlayStation 3 Super Slim Laser Unit Replacement: step 6, image 1 of 3 PlayStation 3 Super Slim Laser Unit Replacement: step 6, image 2 of 3 PlayStation 3 Super Slim Laser Unit Replacement: step 6, image 3 of 3
    • Remove 7 screws to release top cover.

  7. PlayStation 3 Super Slim Laser Unit Replacement: step 7, image 1 of 3 PlayStation 3 Super Slim Laser Unit Replacement: step 7, image 2 of 3 PlayStation 3 Super Slim Laser Unit Replacement: step 7, image 3 of 3
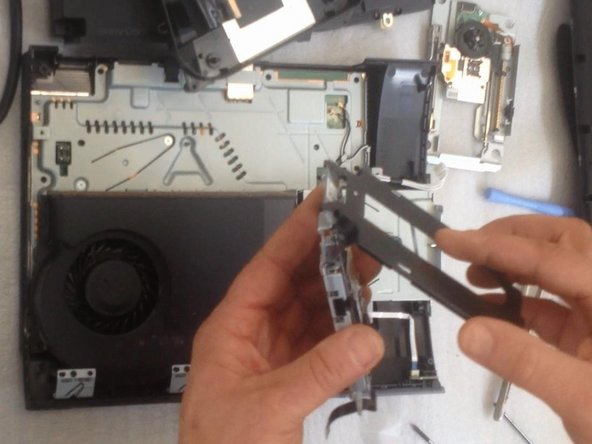
    • Disconnect two flex-cables and move the Laser Unit. Remove the two screws and the small cable and then take out the Power Supply Unit.

  8. PlayStation 3 Super Slim Laser Unit Replacement: step 8, image 1 of 3 PlayStation 3 Super Slim Laser Unit Replacement: step 8, image 2 of 3 PlayStation 3 Super Slim Laser Unit Replacement: step 8, image 3 of 3
    • To release the laser unit disconnect this flex-cable.

  9. PlayStation 3 Super Slim Laser Unit Replacement: step 9, image 1 of 3 PlayStation 3 Super Slim Laser Unit Replacement: step 9, image 2 of 3 PlayStation 3 Super Slim Laser Unit Replacement: step 9, image 3 of 3
    • One flex-cable, for rubbers and the metal bezel.

  10. PlayStation 3 Super Slim Laser Unit Replacement: step 10, image 1 of 3 PlayStation 3 Super Slim Laser Unit Replacement: step 10, image 2 of 3 PlayStation 3 Super Slim Laser Unit Replacement: step 10, image 3 of 3
    • Disconnect this flex-cable and attach it to the new spare part. Let's start assembling.

  11. PlayStation 3 Super Slim Laser Unit Replacement: step 11, image 1 of 3 PlayStation 3 Super Slim Laser Unit Replacement: step 11, image 2 of 3 PlayStation 3 Super Slim Laser Unit Replacement: step 11, image 3 of 3
    • Assembling, assembling...

  12. PlayStation 3 Super Slim Laser Unit Replacement: step 12, image 1 of 2 PlayStation 3 Super Slim Laser Unit Replacement: step 12, image 2 of 2
    • Let's test the device before fully assembling it.

ZFix

Member since: 12/09/13

191,308 Reputation

330 Guides authored

Team

Master Techs Member of Master Techs

Community

322 Members

2,535 Guides authored

View Statistics:

Past 24 Hours: 2

Past 7 Days: 10

Past 30 Days: 73

All Time: 23,752