Introduction
Use this guide to replace your PlayStation 3's heat sink. Before reattaching the heat sink, it is essential to apply a new layer of thermal paste.
What you need
-
-
Use the tip of a spudger to remove the black rubber screw cover from the side of the PS3.
-
-
-
Remove the following seven screws:
-
Six 52 mm Phillips screws
-
One 30 mm Phillips screw
-
-
-
Lift the top cover from its rear edge and rotate it toward the front of the PS3.
-
Remove the top cover.
-
There is a plastic hook located in a hole on the top back right hand side corner. Carefully push the plastic hook a bit from the rear of the machine with a spudger to release the rear right of the casing.
-
-
-
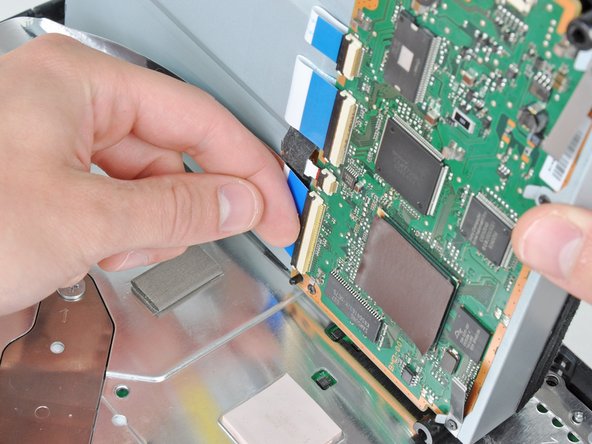
Pull the control board ribbon cable straight up and out of its socket on the motherboard.
-
-
-
-
While lightly pulling the rear cover away from the logic board assembly, use the flat end of a spudger to release the clips along the top and bottom edges of the rear cover.
-
-
-
De-route the fan cables from the plastic finger molded into the heat sink.
-
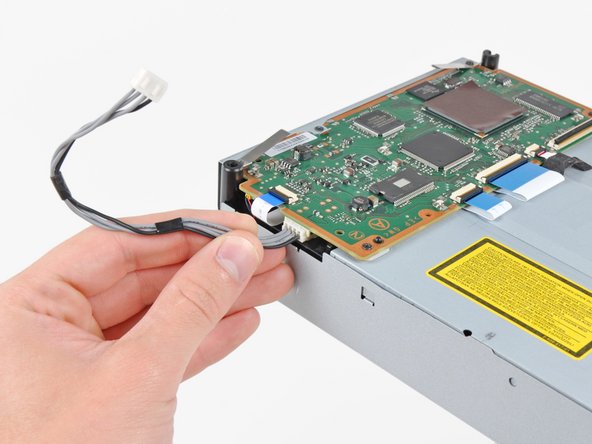
Disconnect the fan from the motherboard.
-
-
-
Remove the three 5.7 mm #0 Phillips screws securing the fan to the heat sink.
-
To reassemble your device, follow these instructions in reverse order.
To reassemble your device, follow these instructions in reverse order.
Cancel: I did not complete this guide.
53 other people completed this guide.
7 Comments
i make thermal compounds. just wondering do i need to use a grease that has silver or is an aluminum based grease good to use
Thanks a lot! It is very useful!
I know this is old but what thermal paste should I use today
I recommend artic silver or MX-4 since I heard that it's supposed to last up to 8 years. As long as you don't have to disassemble the console again


