Pioneer R1 LCD Display Replacement

What you need

  1. Pioneer R1 LCD Display Replacement, LCD Display: step 1, image 1 of 1
    • Insert your plastic spudger in the opening near the HDMI port.

    • Gently pry the back cover of the R1 from the the front by using the spudger along the edges.

    • Do not pull the back cover straight off the R1 as components of the speakers will be attached to both sides.

  2. Pioneer R1 LCD Display Replacement: step 2, image 1 of 1
    • Lay the R1 flat like an open book.

    • This will prevent the speakers from becoming disconnected from the motherboard.

  3. Pioneer R1 LCD Display Replacement: step 3, image 1 of 1
    • Remove the tape that is holding the motherboard to the display and covering the cable attachments.

    • Peel back just the end of this tape to free the front facing camera.

  4. Pioneer R1 LCD Display Replacement: step 4, image 1 of 1
    • Remove the three 4 mm screws along the base of the motherboard with a Phillips #00 Screwdriver.

  5. Pioneer R1 LCD Display Replacement: step 5, image 1 of 1
    • Disengage the two cable locks using your spudger or your finger nail.

    • Slide the cable free from the disengaged lock.

    • Do not pull across the cables as this may tear and permanently damage it.

  6. Pioneer R1 LCD Display Replacement: step 6, image 1 of 2 Pioneer R1 LCD Display Replacement: step 6, image 2 of 2
    • Insert your spudger between the LCD display and the touch screen.

    • Gently pry the LCD display from the the touchscreen by using the spudger along the edges.

    • Once disengaged, remove the LCD display from the touchscreen.

  7. Pioneer R1 LCD Display Replacement: step 7, image 1 of 1
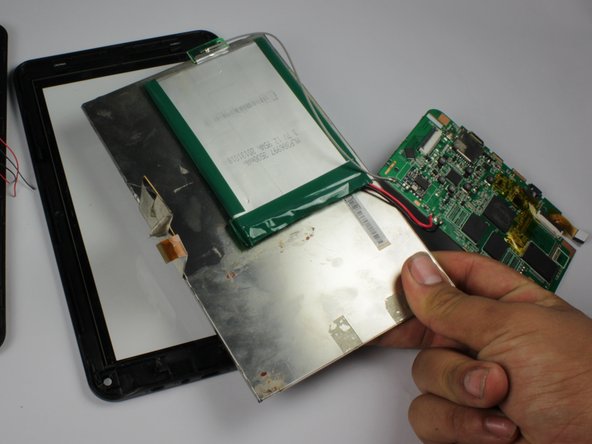
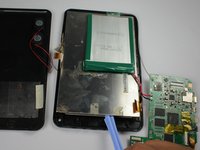
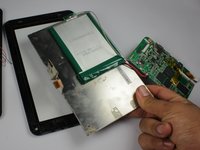
    • Slide a strong thin object, like a thin spudger, between the battery and the display.

    • Slide the object along the length of the battery to remove it from the display.

    • The adhesive holding the battery in place is strong and the battery is quite soft. Take care not to break open the battery.

  8. Pioneer R1 LCD Display Replacement: step 8, image 1 of 1
    • Carefully pry off the component that is taped to the LCD display at the top of the R1.

Conclusion

To reassemble your device, follow these instructions in reverse order.

One other person completed this guide.

Christopher Rosario

Member since: 02/17/15

411 Reputation

4 Guides authored

Team

0 Comments

Add Comment

View Statistics:

Past 24 Hours: 0

Past 7 Days: 1

Past 30 Days: 4

All Time: 619