
Pioneer FH-X730BS Auxiliary Inlet Replacement

What you need

  1. Pioneer FH-X730BS Auxiliary Inlet Replacement, Deck Buttons: step 1, image 1 of 3 Pioneer FH-X730BS Auxiliary Inlet Replacement, Deck Buttons: step 1, image 2 of 3 Pioneer FH-X730BS Auxiliary Inlet Replacement, Deck Buttons: step 1, image 3 of 3
    • Apply pressure to the tabs on each side using the plastic opening tool.

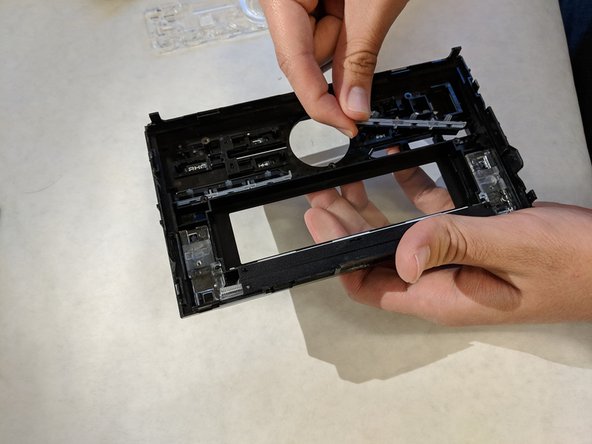
    • You will need to pull the face away from the frame while unhooking the tabs.

  2. Pioneer FH-X730BS Auxiliary Inlet Replacement: step 2, image 1 of 3 Pioneer FH-X730BS Auxiliary Inlet Replacement: step 2, image 2 of 3 Pioneer FH-X730BS Auxiliary Inlet Replacement: step 2, image 3 of 3
    • After removing the stereo face from the frame it should look similar to this.

    • Remove the seven 11.2mm Phillips #1 screws on the rear side of the stereo face.

  3. Pioneer FH-X730BS Auxiliary Inlet Replacement: step 3, image 1 of 3 Pioneer FH-X730BS Auxiliary Inlet Replacement: step 3, image 2 of 3 Pioneer FH-X730BS Auxiliary Inlet Replacement: step 3, image 3 of 3
    • Remove the volume knob by pulling it towards you and pull the motherboard out of the face.

    • The audio buttons can now be taken out. You can flip the face downwards and tap the audio buttons.

    • You can now insert the replacement audio buttons into the face.

  4. Pioneer FH-X730BS Auxiliary Inlet Replacement, Auxiliary Inlet: step 4, image 1 of 1
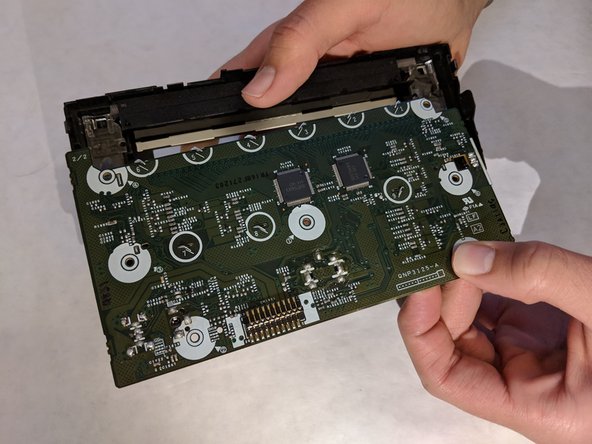
    • Here you are able to desolder the auxiliary ports from the circuit board and solder a replacement auxiliary port on.

    • The end of the soldering iron will be hot.

Conclusion

To reassemble your device, follow these instructions in reverse order.

Cody Pesta

Member since: 09/17/18

688 Reputation

6 Guides authored

0 Comments

Add Comment

View Statistics:

Past 24 Hours: 1

Past 7 Days: 5

Past 30 Days: 11

All Time: 171