Introduction
If your piccolo B key pad is old, worn down, and in need of replacement, this guide will give you step by step instructions on how to replace the pad.
In the “Tools” section of this guide, a torch lighter is listed as an optional resource if there is no access to a denatured alcohol lamp. Before using the torch lighter as described in the guide, be aware the torch lighter can leave unwanted residue on the surface of the key. This could change the appearance of the key.
Many of the tools listed, including the pad, shellac glue, and key clamp, can be found on https://www.ferreestoolsinc.com/.
What you need
-
-
Use the 2.0 mm screwdriver to unscrew the top rod of the piccolo.
-
Once the screw is sufficiently removed, it can be completely pulled out with your fingers or with pliers.
-
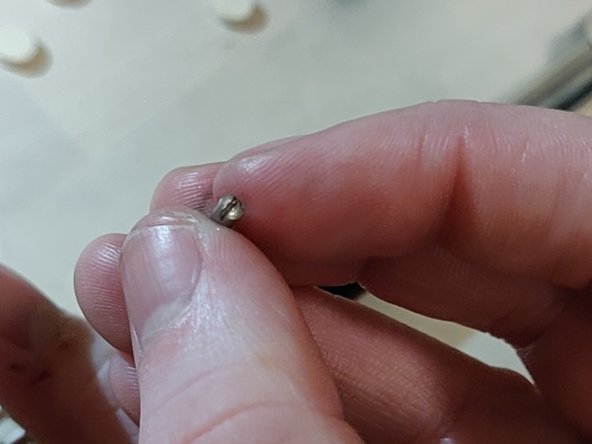
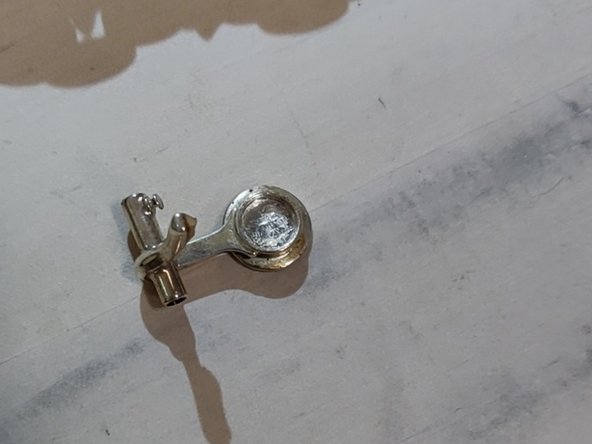
After the screw has been removed from the rod entirely, pull the B key off of the piccolo. There should be no resistance.
 Ask FixBot
-
-
-
Use the denatured alcohol lamp or torch lighter on the top of the key (opposite side of the pad) to melt the glue.
-
Remove the old pad from the key.
-
Scrape out any remaining glue with the 2.0 mm screwdriver.
-
-
-
-
Insert the metal pick into the side of the new pad.
-
Melt the shellac with the denatured alcohol lamp or torch lighter.
-
Apply the shellac to the pad.
-
-
-
Clean the screw with a paper towel.
-
Apply the key oil to the screw.
-
Clean the inside of the B key rod with the pipe cleaner.
-
Lubricate the inside of the B key rod by inserting the oiled screw.
-
-
-
Place the B key back in its spot.
-
Insert the screw into the rod, and screw the rod into place with the 2.0 mm screwdriver.
-
Use the clamp on the B key for at least 24 hours.
-


To reassemble your device, follow these instructions in reverse order.
Team

University of Memphis, Team S1-G7, Willis Fall 2019 Member of University of Memphis, Team S1-G7, Willis Fall 2019
UM-WILLIS-F19S1G7
1 Member
1 Guide authored