Free Shipping on Domestic Orders $75+

Panasonic ARC ES-LT3N Back Casing Replacement

Prerequisite Only
This is a prerequisite-only guide! This guide is part of another procedure and isn’t meant to be used alone.

What you need

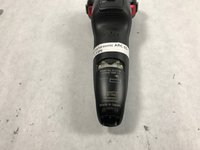
    1. Panasonic ARC ES-LT3N Back Casing Replacement, Back Casing: step 1, image 1 of 2 Panasonic ARC ES-LT3N Back Casing Replacement, Back Casing: step 1, image 2 of 2
      • Flip the razor over so the back is facing you.

      Ask FixBot

      Add Comment

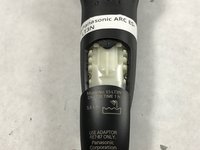
    2. Panasonic ARC ES-LT3N Back Casing Replacement: step 2, image 1 of 2 Panasonic ARC ES-LT3N Back Casing Replacement: step 2, image 2 of 2
      • Using a Phillips #00 screwdriver, remove the 6 mm screw just above the charger port.

      Ask FixBot

      Add Comment

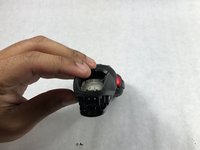
    3. Panasonic ARC ES-LT3N Back Casing Replacement: step 3, image 1 of 2 Panasonic ARC ES-LT3N Back Casing Replacement: step 3, image 2 of 2
      • Slide the plastic cover at the bottom of the razor downward to remove.

      Ask FixBot

      Add Comment

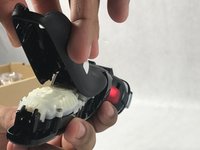
    4. Panasonic ARC ES-LT3N Back Casing Replacement: step 4, image 1 of 2 Panasonic ARC ES-LT3N Back Casing Replacement: step 4, image 2 of 2
      • Lift up the rear casing from the bottom of the razor.

      • This may require you to gently pry it apart with you fingers.

      • Lift up the rear casing from the sides of the razor.

      • Pull rear casing up and off razor.

      • Be careful not to break any plastic!

      Ask FixBot

      Add Comment

Conclusion

To reassemble your device, follow these instructions in reverse order.

Cancel: I did not complete this guide.

Andrew Trainor

Member since: 03/05/17

648 Reputation

5 Guides authored

Team

0 Guide Comments

Add Comment

View Statistics:

Past 24 Hours: 1

Past 7 Days: 2

Past 30 Days: 7

All Time: 159