Introduction
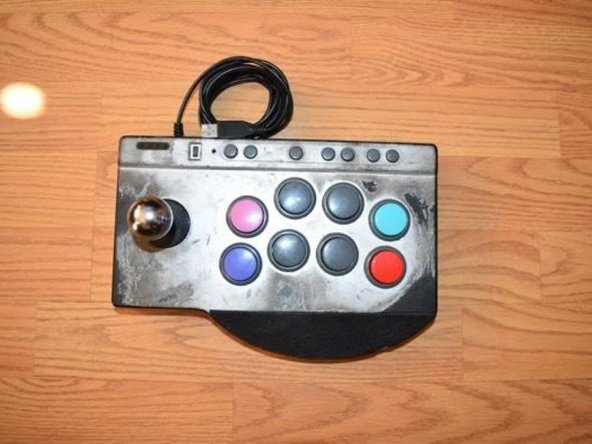
Many buttons become unresponsive after time, especially for a controller built for fighting games. This guide is for replacing any buttons on your PXN Arcade Stick.
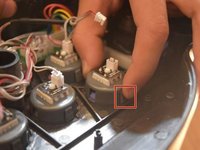
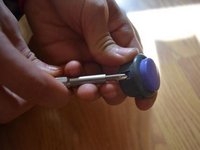
This guide applies to all buttons from any position on the controller.
What you need
-
-
Turn the controller upside down.
-
Remove the four screws from the bottom of the device.
-
-
-
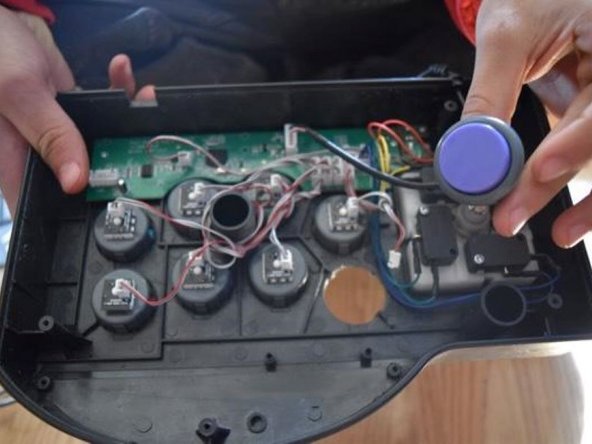
Set the back cover aside, being cautious of the cable connected to the motherboard.
-
Unplug the controller converter plug.
-
-


Conclusion
To reassemble your device, follow these instructions in reverse order.
Team

CSU Los Angeles, Team 3-7, Harris Fall 2024 Member of CSU Los Angeles, Team 3-7, Harris Fall 2024
CSULA-HARRIS-F24S3G7
1 Member
2 Guides authored