Introduction
In this guide I will be going through a detailed step by step process on how to replace your PSP 1000 motherboard. There is no prior experience required in order to begin this replacement as it is very short and simple. The PSP 1000 was first released in 2005 and as many years have passed this device has aged poorly. The main purpose for this guide is to replace a damaged or time worn motherboard that needs replacing as the device itself is ahead of its time, yet the parts have aged 16 years. Have an empty desk along with the tools required for an easy and simple breakdown of your device. Thoroughly read the steps and operate on your device with the specified tools.
What you need
-
-
-
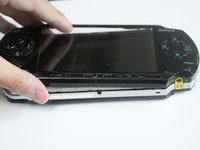
Remove any external cables from the device and place the device face down on a flat surface.
 Ask FixBot
-
-
-
Remove the battery door cover located on the left hand side.
-
Remove the battery from the device.
-
-
-
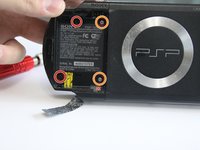
Using a flat tool, remove the warranty sticker. Removing this sticker will expose two screws.
-
-
-
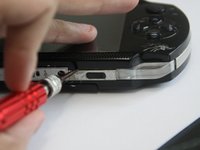
Using a Phillips #00 screwdriver, remove the two black 5.2 mm screws marked in red.
-
Remove the two silver 2.4 mm screws marked in orange.
-
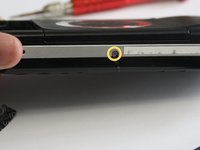
Remove the silver 4.4 mm screw marked in yellow at the bottom of the case.
-
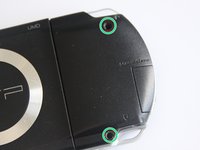
Remove the two black 5.4 mm screws marked in green on the back of the case.
-
-
-
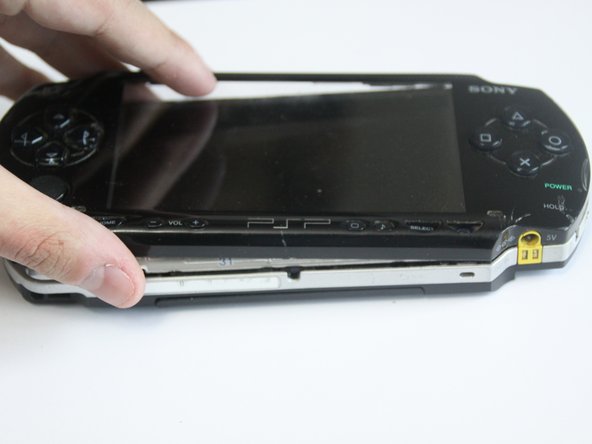
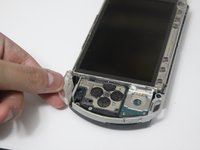
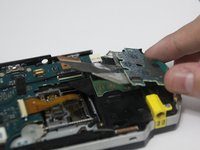
Using a plastic opening tool, lift the left side of the bottom circuit that includes the home, start, pause, and volume buttons.
-
-
-
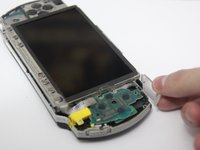
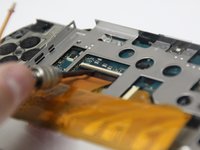
Disconnect the zero-insertion force (ZIF) connector by unlocking the locking tab with a plastic opening tool.
-
-
-
-
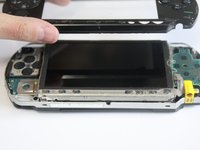
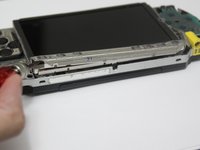
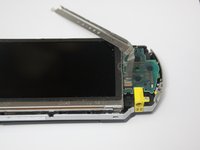
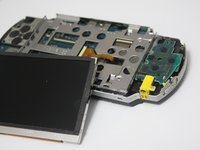
Using a plastic opening tool, lift the LCD screen from in between the metal brackets.
-
Start at the bottom of the screen for an efficient removal.
-
-
-
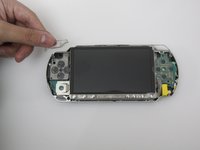
Use the plastic opening tool to unlock all the ribbon cables attached from the LCD screen to the motherboard.
-
-
-
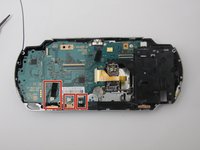
Using the Phillips #00 screwdriver, remove the two silver 4.2mm screws marked in red.
-
Remove the three silver 3mm screws marked in orange.
-
Remove the black 4.2mm screw marked in yellow.
-
-
-
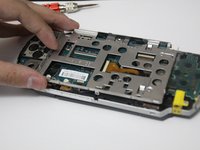
Once all screws are removed, gently lift the metal cage from the bottom.
-
If there is resistance, slide the open button on top of the device as it may be latched to the cage.
-
-
-
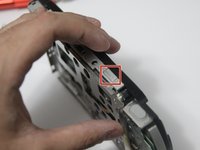
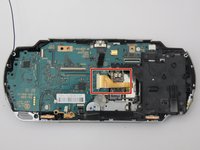
The midframe has a rectangular conductive piece that can fall out and be lost. Without it, the joystick won't work. Make sure to reinsert it so that the contacts on the conductive piece touches the pads.
-
-
-
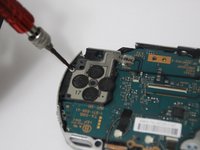
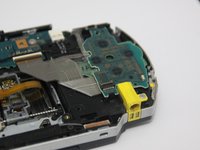
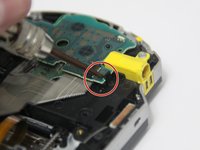
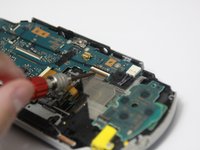
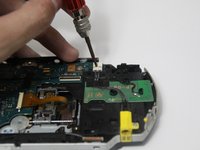
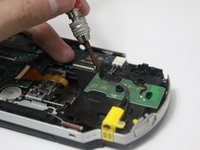
Remove the single 4.4mm screw that holds the D-Pad in place using the Phillips #00 screwdriver.
-
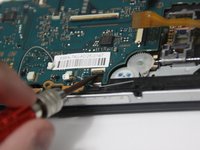
Underneath the D-Pad, unlock the ZIF connector holding the ribbon cable in place using the plastic opening tool.
-
-
-
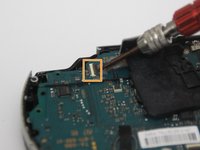
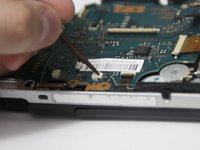
Using a plastic opening tool, unlock the small black clip that is located underneath the circuit board.
-
-
-
Using a plastic opening tool, remove the steel bracket under the right trigger.
-
-
-
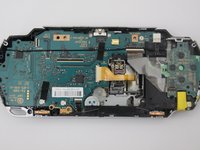
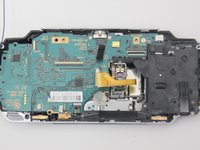
Use the plastic opening tool to unlock all of the ZIF connectors and disconnect all cables from the motherboard.
-
-
-
Using a plastic opening tool, unclip the cable from the circuit and begin to remove any tape securing any cables.
-
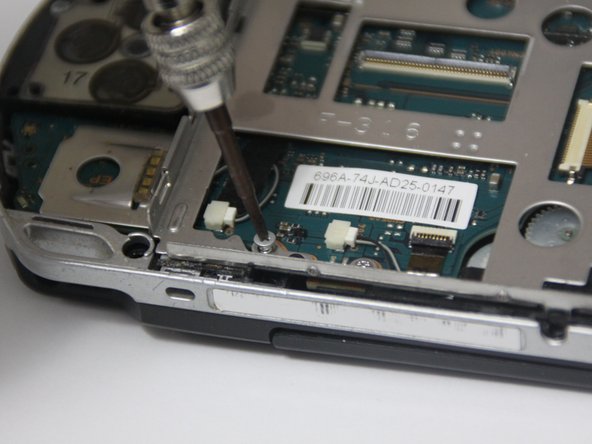
Remove the single 1.5 mm screw on the bottom right of the power input using the Phillips #00 screwdriver to remove the cable.
-
-
-
Above the charging input cable is the wireless antenna. Gently lift and place the wireless antenna on the left-hand side as it cannot be completely removed.
-
-
-
Remove the speaker cables highlighted on the bottom middle by removing any tape.
-
Using a flat tool unclip the cables from the motherboard along with the ribbon cable on the right.
-
-
-
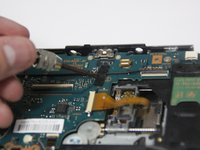
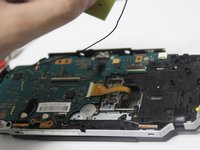
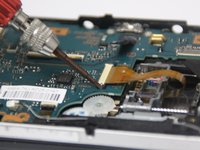
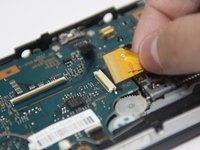
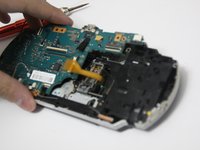
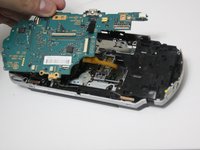
Using your fingers or a plastic opening tool, slide the UMD drive ribbon cable from the lock to release it.
-
-
-
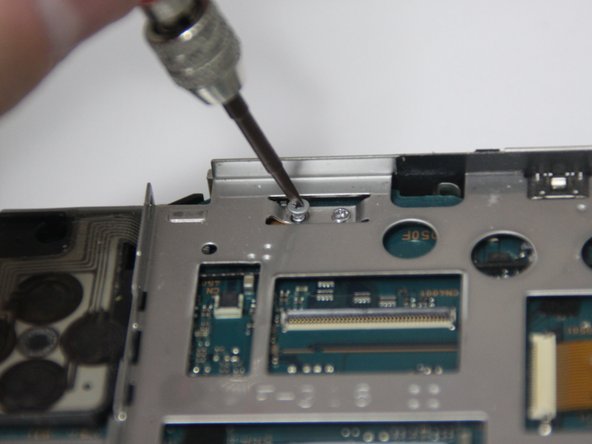
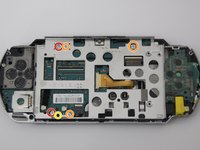
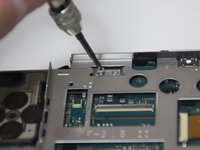
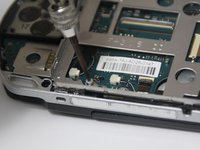
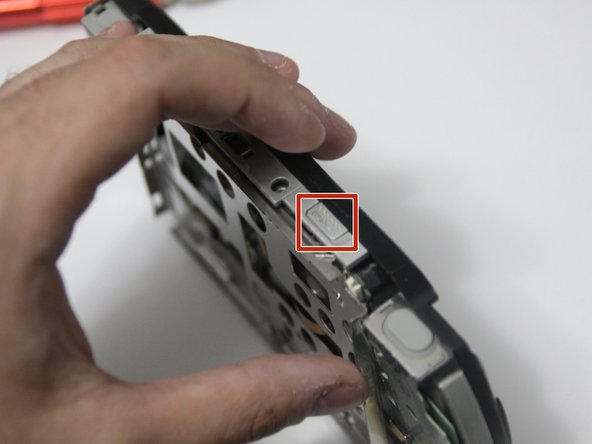
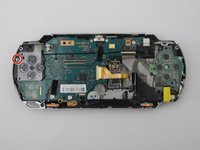
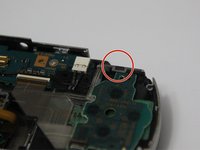
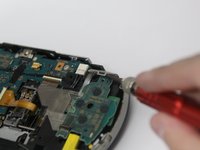
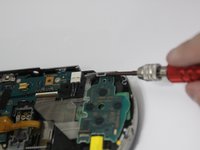
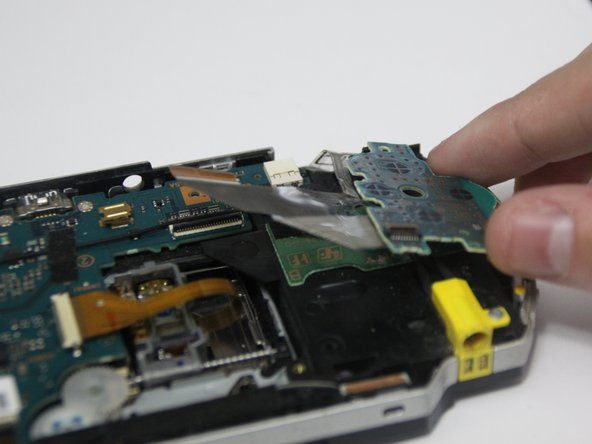
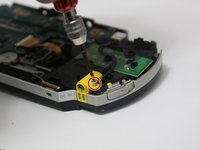
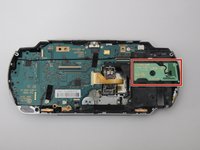
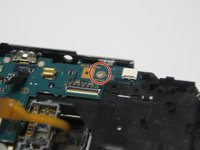
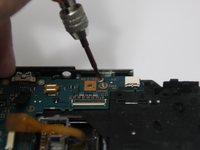
Using the Phillips #00 screwdriver, remove the single 4.4 mm screw located on the top right of the motherboard.
-
-










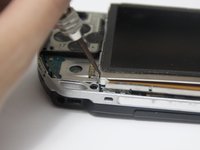
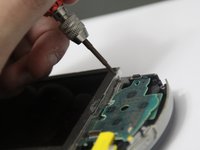
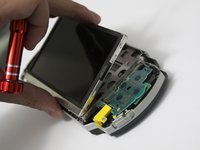


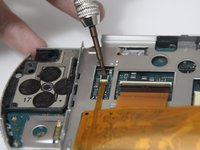





















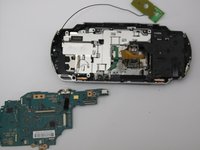
To reassemble your device, follow these instructions in reverse order.
Cancel: I did not complete this guide.
10 other people completed this guide.

Team

York University, Team S1-G26, Melo-Thaiss Summer 2021 Member of York University, Team S1-G26, Melo-Thaiss Summer 2021
YORK-MELO-THAISS-SU21S1G26
1 Member
12 Guides authored
