Free Shipping on Domestic Orders $75+

PENTAX OPTIO 330 Internal Battery replacement

    1. PENTAX OPTIO 330 Internal Battery replacement, Remove rear bloc: step 1, image 1 of 1
      • remove the two 2.5mm screw of the left side

      Ask FixBot

      Add Comment

    2. PENTAX OPTIO 330 Internal Battery replacement, Remove rear bloc: step 2, image 1 of 1
      • Remove two 4mm screw of the right side

      Ask FixBot

      Add Comment

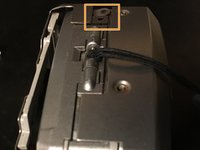
    3. PENTAX OPTIO 330 Internal Battery replacement, Remove rear bloc: step 3, image 1 of 1
      • remove 2mm screw

      • remove 3mm screw

      • remove the three 3.5mm screw

      Ask FixBot

      Add Comment

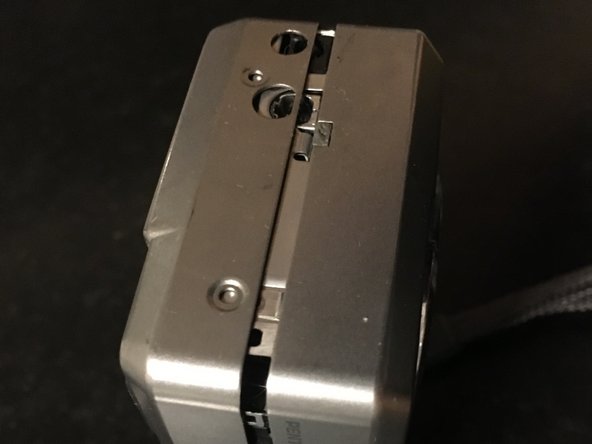
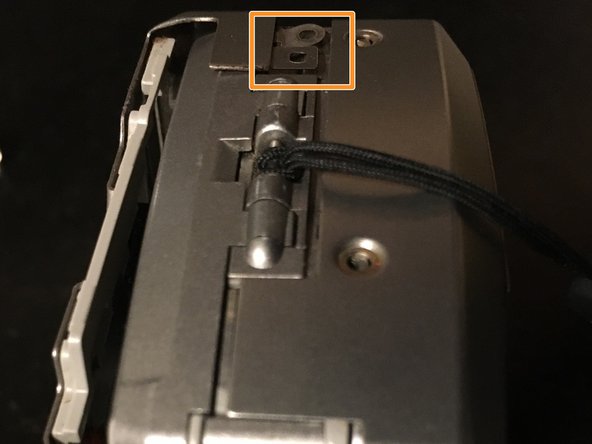
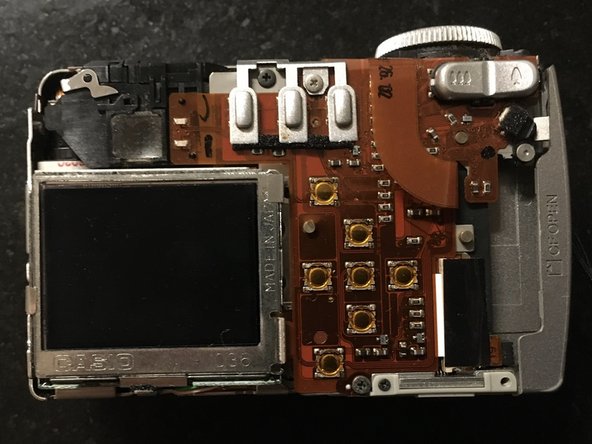
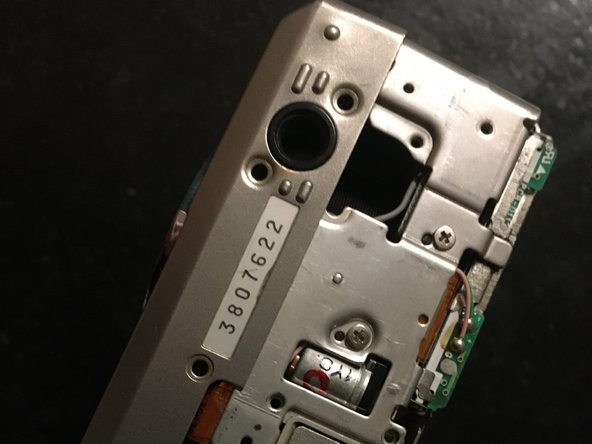
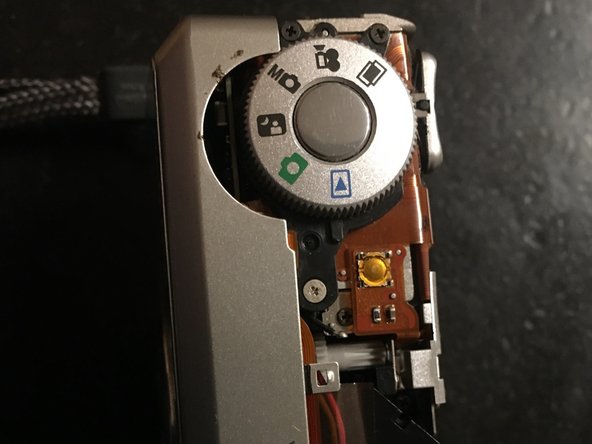
    4. PENTAX OPTIO 330 Internal Battery replacement, Remove rear cover: step 4, image 1 of 3 PENTAX OPTIO 330 Internal Battery replacement, Remove rear cover: step 4, image 2 of 3 PENTAX OPTIO 330 Internal Battery replacement, Remove rear cover: step 4, image 3 of 3
      • Open the memory protection

      • Remove gently the rear cover

      • When re-assembly take care to the thin tabs

      Ask FixBot

      Add Comment

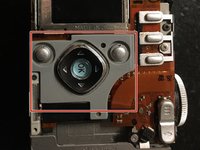
    5. PENTAX OPTIO 330 Internal Battery replacement, Remove rear cover: step 5, image 1 of 2 PENTAX OPTIO 330 Internal Battery replacement, Remove rear cover: step 5, image 2 of 2
      • this part can fall down. So rome it before next step.

      Ask FixBot

      Add Comment

    6. PENTAX OPTIO 330 Internal Battery replacement, Front cover remove: step 6, image 1 of 3 PENTAX OPTIO 330 Internal Battery replacement, Front cover remove: step 6, image 2 of 3 PENTAX OPTIO 330 Internal Battery replacement, Front cover remove: step 6, image 3 of 3
      • Insérez ici votre traduction

      Ask FixBot

      Add Comment

    7. PENTAX OPTIO 330 Internal Battery replacement: step 7, image 1 of 1
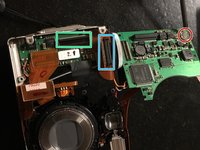
      • Remove four screw

      • unplug the two Flex

      Ask FixBot

      Add Comment

    8. PENTAX OPTIO 330 Internal Battery replacement, Battery replacement: step 8, image 1 of 2 PENTAX OPTIO 330 Internal Battery replacement, Battery replacement: step 8, image 2 of 2
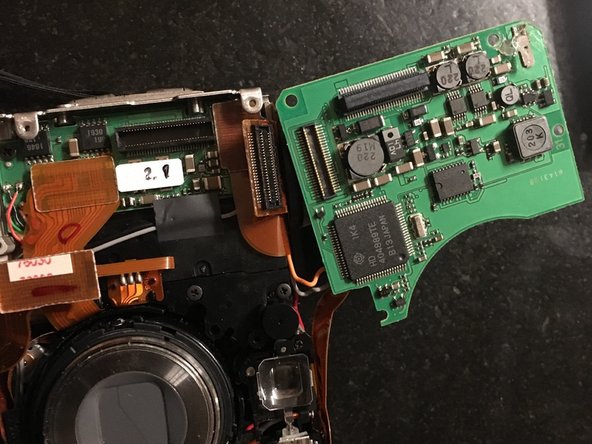
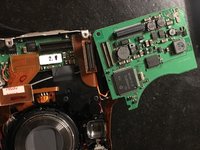
      • This connector is directly to the board

      • This Flex connector need to be unplug

      • The 321 battery is there

      • You can add some thermal glue to fix the battery

      • I did it with a small piece of scotch

      Ask FixBot

      Add Comment

Conclusion

To re-assembly your device follow the step backward

Cancel: I did not complete this guide.

Special thanks to these translators:

fr en

100%

Bertrand PIGEARD is helping us fix the world! Want to contribute?
Start translating ›

Bertrand PIGEARD

Member since: 12/11/21

235 Reputation

1 Guide authored

0 Guide Comments

Add Comment

View Statistics:

Past 24 Hours: 2

Past 7 Days: 4

Past 30 Days: 32

All Time: 700