Introduction
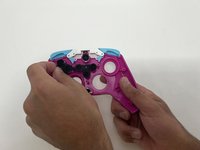
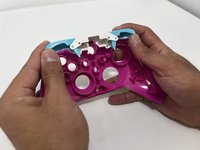
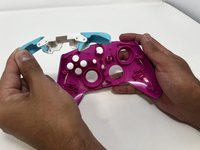
The shoulder buttons on your PDP Rematch Advanced should be replaced if they are getting stuck or damaged. If you need to replace a shoulder button, take out the front shell with this guide. The shoulder buttons are attached to the top of the front shell.
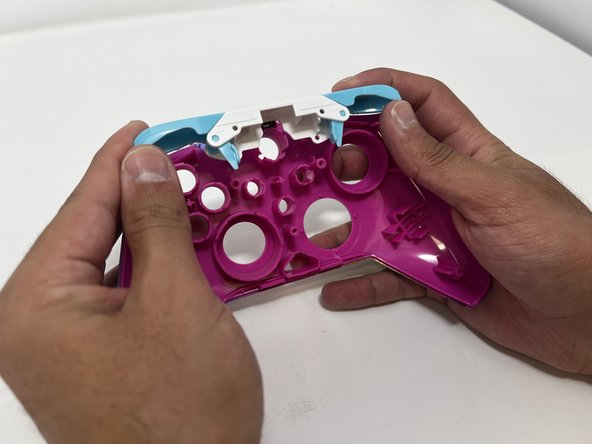
The shoulder buttons can be removed by taking out the shoulder button frame, attached to the back of the front shell.
What you need
-
-
Orient the controller so the back side is facing you.
-
Use a Phillips #000 screwdriver to remove the seven 9 mm screws that secure the back shell.
 Ask FixBot
-
-
-
-
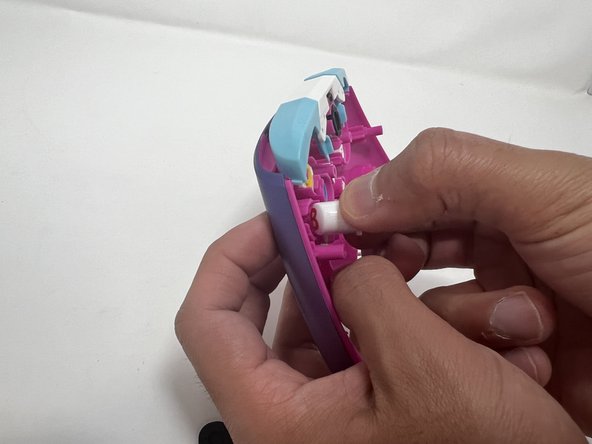
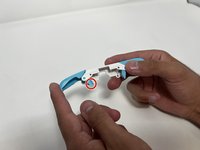
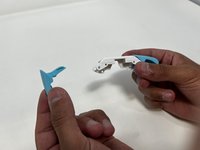
Push down on the trigger's long paddle.
-
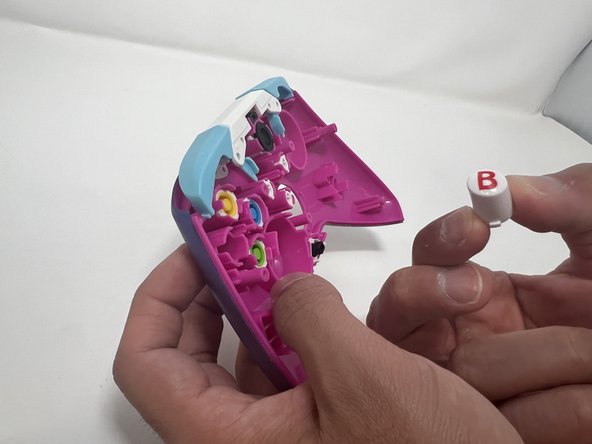
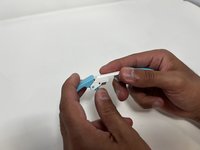
Carefully twist the bumper out to remove it from the bumper frame.
-


To reassemble your device, follow these instructions in reverse order.
Cancel: I did not complete this guide.
One other person completed this guide.

Team

Utah Tech University, Team 1-1, McMurrin Spring 2024 Member of Utah Tech University, Team 1-1, McMurrin Spring 2024
UTAHTECH-MCMURRIN-S24S1G1
2 Members
7 Guides authored