Free Shipping on Domestic Orders $75+

PDP Rematch Advanced Back Buttons Replacement

Views: 865

View statistics:

Past 24 Hours:
3
Past 7 Days:
31
Past 30 Days:
80
All Time:
865
Comments: 0

No one has left comments on this guide. Will you be first?

Go to guide comments
Completed: 0

No one has marked this guide "completed." Will you be the first?

Favorites: 0

No one has favorited (and subscribed to) this guide. Will you be the first?

Time Required: 5 - 6 minutes
Difficulty: Moderate
PDP Rematch Advanced Back Buttons Replacement

Introduction

Go to step 1 ↓

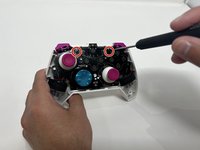
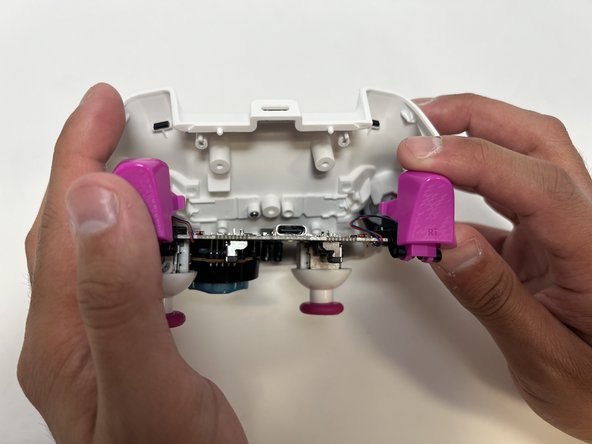
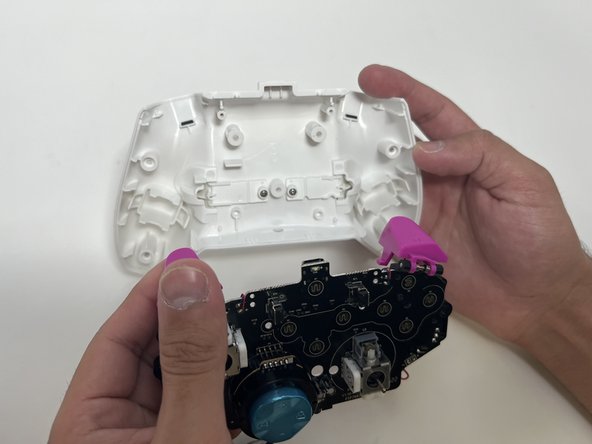
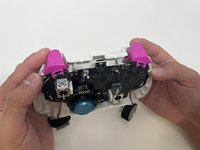
The back buttons on your PDP Rematch Advanced should be replaced if they are getting stuck and not being pressed down completely. If you need to replace the back button, take out the motherboard with this guide. The back buttons are attached to the back shell. The back buttons can be removed by taking out the components located behind the motherboard.

What you need

Tools

    1. PDP Rematch Advanced Back Buttons Replacement, Joystick Cover: step 1, image 1 of 3 PDP Rematch Advanced Back Buttons Replacement, Joystick Cover: step 1, image 2 of 3 PDP Rematch Advanced Back Buttons Replacement, Joystick Cover: step 1, image 3 of 3
      • Orient the controller so the back side is facing you.

      • Use a Phillips #000 screwdriver to remove the seven 9 mm screws that secure the back shell.

      Ask FixBot

      Add Comment

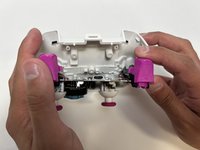
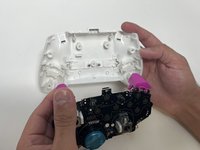
    2. PDP Rematch Advanced Back Buttons Replacement: step 2, image 1 of 3 PDP Rematch Advanced Back Buttons Replacement: step 2, image 2 of 3 PDP Rematch Advanced Back Buttons Replacement: step 2, image 3 of 3
      • Pull apart the controller's front and back shells with moderate force.

      • Orient the controller so that the front shell is facing the floor to prevent the face buttons from falling out.

      Ask FixBot

      Add Comment

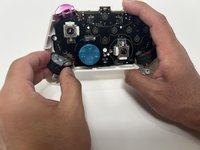
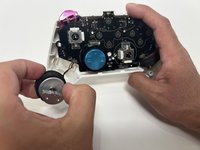
    3. PDP Rematch Advanced Back Buttons Replacement: step 3, image 1 of 2 PDP Rematch Advanced Back Buttons Replacement: step 3, image 2 of 2
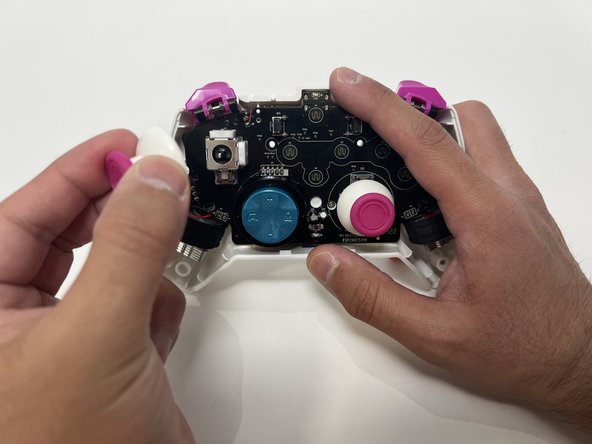
      • Twist the thumbstick to remove it from the motherboard. Repeat this step if both thumbsticks need to be replaced.

      Ask FixBot

      Add Comment

    1. PDP Rematch Advanced Back Buttons Replacement, Back Shell: step 4, image 1 of 2 PDP Rematch Advanced Back Buttons Replacement, Back Shell: step 4, image 2 of 2
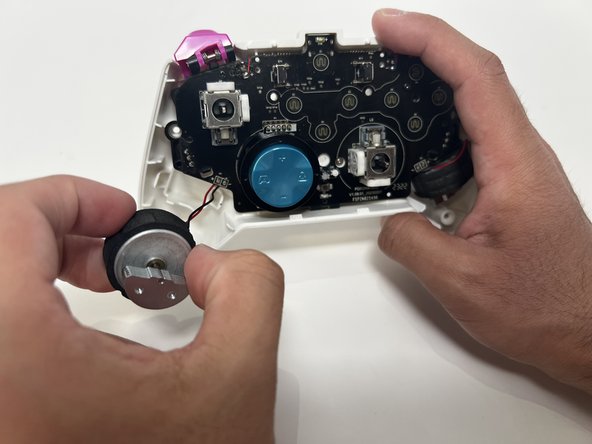
      • Grab the motor and pull away from the back shell. Repeat for both motors.

      Ask FixBot

      Add Comment

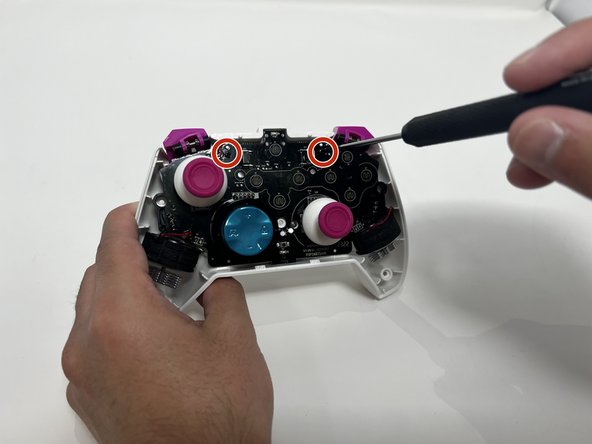
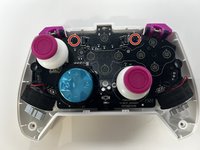
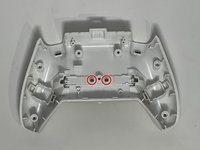
    2. PDP Rematch Advanced Back Buttons Replacement: step 5, image 1 of 2 PDP Rematch Advanced Back Buttons Replacement: step 5, image 2 of 2
      • Use a Phillips #00 Screwdriver to remove the two 5mm screws from the motherboard.

      Ask FixBot

      Add Comment

    3. PDP Rematch Advanced Back Buttons Replacement: step 6, image 1 of 3 PDP Rematch Advanced Back Buttons Replacement: step 6, image 2 of 3 PDP Rematch Advanced Back Buttons Replacement: step 6, image 3 of 3
      • Remove the motherboard from the back shell using moderate force.

      Ask FixBot

      Add Comment

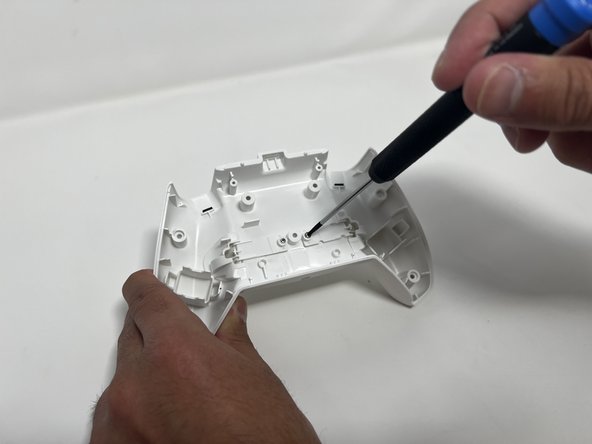
    1. PDP Rematch Advanced Back Buttons Replacement, Back Buttons: step 7, image 1 of 2 PDP Rematch Advanced Back Buttons Replacement, Back Buttons: step 7, image 2 of 2
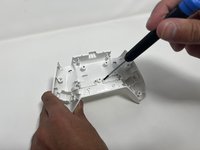
      • Use a Phillips #00 to remove the two 5mm screws from the back buttons.

      Ask FixBot

      Add Comment

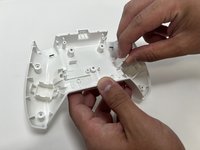
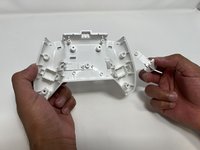
    2. PDP Rematch Advanced Back Buttons Replacement: step 8, image 1 of 3 PDP Rematch Advanced Back Buttons Replacement: step 8, image 2 of 3 PDP Rematch Advanced Back Buttons Replacement: step 8, image 3 of 3
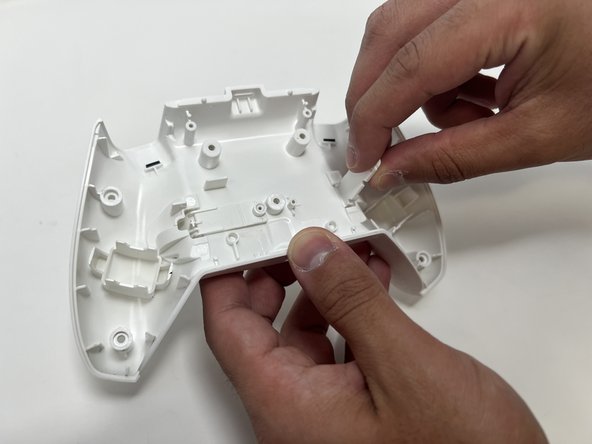
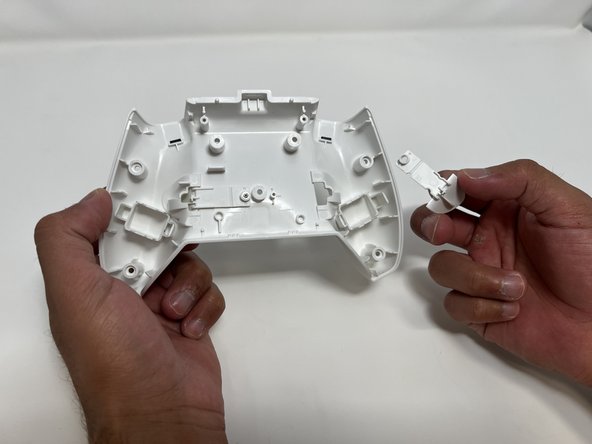
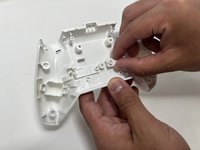
      • Lift the back button, and then pull it out through the back shell. Do this for both back buttons.

      Ask FixBot

      Add Comment

Conclusion

To reassemble your device, follow these instructions in reverse order.

Cancel: I did not complete this guide.

Collin Lawe

Member since: 10/02/23

462 Reputation

3 Guides authored

0 Guide Comments

Add Comment

View Statistics:

Past 24 Hours: 3

Past 7 Days: 31

Past 30 Days: 80

All Time: 865