Introduction
Step-by-step PC tower teardown and assembly, and how to connect the tower to a monitor to ensure it works perfectly by checking the BIOS.
-
-
-
First of all, remove the cover and the screws from the PC tower using a Phillips screwdriver, which will also be used to remove and install the rest of the screws for the PC components.
-
In our case, the motherboard model is the Gigabyte GA-8IPE775-G.
 Ask FixBot
-
-
-
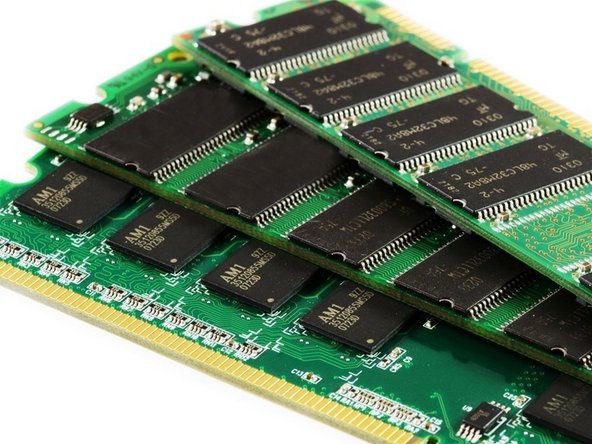
Next, we begin removing all the parts from the motherboard; first, the RAM sticks—in my case, I have 4 DDR slots with 2 GB capacity each.
-
-
-
Remove the power supply by disconnecting its Molex cables from the floppy drive, hard drive, and CD-ROM drive, and disconnect the two 4-pin and 24-pin ATX motherboard connectors.
-
-
-
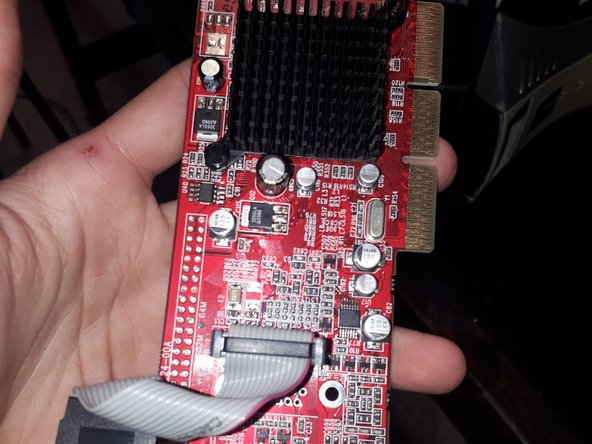
We will also need to remove the graphics card, which connects to the PCI-Express x16 expansion slot and also has a serial port and a VGA port on the back.
-
-
-
With the DIMM cables removed from their connection to the motherboard and the hard drive, you will also need to remove a Molex cable from the power supply that is connected to the hard drive next to the IDE.
-
-
-
-
With the IDE cables disconnected from the CD-ROM and the motherboard, you must also remove the molex power cable connected to the CD-ROM next to the IDE cable.
-
-
-
With the IDE cables disconnected from the floppy drive, we also need to remove a 4-pin cable from the power supply. At this point, all IDE cables—the ones for the hard drive, the CD-ROM drive, and the floppy drive—will be disconnected.
-
-
-
Speaker connection removed. When removing these small connectors, remember where you put them for reassembly.
-
-
-
We will also need to remove the front panel light pins, and remember how they were connected so that the LEDs work correctly when reassembling.
-
If everything works properly, a yellow light and a red light should turn on on the front panel.
-
-
-
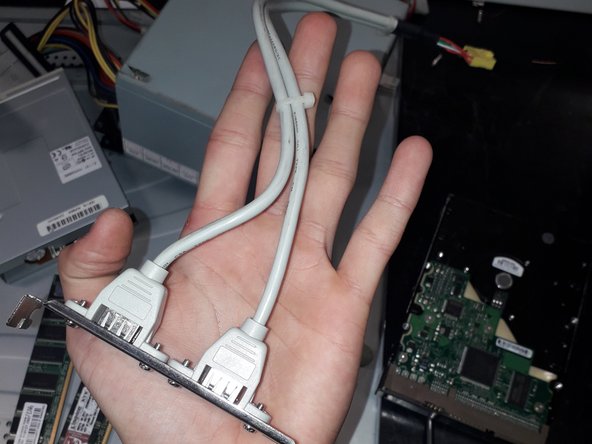
We also need to remove two USB devices that are connected to the motherboard and go to the rear panel.
-
-
-
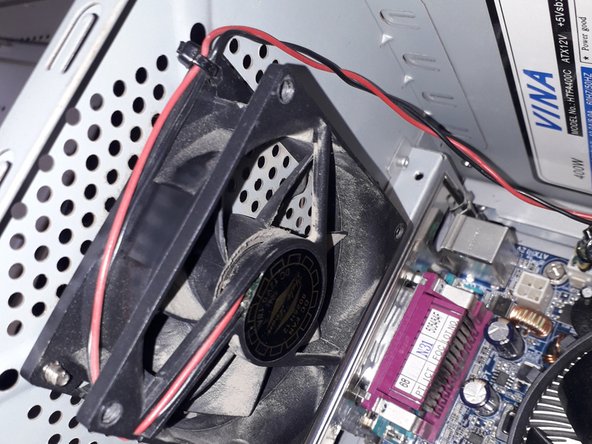
Finally, we need to remove the power supply's cooling fan. Also, keep in mind that when reassembling, you should keep the cooling fan screws separate from other components, as they are different and not all of them are interchangeable.
-
-
-
And once all the components are removed from the board, it would look like this. The 4 white slots, which are PCI x1, are not used, since for the graphics card we have the long green slot, which is PCI Express x16.
-
-
-
Some of the points we must keep in mind are the following:
-
- Know the location where you connected the LEDs so that you know where they go when reassembling.
-
- Never touch the chipset or its cooling fan, as if any debris or dust gets into it, it could be harmful and the PC would not work.
-
If the motherboard beeps immediately after connecting the tower to the monitor, disconnect everything, as this means there is an issue with the RAM, graphics card, or any other component that may be improperly connected.
-
-
-
Finally, if we want to connect the PC tower, we will use two Maclean cables, which are the cables that connect one to the 3-input slot on the monitor and the other to the 3 inputs of the power supply; obviously, both cables must be plugged into power outlets, along with the final cable, the VGA cable, so that the monitor image works.
-
Lastly, if we want to access the BIOS and check that the floppy drive, the CD-ROM, and the hard drive are working, we must turn on the PC with all its cables connected, the keyboard connected to the PS/2 keyboard connector on the rear panel, and upon turning on the monitor, press the (Del) key, which will take you to the BIOS.
-
Obviously, the previous steps must be performed by reassembling the PC, taking into account where each element was connected—for example, that the CD-ROM requires 1 Molex cable and one IDE connector—thus reassembling the entire PC and, by following the first point explained above, the monitor should work.
-
-
-
I have finished explaining the PC build and teardown, as well as how to connect it to the monitor. I hope you enjoyed it, and most importantly, that it has helped you or helped you learn a bit more about PC builds and teardowns.
-
-