This translation was generated by a machine and has not been reviewed by a person yet. Speak this language? Review it.
Introduction
This guide explains how to prepare the expansion blocks (USB, USB-C, HDMI...) for Restart PCs: cleaning the printed parts, adding threaded inserts, and then installing the extension connector.
-
-
-
Remove the stringing by hand.
-
Remove the two "tabs" at the base of the block using the utility knife.
-
Remove the supports with flush cutters and the utility knife.
-
Deburr the bottom edge, the one in contact with the fold in the housing.
 Ask FixBot
-
-
-
Install the block onto the support.
-
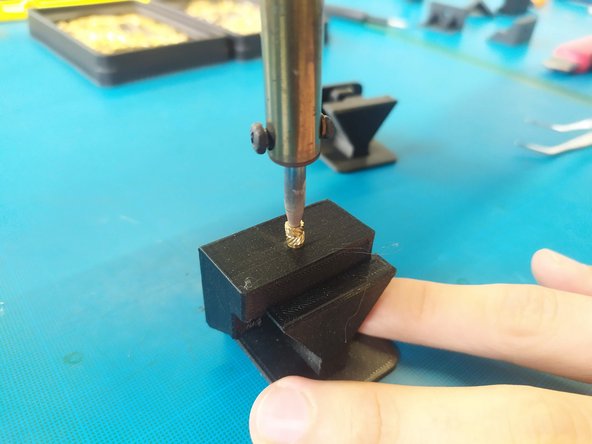
Add the threaded inserts (see following steps for sizes).
-
Use a small flat file or any other flat tool to finish pressing the inserts in.
-
-
-
-
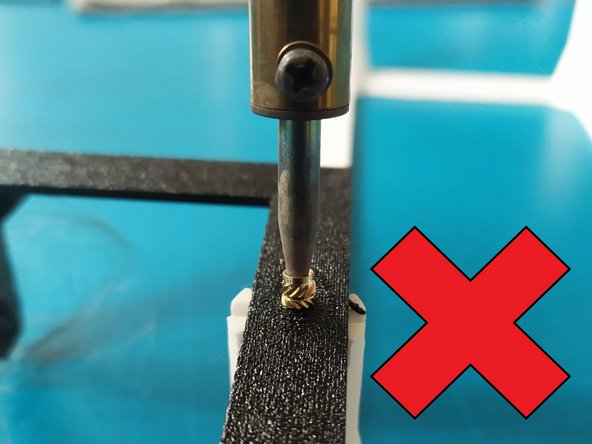
The inserts must not protrude.
-
The surface in contact with the sheet metal must be as flat as possible.
-
If necessary, clean off any plastic burrs on the underside with a utility knife.
-
-
-
For most blocks, you must use M3S inserts.
-
However, it is preferable to use a standard M3 insert, if possible.
-
E.g.: HDMI and USB-C blocks are compatible with M3 inserts.
-
-
-
Deburr the holes of the USB extension with a Phillips screwdriver.
-
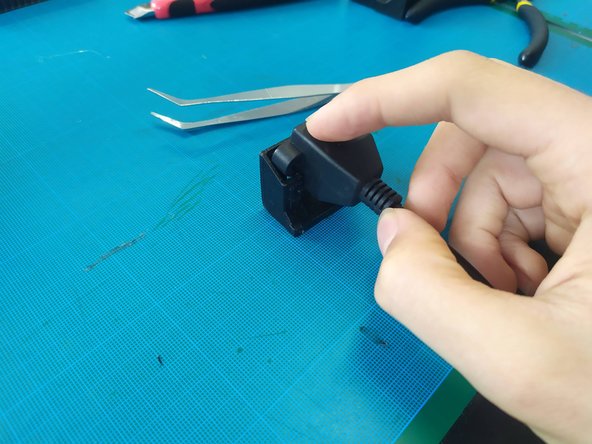
Insert the extension into its slot.
-
Use 2 Phillips M3 screws to secure the extension.
-
-
-
Use flush cutters (the large ones) to cut a lock washer in half.
-
Use the larger piece (see photo).
-
Use a flat tool to insert the half-washer.
-
As with the others, you must use 2 Phillips M3 screws to secure the extension.
-
-
-
Final result
-
Check if the USB-C connector "clicks" when a USB-C cable is plugged in.
-
-