Introduction
Upgrading your CPU can significantly enhance your computer's performance, making it more capable of handling demanding applications and multitasking efficiently. Whether you're a gamer looking for better frame rates, a content creator in need of faster rendering times, or simply want a smoother overall experience, replacing your CPU can be a game-changer. In this guide, we’ll walk you through the benefits of upgrading, the steps involved, and tips for choosing the right processor for your system. Let's dive in!
What you need
-
-
-
Turn Off the Computer: Make sure the computer is off and unplugged.
 Ask FixBot
-
-
-
Find the CPU: Look for a big flat piece, usually near the middle of the motherboard.
-
-
-
-
Remove the Old CPU Cooler: Unplug the cooler from the motherboard. Use the screwdriver to loosen any screws or clips holding it in place. Carefully lift off the cooler.
-
-
-
Remove the Old CPU: There’s a lever or a button. Carefully lift it up, then take out the old CPU. Use a paper towel to wipe off any old thermal paste from the CPU and cooler.
-
-
-
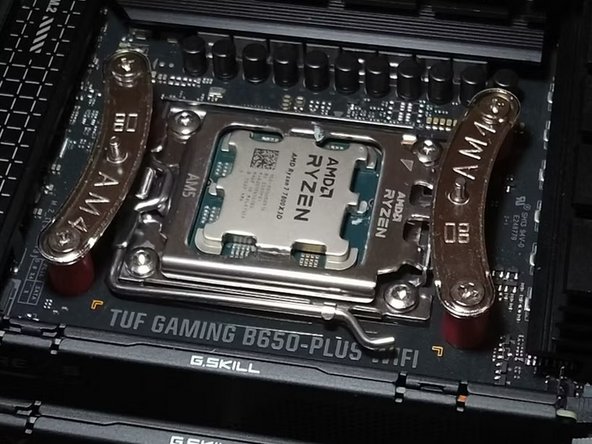
Put in the New CPU: Take the new CPU and place it in the same spot. Make sure it fits perfectly. Lower the lever or press the button to hold the new CPU tight.
-
-
-
Put on New Thermal Paste: Squeeze a small dot (about the size of a pea) of thermal paste in the center of the new CPU.
-
-
-
Reattach the CPU Cooler: Carefully place the cooler back on top of the CPU. Screw or clip it back into place, and plug it in.
-
-
-
Close the Case: Put the side of the computer back on and screw it shut. Plug the computer back in and turn it on to see if it works!
-
-




Congratulations! You’ve successfully replaced your CPU! By following these steps, you’ve improved your computer’s performance and learned something new in the process. If everything is working well, you can enjoy faster speeds and better multitasking. Don’t forget to keep your computer clean and updated for the best results. Great job!
Cancel: I did not complete this guide.
3 other people completed this guide.

